With each new iteration of iOS, Apple introduces features that enhance user experience and productivity.
iOS 18 continues this trend by allowing iPad users to customize their Control Center even further, including the ability to add controls to new pages within the Control Center.
This feature is particularly useful for tailoring your device to meet specific workflow needs or personal preferences.
Read: How To Check If M4 iPad Pro Is New Or Refurbished
Add Controls To a New Control Center Page In iOS 18 (iPad)
First, swipe down from the top-right corner to reveal the Control Center. Here, you can either long press on an empty space or tap on the + icon in the top-left corner. This will open the Control Center editing mode.
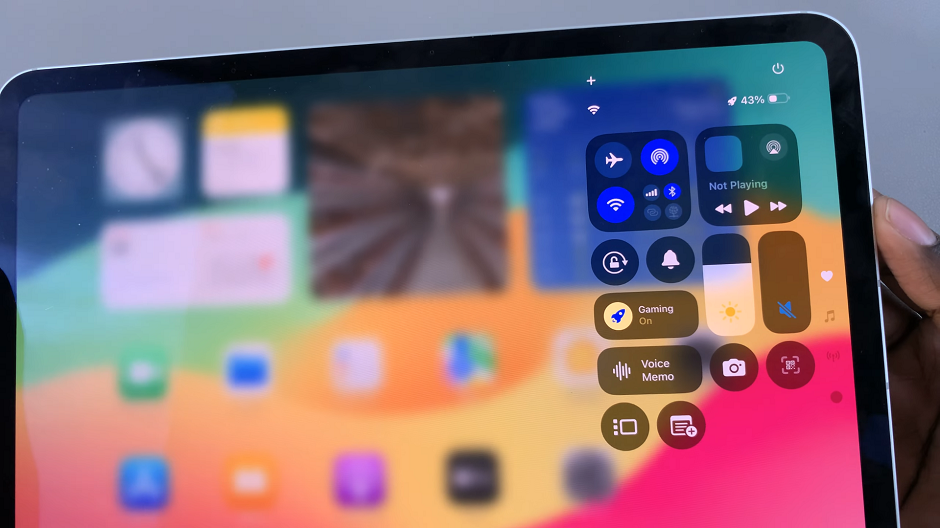
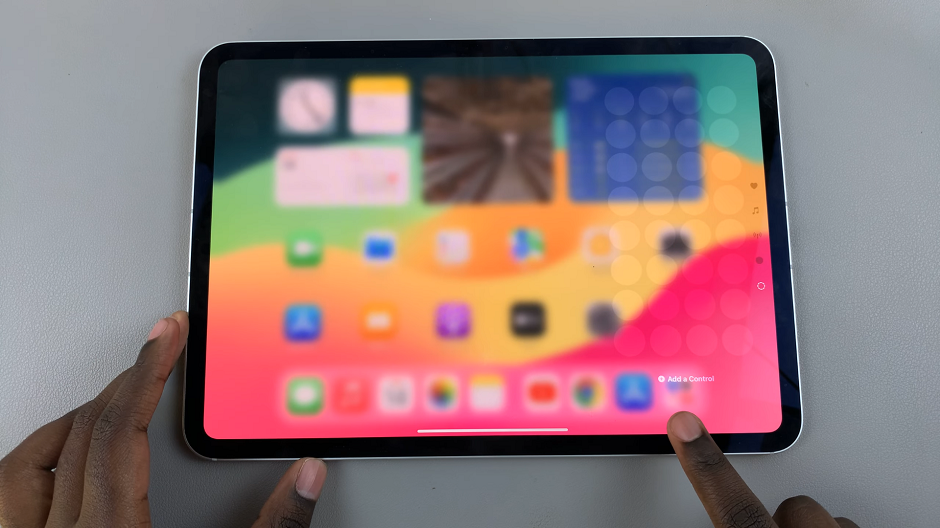
Next, swipe down until you get to a blank control center page. Here, tap on Add Control. You can also tap on Add Control in any other Control Center page to add more controls to it.
After you select the Add Control option, you’ll see a list of available controls under the more Controls section. Tap on the Control you want to add or simply use the Search bar to find the control you want to add.

You can adjust the control’s size and reposition it to where you’d like. You can also tap on the “–” icon at the corner of the control if you wish to remove it. Tap on an empty space to exit the Control Center.

Once you’ve customized your new page, it’s important to test it out. Swipe down from the top-right corner of your screen to open the Control Center.
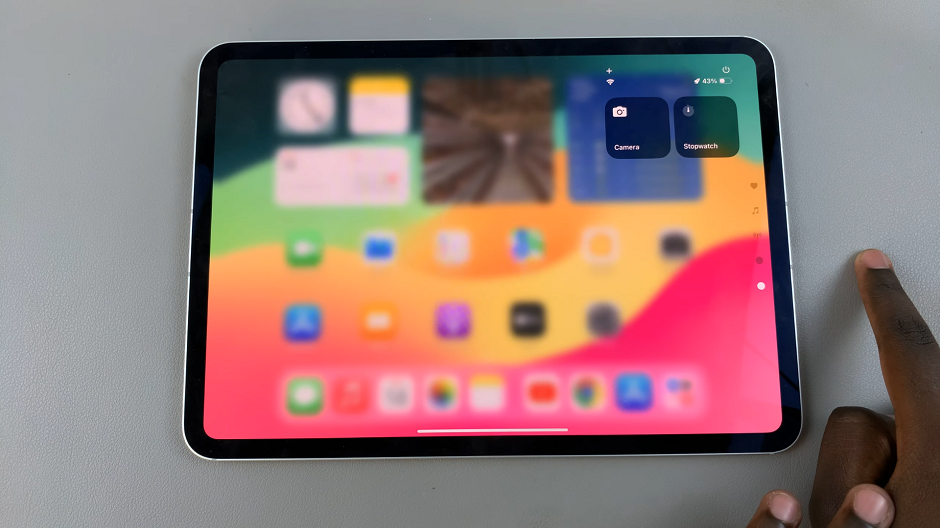
Here, you can swipe through the pages until you get to your new control center page. Also, you can simply use the navigation icons to get to it. Ensure that your new controls are easily accessible and functioning as expected.
Using Your Customized Control Center
After customizing your Control Center with iOS 18, accessing the newly added controls is straightforward:
Swipe Down Gesture: Swipe down from the top-right corner of your iPad’s screen to open the Control Center.
Navigate Between Pages: If you’ve added controls to a new page, swipe up or down to switch between Control Center pages until you find the page with your added controls.
Use Controls: Tap on any control icon to activate its corresponding feature or function directly from the Control Center.
Practical Applications
Customizing the Control Center in iOS 18 allows you to tailor your iPad’s interface to suit your specific needs and preferences:
Enhanced Productivity: Place frequently used controls within easy reach to streamline tasks and workflows.
Accessibility: Customize controls to improve accessibility and accommodate individual requirements.
Personalization: Express your personal style by organizing controls in a way that reflects your usage patterns and preferences.
iOS 18 empowers iPad users with the ability to create a Control Center that is both functional and personalized. By adding controls to new pages within the Control Center, you can optimize your device for efficiency and convenience, whether for work, play, or accessibility needs. Take advantage of these customization options to make the most out of your iOS experience and unlock the full potential of your iPad.

