Guided Access is a powerful feature on iPads designed to limit access to a single app and control certain device functionalities. However, there are occasions when you may need to disable it temporarily or permanently to regain unrestricted access to your device.
Disabling Guided Access is straightforward and requires navigating through the Settings menu of your iPad. This guide will walk you through the step-by-step process, ensuring you can quickly deactivate Guided Access whenever necessary.
By following these instructions, you can seamlessly transition from restricted mode back to full device functionality without any hassle.
Watch: How To Change Alarm Volume On iPad
Disable Guided Access On iPad
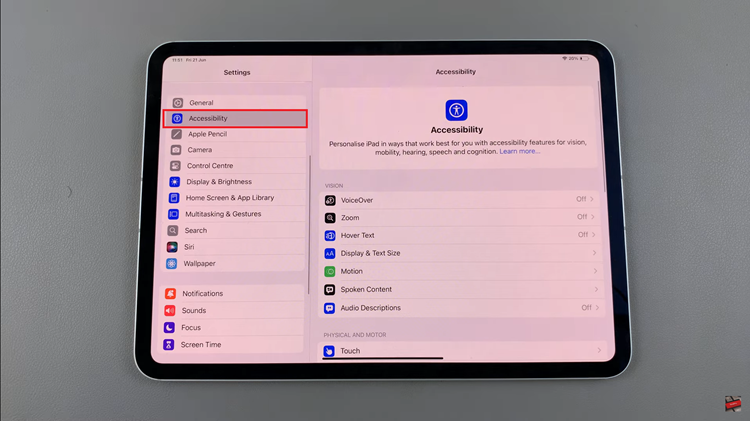
To disable Guided Access on your iPad, start by opening the Settings app. Once inside the Settings app, scroll down until you find the Accessibility option among the list of available settings.
Within the Accessibility settings, locate and tap on the “Guided Access” option. This action will bring you to the specific settings dedicated to managing Guided Access on your device. Once you are in the Guided Access settings, proceed to disable it by toggling the switch next to Guided Access into the off position.

After successfully disabling Guided Access, you can exit the Settings app. Depending on your iPad model, you can do this by either pressing the home button or swiping up from the bottom of the screen. This simple process ensures that you regain full access to all apps and functionalities on your iPad without any restrictions imposed by Guided Access.
By following these simple steps, you can quickly disable Guided Access on your iPad whenever you need full access to all apps and functionalities.

 Airplay On Samsung Smart TV")