Guided Access is a valuable feature available on iPads that allows users to restrict their devices to a single app and control which features are accessible. This functionality is particularly useful for parents who want to manage their child’s screen time, educators who aim to keep students focused on a specific educational app, and businesses that use iPads for public or employee-specific tasks.
With Guided Access, you can ensure that your iPad remains locked into a single app, preventing accidental or unauthorized access to other applications and settings. This article will guide you through the steps to enable and use Guided Access on your iPad.
Whether you are new to iPad or looking to optimize your device’s usage, follow these detailed instructions to get started with Guided Access.
Watch: How To Reset Network Settings On iPad
Enable Guided Access On iPad
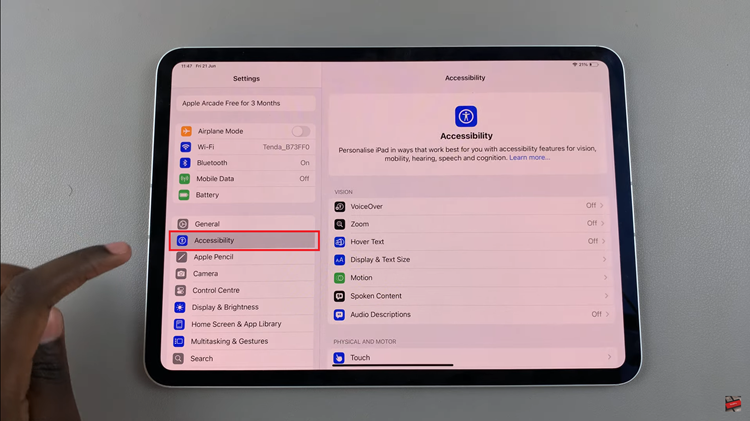
To begin configuring Guided Access on your iPad, start by navigating to the home screen and tapping on the “Settings” app, identifiable by its gray gear icon. Next, scroll down through the list of options until you locate “Accessibility.” Tap on this option to proceed further.
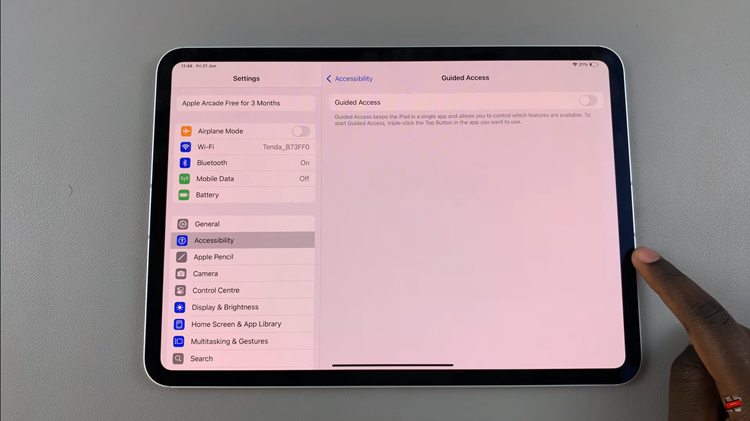
Within the Accessibility menu, continue scrolling until you find “Guided Access” under the General section. Tap on it to access the Guided Access settings. Once you’re in the Guided Access settings screen, you’ll see a toggle switch next to “Guided Access.” Slide this switch to the right to enable the feature, indicated by turning the toggle green.
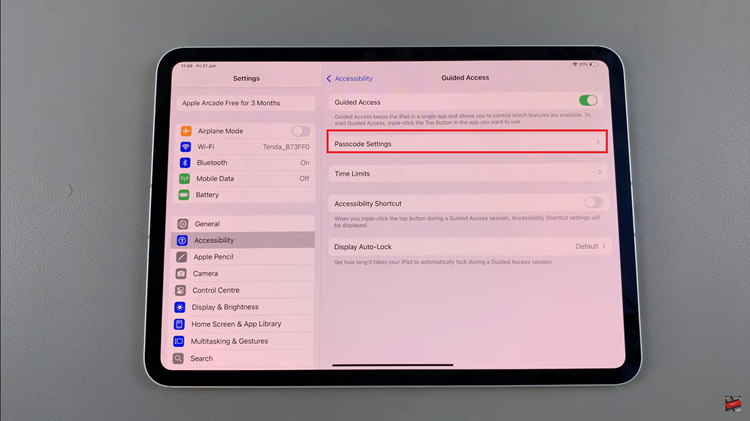
After enabling Guided Access, it’s essential to customize its settings according to your preferences. You can set up a passcode specific to Guided Access to control access to it and configure other options as needed. To do this, tap on “Passcode Settings” or any relevant options available within the Guided Access settings screen.
Once done, exit the Settings app by swiping up from the bottom of the screen. Your changes to Guided Access will now be applied and ready for use.
In conclusion, enabling and customizing Guided Access provides you with enhanced control over your iPad’s accessibility features. By following these steps and customizing the settings, you can effectively manage how your iPad is used in different environments.