In today’s digital age, staying connected is more important than ever, and a crucial part of that connectivity lies in the small but mighty SIM card inside your mobile device.
The Rabbit R1, allows users to add a SIM card. Whether you’re setting up your Rabbit R1 for the first time or replacing an existing SIM card, we’ve got you covered.
In this guide, we’ll walk you through the comprehensive step-by-step process on how to insert a SIM card in the Rabbit R1.
Also Read: How To Charge Rabbit R1
How To Insert SIM Card In Rabbit R1
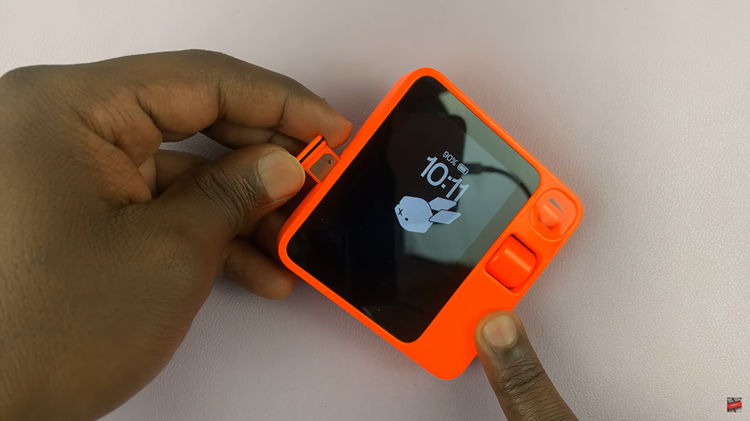
Firstly, identify the SIM card tray on your Rabbit R1. Typically, it is located on the side of the device. Use your finger to gently remove the slot. This action will pop out the SIM card tray. With the tray in hand, place your SIM card into the tray.
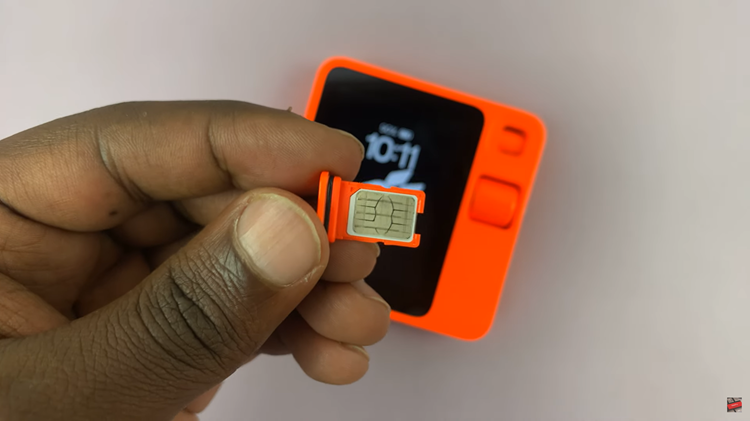
Carefully place your SIM card into the tray. Align the notch on the SIM card with the corresponding notch in the tray. Ensure the gold contacts are facing up towards the screen of the device. This ensures proper connectivity with your device.
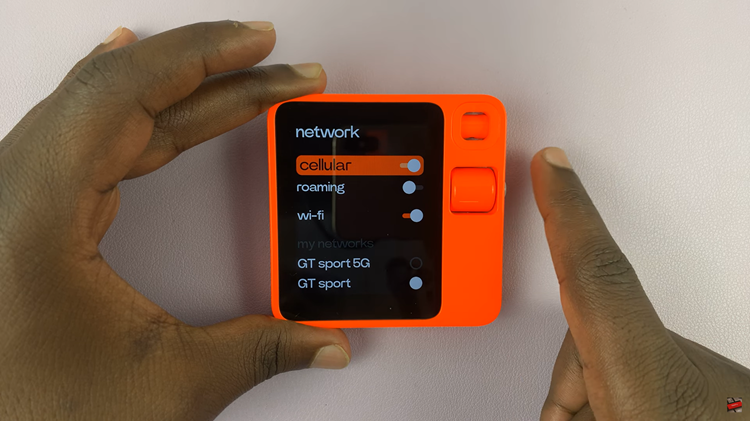
After inserting the SIM card tray back into the Rabbit R1, wait a few moments for the device to recognize the SIM card. Your Rabbit R1 should automatically connect to your carrier’s network. To confirm, go to settings, select Network and you should see ‘Cellular‘ enabled.
By following these steps, you can successfully insert a SIM card into your Rabbit R1. This process ensures that your device remains connected and functional, allowing you to make calls, send messages, and use mobile data as intended. If you encounter any issues, refer to the device manual or contact Rabbit’s customer support for assistance.