With the advancement of technology, smartphones like the Samsung Galaxy A55 5G are equipped with various features that make life easier. This includes the ability to perform OTG (On-The-Go) and data transfer tasks.
Whether you need to transfer files from your phone to a flash drive or vice versa, the Galaxy A55 5G provides a seamless experience.
In this guide, we’ll walk you through the comprehensive step-by-step process on how to perform a OTG & data transfer test on Samsung Galaxy A55 5G.
Also Read: How To Install Samsung Music App On Samsung Galaxy A55 5G
How To Perform OTG & Data Transfer Test On Samsung Galaxy A55 5G
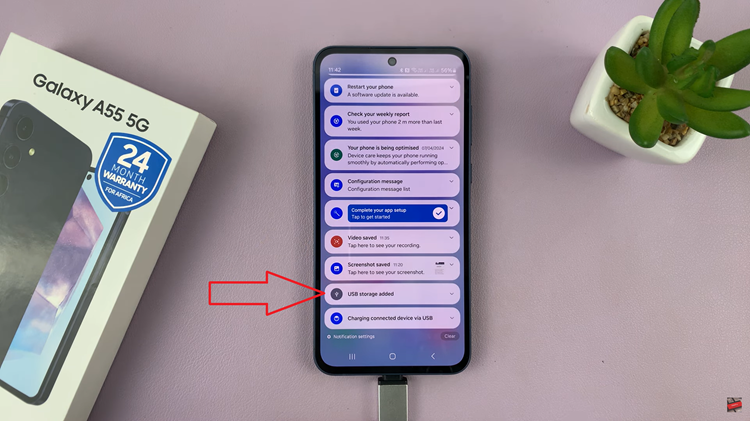
Start by connecting a flash drive to your Samsung Galaxy A55 5G. Once the flash drive is connected, swipe down from the top of your screen to access the notifications panel. Look for a notification indicating that USB storage has been added. This confirms that your Galaxy A55 5G recognizes the connected flash drive.
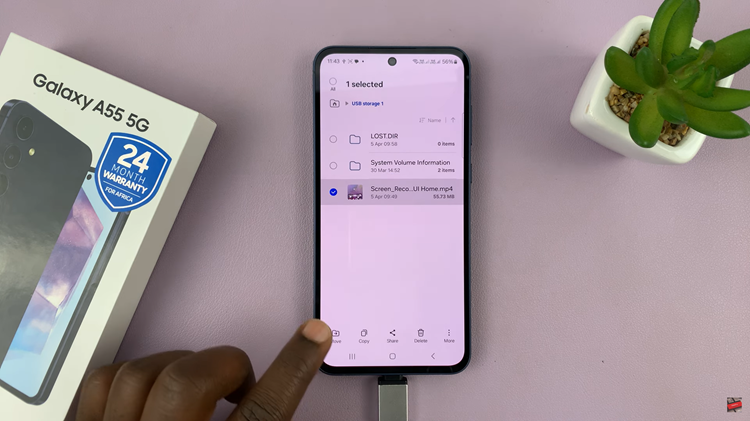
To transfer files between your phone and the flash drive, open the ‘My Files‘ app. Navigate and select the files you wish to transfer. Then, tap on either the “Move” or “Copy” option. After choosing the transfer option, return to the main files page within the app. In the internal storage, select the destination.
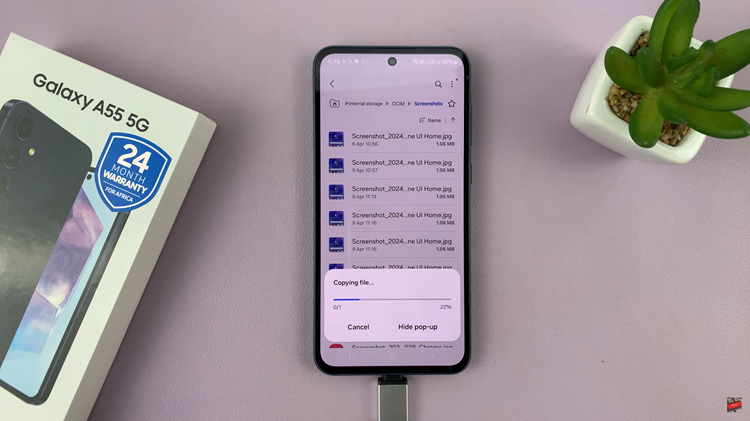
Once you’ve selected the destination folder, tap on either “Move Here” or “Copy Here.” Wait for the transfer process to complete. Once finished, you should see the transferred files in the selected destination folder on your Samsung Galaxy A55 5G.
Performing an OTG and data transfer test on your Samsung Galaxy A55 5G is a straightforward process that allows you to seamlessly exchange files between your phone and a connected flash drive. By following the steps outlined in this guide, you can efficiently manage your files and enjoy the convenience of mobile data transfer capabilities.
Watch: How To Use Apps In Split Screen Mode On Samsung Galaxy A35 5G