In the age of mobile technology, capturing moments on our devices has never been easier. However, sometimes you might find that the video you shot on your iPad is not in the desired orientation.
Whether it’s upside down or sideways, rotating a video can be essential for proper viewing and sharing.
Fortunately, rotating a video on an iPad is a straightforward process, thanks to the intuitive design of Apple’s iOS. Here’s a detailed guide on how to rotate a video on your iPad.
Watch: How To Disable Multitasking On M4 iPad Pro
Rotate a Video On iPad
First, locate the Photos app on your iPad and tap to open it. Navigate to the video you wish to rotate. You can find your videos by browsing through albums or using the search function.
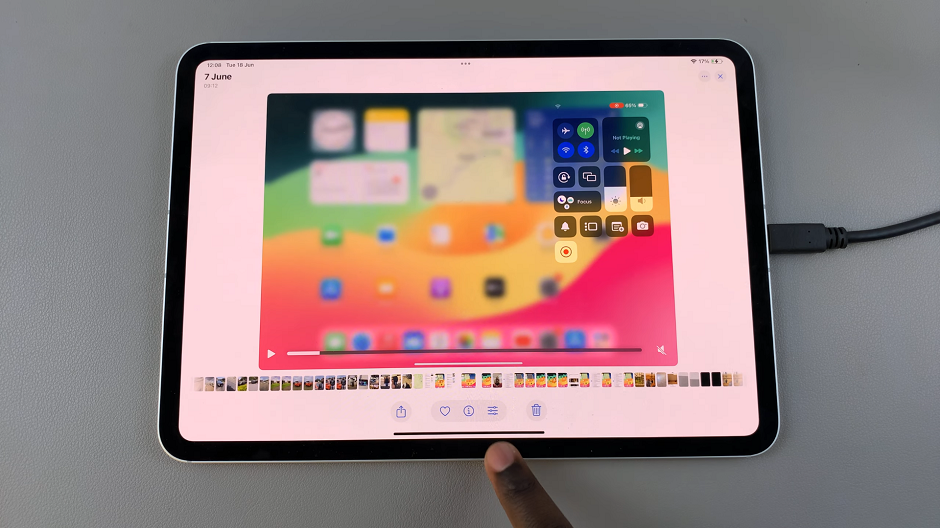
Once you have selected the video you want to rotate, tap the Edit button located at the bottom of the screen. It is resembles an equalizer. This will open the editing interface, where you’ll find a range of editing options.
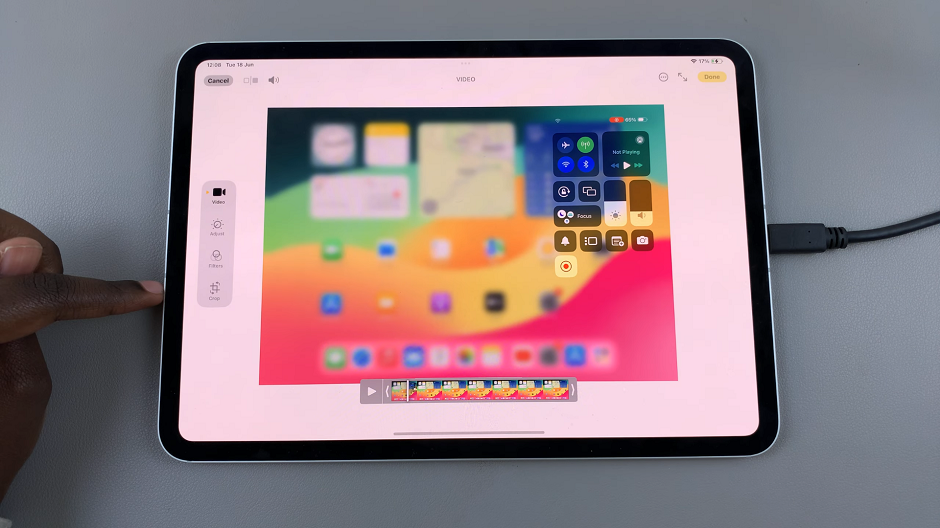
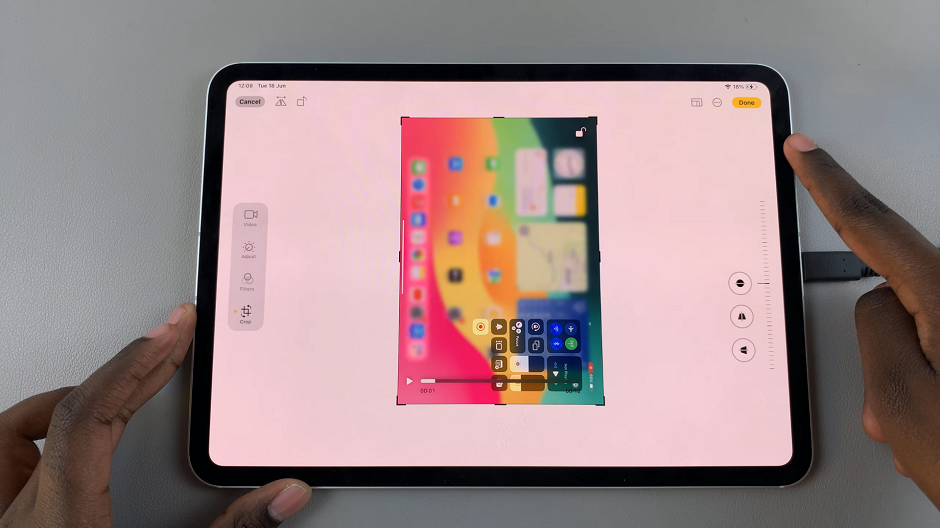
Under editing mode, you’ll find several tools at the left-hand side of the screen. Tap on the Crop icon (it looks like a square with arrows around it). Another range of sub-options should appear in the top-left corner of the screen.
In the top left corner, you’ll see a rotate icon (a square with a curved arrow). Tap on this icon.
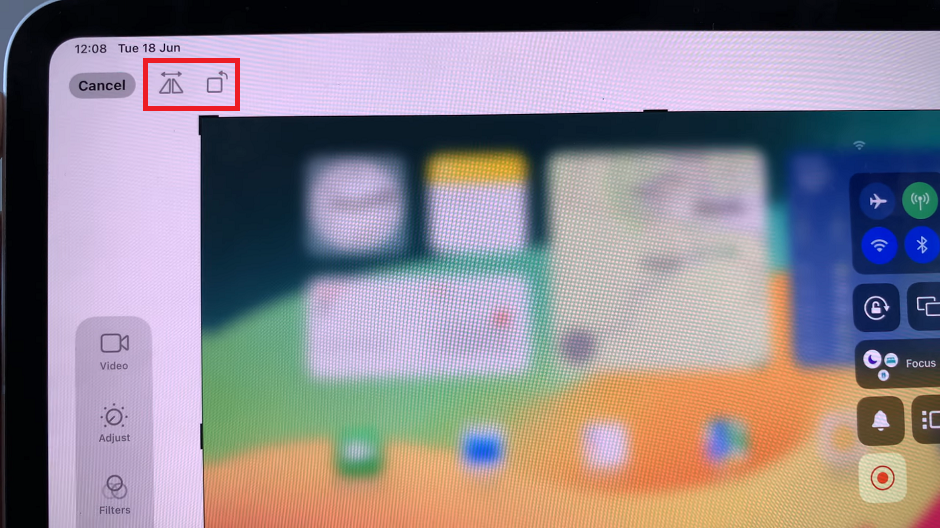
Each tap rotates the video 90 degrees clockwise. Continue tapping until your video is in the desired orientation.

You can also flip the image by using the icon that resembles two rectangles facing opposite directions.
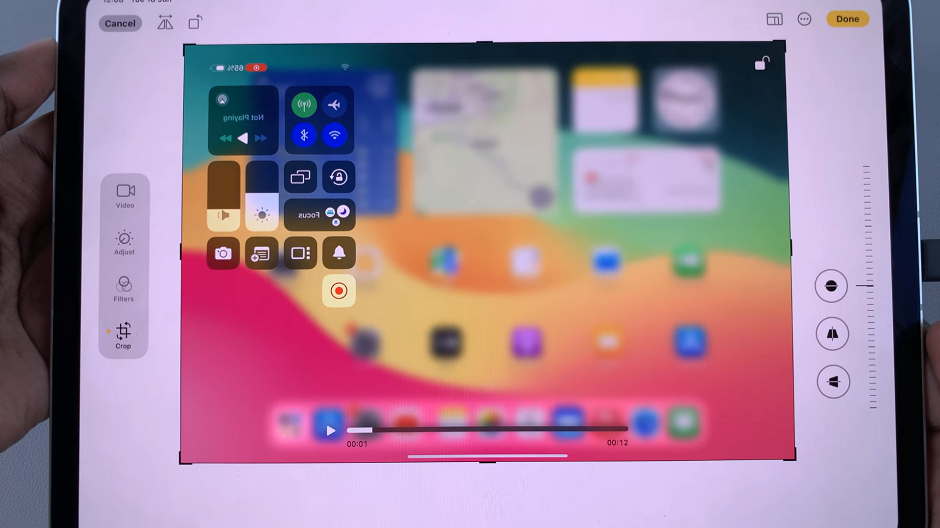
Once you’ve adjusted the orientation, tap Done in the top-right corner. Your video will be saved in the new orientation, replacing the original version. If you want to keep the original video as well, make sure to create a duplicate before editing.
Now that your video is correctly oriented, you can share it with friends and family. Simply open the newly rotated video in the Photos app, tap the Share icon. Then, choose your preferred method of sharing, such as AirDrop, Messages, Mail, or social media platforms.
Troubleshooting Common Issues
While rotating a video on an iPad is generally straightforward, you might encounter some issues. Here are a few tips to help you troubleshoot:
Video Not Rotating: Ensure your iPad is updated to the latest version of iOS. Sometimes, bugs in older versions can cause problems with editing features.
Low Storage: If your iPad is running low on storage, it might not save the rotated video. Free up some space by deleting unnecessary files or transferring them to iCloud.
App Crashes: If the Photos app crashes during editing, try restarting your iPad and attempting the process again.
Rotating a video on your iPad is a simple task that can make a big difference in how your videos are viewed and shared. By following these steps, you can ensure that your videos are always in the correct orientation, ready to be enjoyed by you and others. Embrace the ease of iOS and make the most out of your video content with just a few taps.
Whether you’re a casual user or a tech enthusiast, knowing how to perform basic edits like rotating videos can enhance your iPad experience. Keep exploring the features of your iPad, and you’ll discover just how powerful this device can be in managing and editing your media files.