With the release of iOS 18, Apple has introduced a plethora of new features to enhance user experience, one of which is the ability to schedule messages on your iPad.
This feature is particularly useful for users who want to ensure their messages are sent at the perfect time, whether for business or personal reasons.
Here’s a step-by-step guide on how to schedule messages on your iPad running iOS 18. Scheduling messages can be incredibly beneficial for various reasons:
Professional Communication: Ensure your emails and texts reach clients during business hours.
Reminders and Alerts: Schedule reminders for appointments or important tasks.
Personal Convenience: Send birthday wishes or important notifications at a specific time.
Watch: How To Take Screenshots On M4 iPad Pro
Schedule Messages In iOS 18 (iPad)
Start by opening the Messages app on your iPad. This is where you’ll compose and schedule your message.
Select the contact you want to send to and type your message as you normally would. You can include text, emojis, images, and even links.
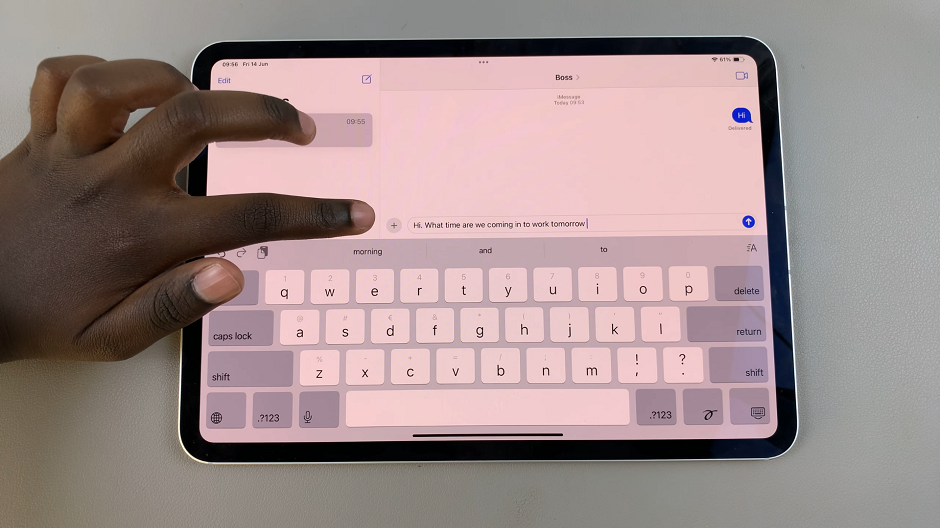
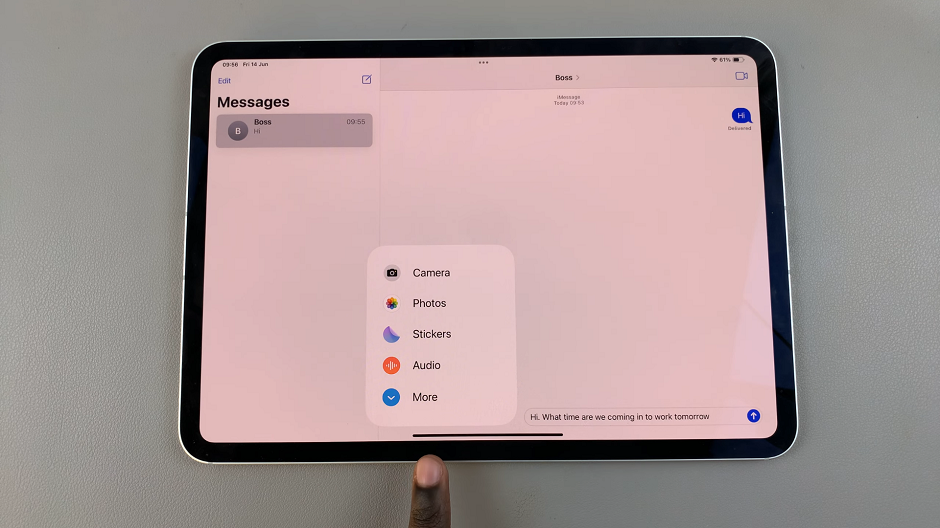
Once your message is ready, tap on the + icon to the left of the message text box. From the resulting options, select More.
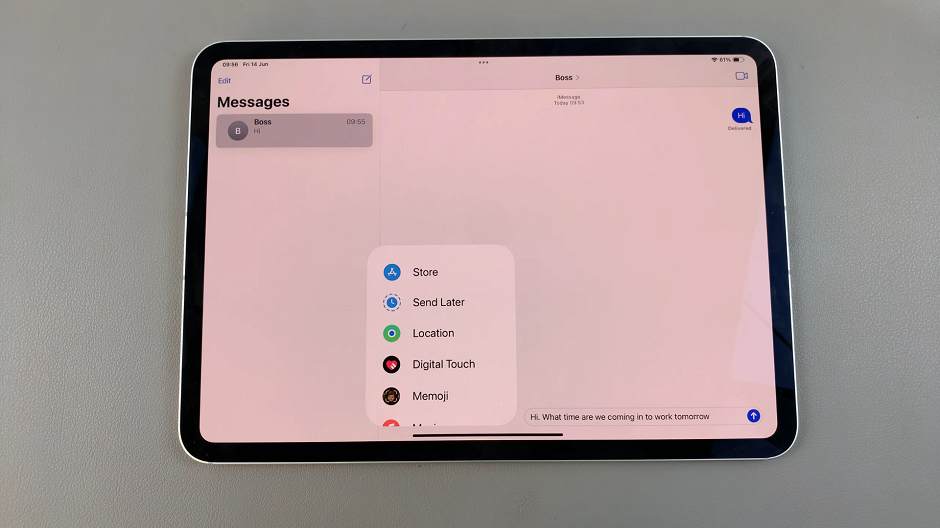
From the menu that appears, tap on Send Later. Tap on it to customize.
A date and time picker will appear. Select the desired date and time for your message to be sent. After selecting the date and time, tap on the Send button to confirm your scheduled message.
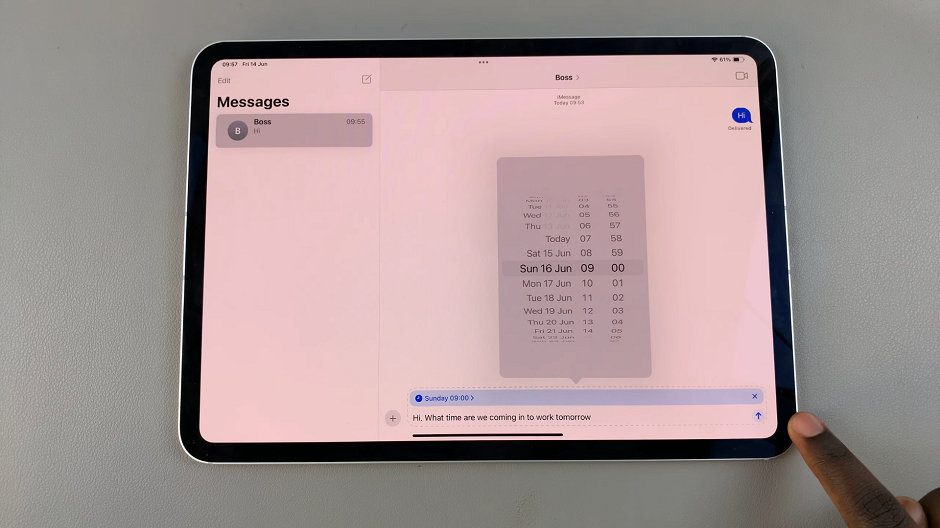
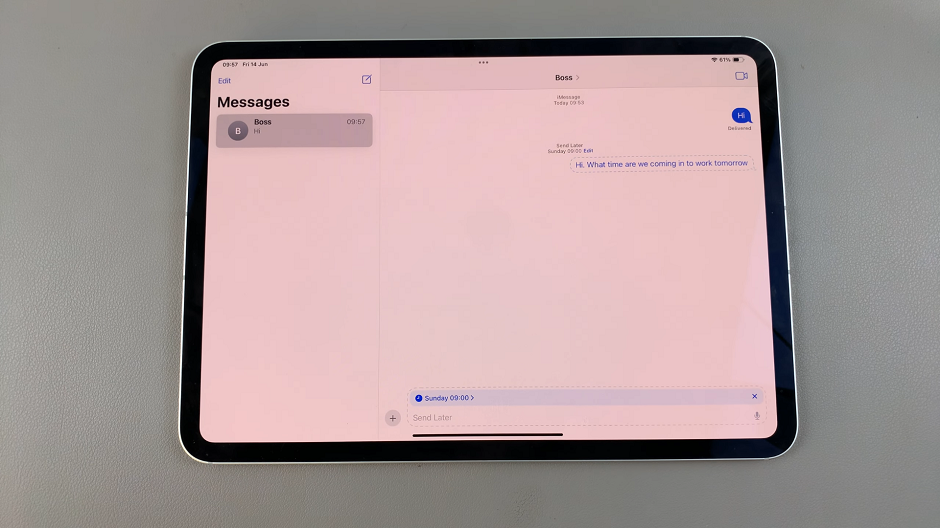
You can now tap on the x button to close the editor. Your message will now be enshrined within a dotted bubble. This indicates that it’s a scheduled message.
Editing or Cancelling Scheduled Messages
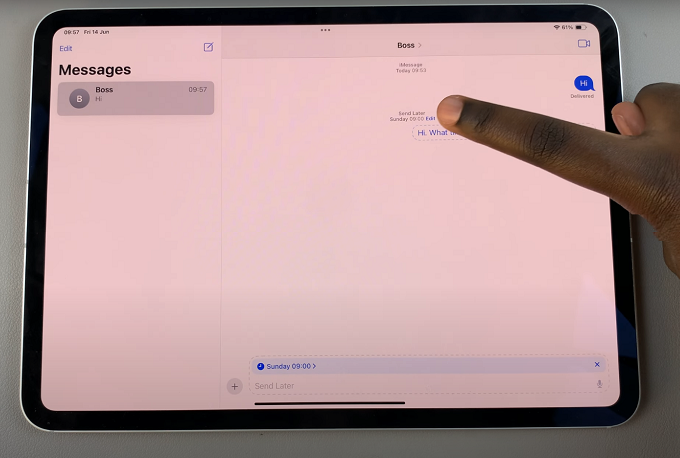
To change the date and time, or edit the scheduled message, tap on the Edit option. It should be just above the scheduled message.
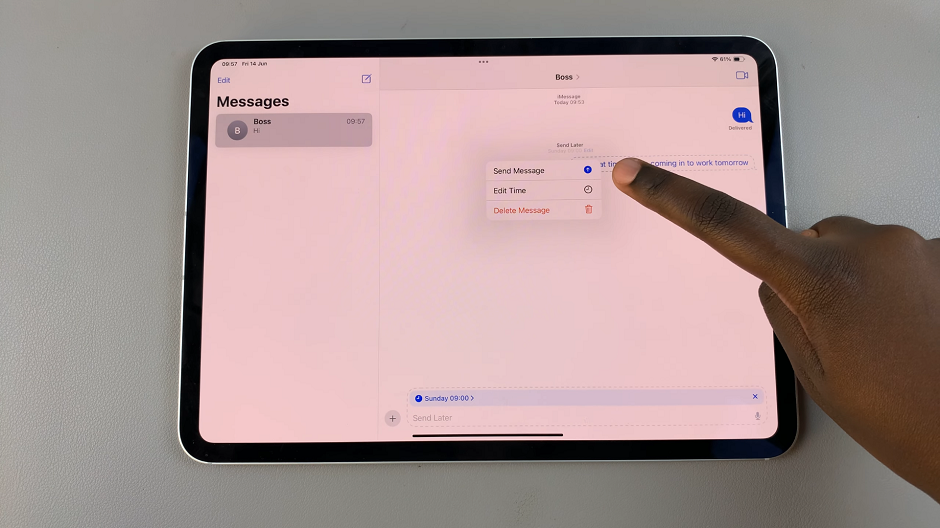
From the options, choose one of Send Message, Edit Time or Delete message. Follow the instructions based on the option you chose.
Tips for Using Scheduled Message
Double-Check Times: Always double-check the scheduled time and date to avoid any mistakes, especially for important communications.
Use for Reminders: Schedule messages to yourself as reminders for important tasks or events.
Be Mindful of Time Zones: When scheduling messages to recipients in different time zones, make sure to account for the time difference.
The ability to schedule messages on iPad with iOS 18 is a powerful tool that can enhance both personal and professional communication. Whether you’re planning ahead for a birthday greeting, ensuring timely work communications, or setting reminders for yourself, this feature offers convenience and efficiency. Update your iPad to iOS 18 and start scheduling your messages today to take full advantage of this new functionality.