The Rabbit R1 represents a leap forward in smart device technology, offering a blend of convenience and functionality designed to simplify your everyday tasks.
Whether you’re unboxing your Rabbit R1 for the first time or performing a reset, the setup process is straightforward, ensuring you can start using your device quickly and efficiently.
In this guide, we’ll walk you through the comprehensive step-by-step process on how to turn on & set up the Rabbit R1.
Also Read: How To Ask Rabbit R1 Questions
How To Turn ON & Set Up Rabbit R1
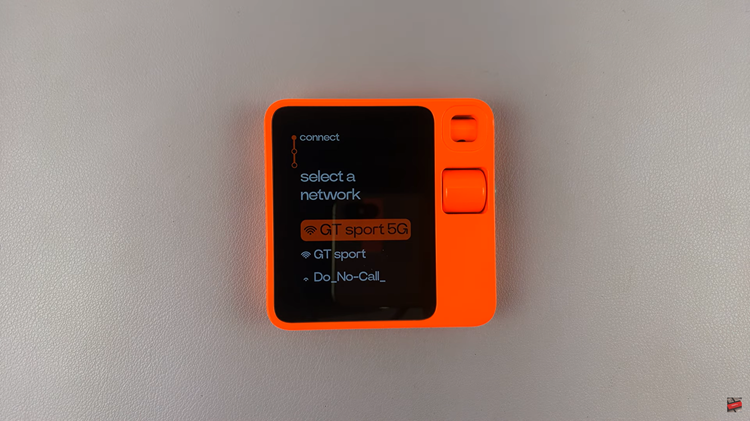
Long press the button on your Rabbit R1 until the Rabbit logo appears on the screen. Release the button after the logo appears. Press the side button again to initiate the setup sequence. Ensure your Rabbit R1 is within range of a Wi-Fi network and establish a connection.
Next, open a web browser on your smartphone or computer and navigate to rabbit.tech/activate. Follow the on-screen prompts to link your Rabbit R1 to your personal account. Provide your email address, password, and choose a username as part of the account linking process.

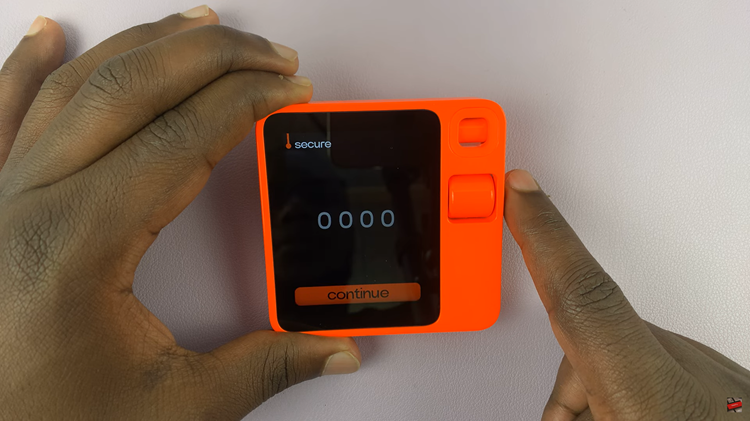
Tap “Continue” on your Rabbit R1 to proceed with setup. Scan the QR code provided on the setup screen using your Rabbit R1. Create a passcode for added security measures during the setup process. Follow any additional on-screen instructions to finalize setup.
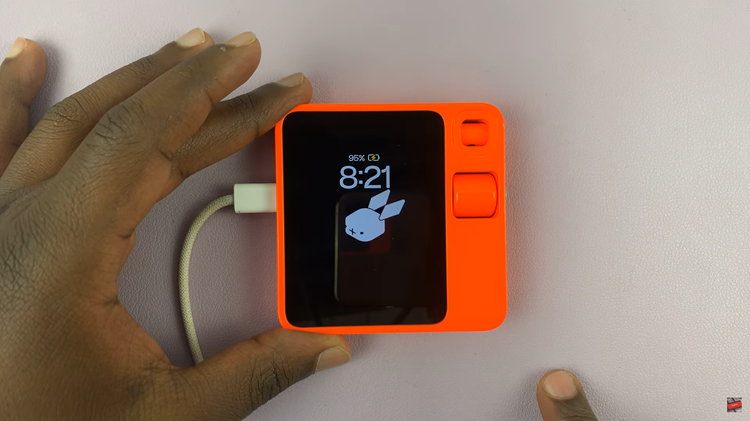
Test functionalities such as charging and camera to ensure everything is working correctly. Install any available updates to ensure your Rabbit R1 is running the latest software. Once setup is complete, your Rabbit R1 is ready to use for your daily tasks.
By following these steps, you can easily set up your Rabbit R1 and begin enjoying its features. Whether it’s for personal use or enhancing productivity, the Rabbit R1 is designed to integrate seamlessly into your lifestyle.

