Ensuring that everyone can comfortably and effectively use their iPad is a core principle of Apple’s approach to accessibility. Among the many features designed to support users with diverse needs, Touch Accommodations stands out by providing customizable options for adjusting touch sensitivity and behaviors.
This feature is designed to cater to users who may face challenges with standard touch gestures, offering customizable settings to adapt touch sensitivity and response according to individual needs. Whether you have motor challenges or simply prefer a different touch experience, enabling Touch Accommodations can make interactions smoother and more accessible.
This guide will walk you through the steps to turn on Touch Accommodation on your iPad, empowering you to tailor your device to better suit your individual preferences and requirements.
Watch: How To Turn OFF Keyboard Auto Correction On iPad
Turn ON Touch Accommodation On iPad
To begin customizing Touch Accommodations on your iPad, start by unlocking your device and navigating to the home screen. Subsequently, locate and tap on the Settings app, identifiable by its gear icon. Once inside Settings, scroll down to find the Accessibility section, where all accessibility-related features are housed.
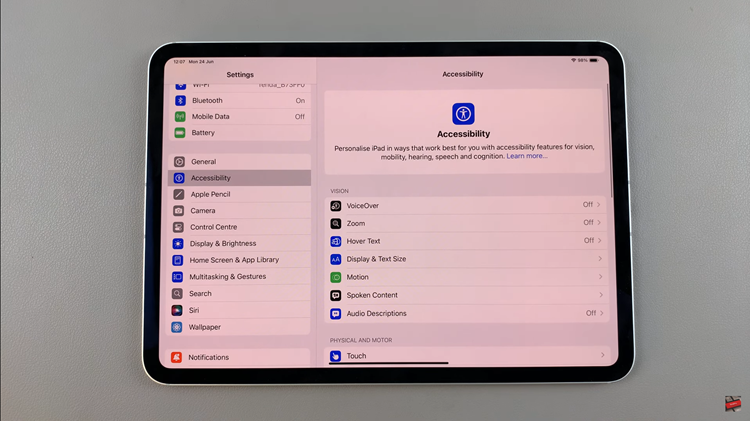
Within Accessibility settings, navigate further by scrolling down until you come across the Touch option. Tap on it to reveal additional touch-related settings. Continue scrolling until you find the Touch Accommodations option. Here, toggle the switch next to Touch Accommodations to activate this feature designed to enhance touch interaction accessibility.
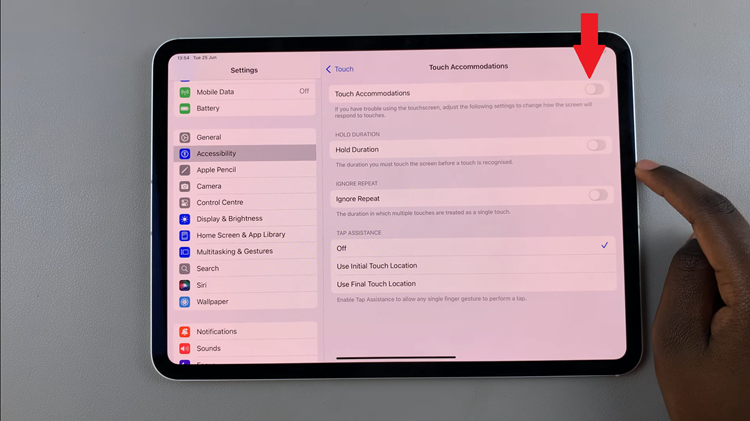
Once you’ve enabled Touch Accommodations, take some time to familiarize yourself with the new settings. Experiment with various gestures and interactions to observe how Touch Accommodations adapt to your touch inputs. This hands-on approach allows you to fine-tune settings according to your specific needs, ensuring a more personalized and comfortable user experience.
Read: How To Transfer Screenshots & Recordings From Nintendo Switch To Smartphone