Sending audio messages on an iPhone is a convenient way to communicate with friends and family using your own voice.
Whether you want to share a quick update or convey your emotions more effectively, audio messages can be a great option.
In this article, we’ll guide you through the step-by-step process on how to send audio messages on your iOS 17 allowing you to communicate with your friends and family in a more expressive way.
Also Read: How To Use ‘Check In’ On iPhone
How To Send Audio Messages On iOS 17
To begin, open the “Messages“ app on your home screen. Inside the Messages app, find and open a conversation with the person you wish to send an audio voice message to. It could be an ongoing conversation or a new message thread.
Now, tap on the ‘+‘ icon situated on the left side of the text field within the conversation. A range of options will appear, simply select ‘Audio‘ from the list.
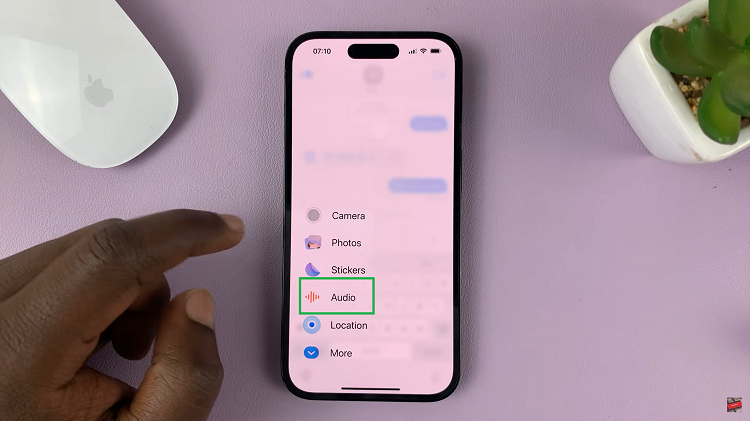
After selecting Audio, begin recording your message. Speak clearly into the iPhone’s microphone. Once you’ve finished recording your message, simply tap on the icon to stop recording. Your voice message will automatically be saved within the conversation.
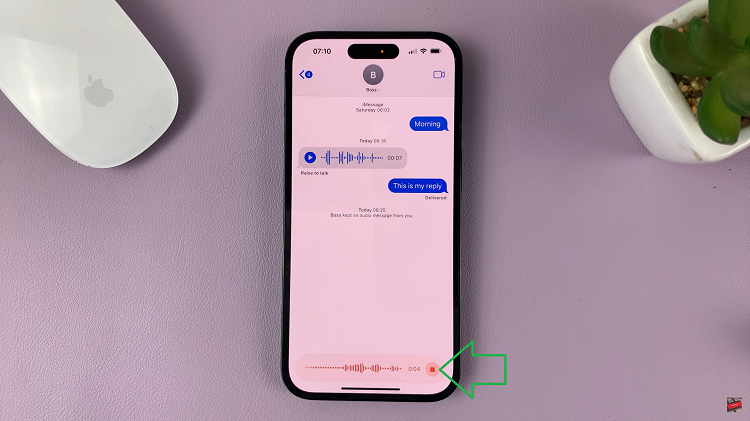
Before sending the audio message, tap on the playback button to preview your message. This allows you to listen to your message and ensure it sounds just the way you intended. If you don’t like your recording, simply tap on the ‘x‘ next to playback to delete your message. Then simply record again.
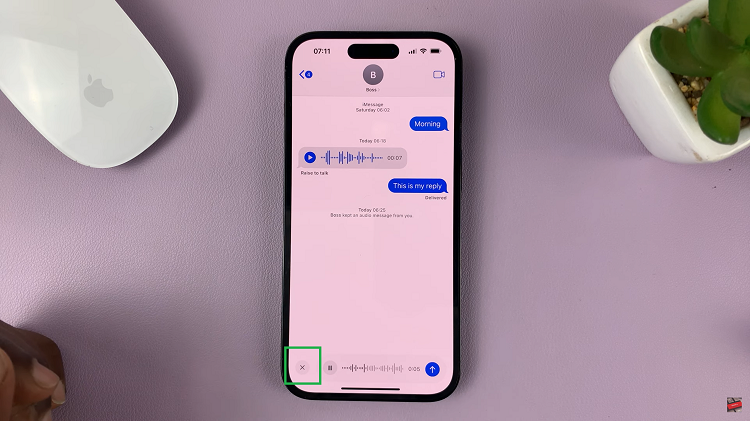
Once you’re satisfied with the audio message, it’s time to send it to the recipient. Simply tap on the send button to dispatch your voice message.
