Are you tired of the same old text-based contact list on your iPhone? Want to add a personal touch to your contacts?
With the Contact Poster feature on your iPhone, you can now create visually appealing posters for your contacts, making it easier to identify them at a glance.
In this article, we’ll guide you through the step-by-step process on how to a create contact poster on your iPhone. Before we begin, ensure your iPhone has iOS 17 or any later versions.
Also Read: How To Send Audio Messages On iOS 17
How To Create Contact Poster On iPhone
To start, locate and tap on the “Contacts” app on your home screen. Next, select a contact for whom you want to create a contact poster. At the top right corner of the contact details page, tap on the “Edit“. Now, you’ll find an option to select ‘Edit‘ again. Tapping on this will take you to the Contact Poster templates on your iPhone.
In the template section, you’ll see a variety of options to choose from. Scroll through the templates and find one that best suits your needs. If you’re feeling creative and want to design your own poster, you can tap on ‘Create New‘.
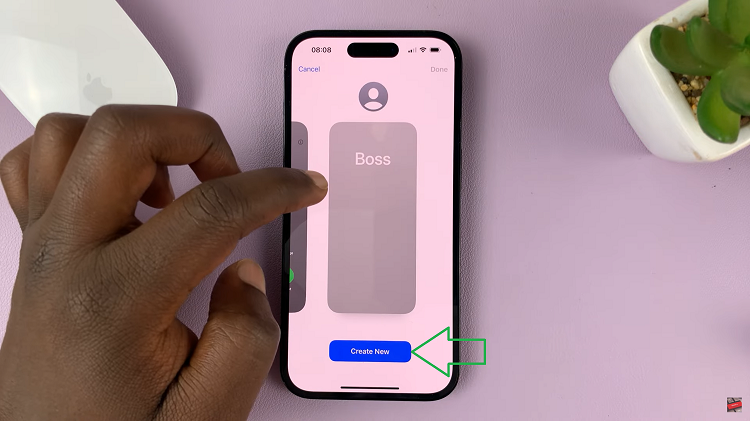
Once you’ve selected a template or created your own, you can start customizing the contact poster. The customization options include choosing a custom picture or photo, selecting a background color, picking a font style, and deciding which contact information to display on the poster.
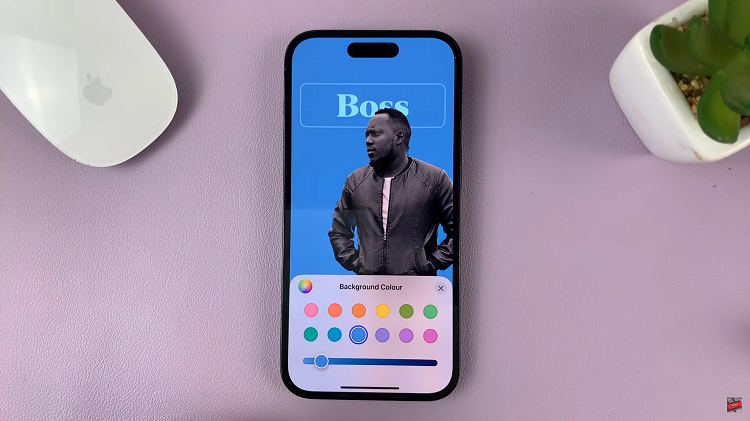
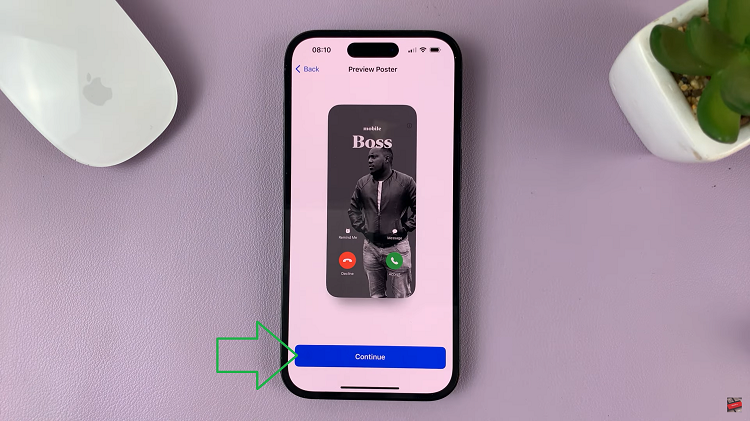
Upon finishing your customizations, tap on the “Done” button to save the contact poster to your device. If everything looks perfect, tap on “Continue,” and the customized poster will be applied to that particular contact.
If you wish, you can add a contact photo. To do so, tap on the “Update” option and follow any on-screen instructions that may appear. This will guide you through the process of adding a photo to the contact’s details. However, if you prefer the poster without a photo, you can simply tap on “Skip.”
Watch: How To Convert PDF To Word Without Installing Anything On iPhone
