In the dynamic world of technology, staying on top of your digital game is essential. Whether you’re a professional handling vast amounts of information or an everyday user looking to optimize your computer’s performance, having the right tools at your disposal is essential.
Enter WinZip, a time-tested software that empowers users to compress, decompress, and organize files with remarkable ease.
In this article, we’ll take you through the step-by-step process on how to install WinZip on your Windows 11 PC allowing you to sort your files easily and hassle free.
Also Read: How To Speed Up Video In CapCut
How To Install WinZip On Windows 11 PC
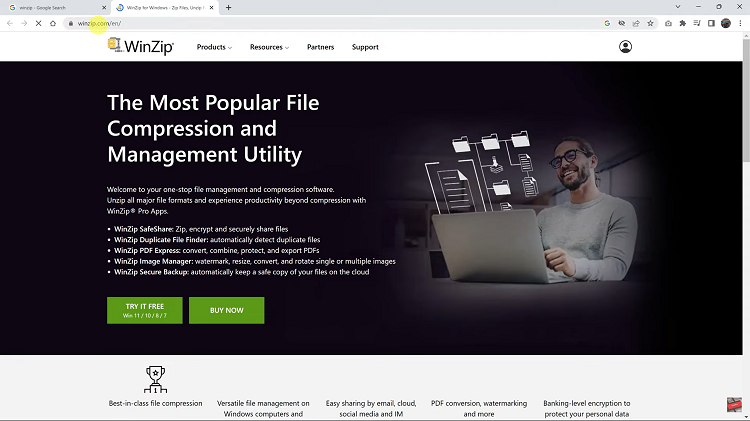
To begin, open your preferred web browser and navigate to the official WinZip website. Once there, you’ll find a download link for the latest version of the software. Click on the download link to initiate the process.

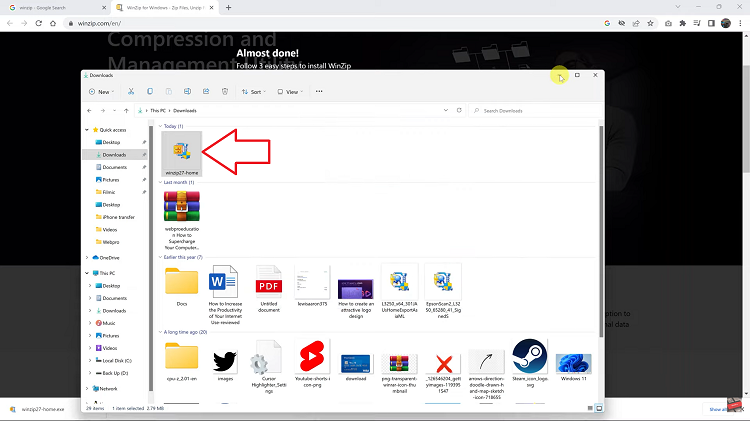
Once the download is complete, navigate to the “Downloads” folder on your computer. With the setup file in hand, give it a quick double-click to initiate the installation process.

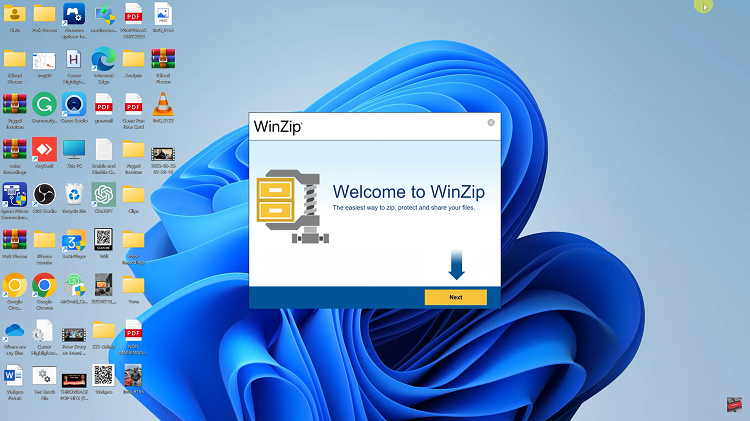
WinZip’s installation wizard will spring into action. This user-friendly wizard will guide you through the installation process. Follow the on-screen instructions to select your preferred installation options, such as installation location and any additional features you’d like to include.

Upon launching WinZip, you’ll be greeted with its intuitive interface and an array of powerful features at your fingertips. Seamlessly compress files to save space, create archives for easy sharing, and unlock various other functionalities that WinZip has to offer.

