Creating captivating videos involves more than just visual aesthetics; sound quality plays a vital role in delivering a polished final product.
Background noise can be a pesky adversary, distracting viewers from your intended message. Fortunately, with the power of CapCut. Achieving pristine audio has never been easier.
In this article, we’ll take you through the step-by-step process on how to reduce the background noise in CapCut.
Also Read: How To Install CapCut App On Android
How To Reduce Background Noise In CapCut
To begin, open the CapCut app on your device. Upon opening the app, locate and tap on the “New Project” option. Next, navigate through your media library and choose the video clip from which you want to eliminate background noise. Once you’ve made your selection, add the chosen video to the timeline by tapping on it.
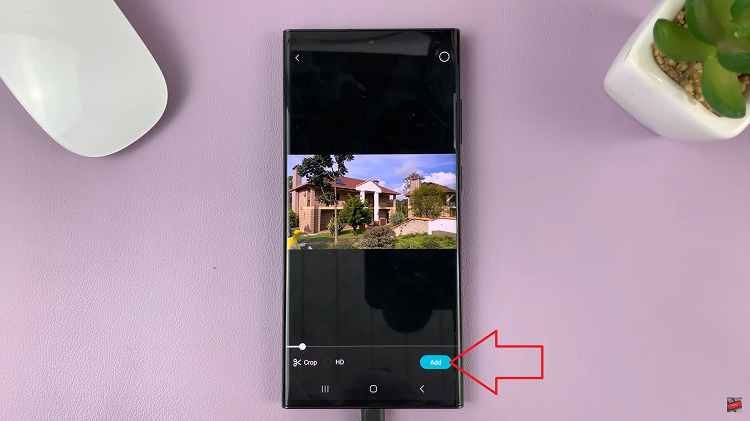
At the bottom of your screen, a variety of editing options will be visible. Among these, identify and select the “Edit” option.
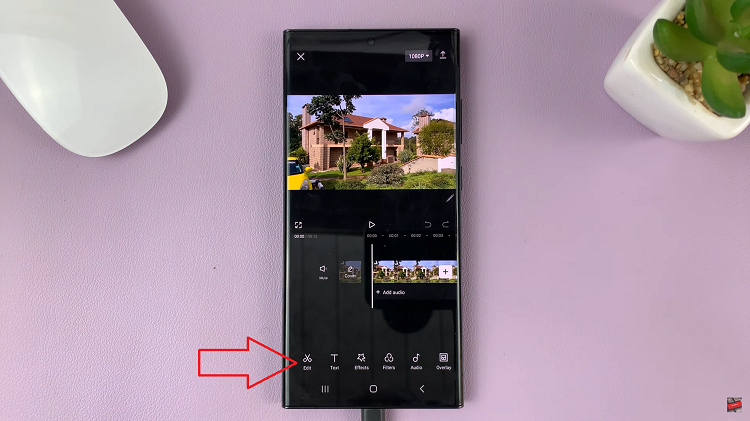
Scroll horizontally through the editing menu and look for the “Reduce Noise” option within this menu and select it. Upon selecting the “Reduce Noise” option, you’ll notice a labeled toggle next to it. Activate the “Reduce Noise” feature by tapping on this toggle.
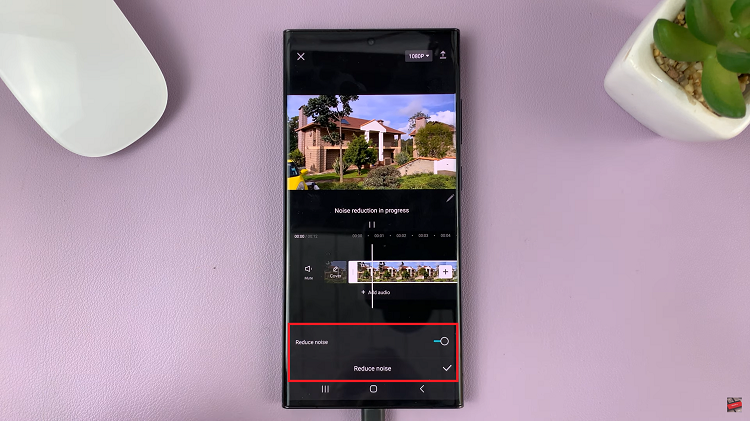
To ensure that the background noise has been successfully eliminated, press the playback button. When satisfied with the video, locate the checkmark or “Done” button on your screen and tap it. This action confirms and saves the changes you’ve made to your video, including the background noise reduction.
Watch: How To Create CapCut Account
