The Google Pixel 8 and Pixel 8 Pro stands out as powerful devices that offer users a plethora of features, including a fantastic camera. Among the many photographic capabilities of these smartphones, is their ability to capture timelapse videos.
Timelapses have the unique charm of condensing time and revealing the world in a way that the naked eye can’t perceive.
In this guide, we’ll walk you through the comprehensive step-by-step process on how to record a timelapse on your Google Pixel 8.
Also Read: How To Scan QR Codes With Google Pixel 8
How To Record Timelapse On Google Pixel 8
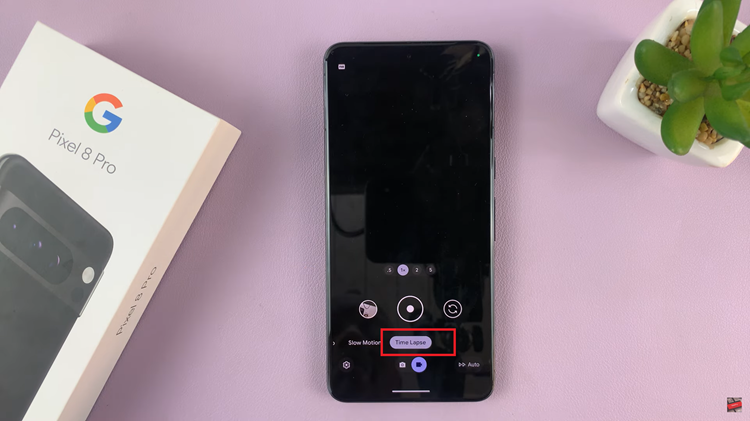
To begin, open the Camera app. Once the app is open, switch to the Video mode. Once you’re in Video mode, you’ll want to look for the “Time lapse” option. This setting allows you to condense long periods of time into short, captivating videos.

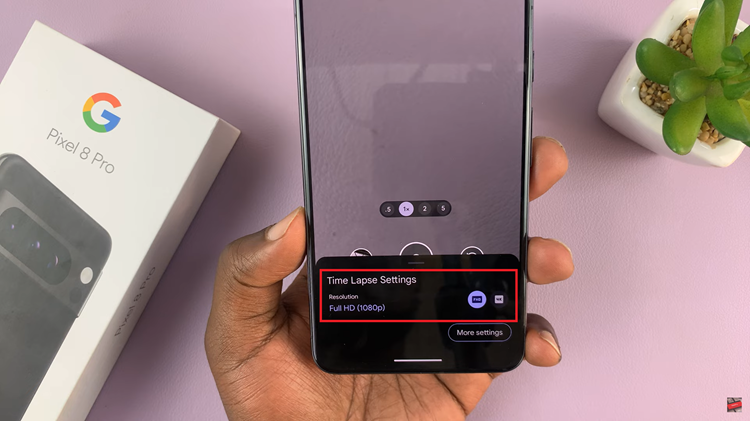
Before you start recording, it’s essential to set the resolution for your timelapse. Google Pixel 8 and Pixel 8 Pro offer two resolution options: 4K and FHD (Full HD). Select the one that best suits your needs. Keep in mind that higher resolutions will result in more detailed videos but will also consume more storage.

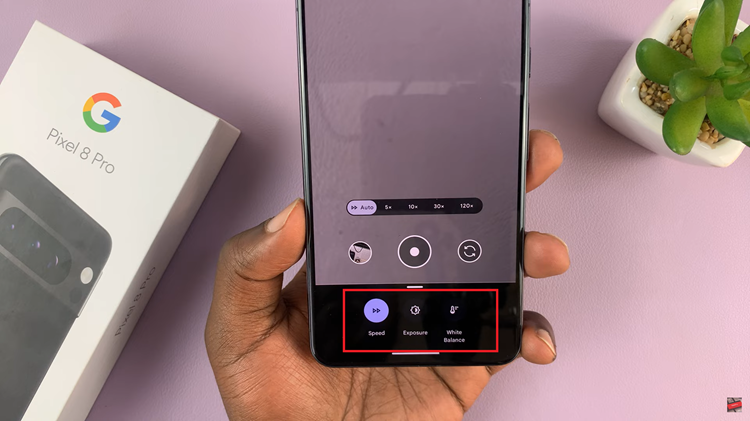
One of the great features of Google Pixel’s timelapse mode is the ability to control the speed of your timelapse. Tap on “Auto,” and you’ll have the option to choose the speed at which your timelapse will play. You can also adjust the Exposure and White Balance to fine-tune your video’s look.

Once you’ve configured all the settings to your liking, you’re ready to start recording your timelapse. Simply tap on the “start” button, and your Pixel 8 or Pixel 8 Pro will begin capturing the series of images that will later be stitched together to create your timelapse video.
Watch: How To Permanently Turn OFF Wi-Fi On Google Pixel 8 / 8 Pro

