In the pulsating rhythm of today’s tech-driven world, the demand for streamlined connectivity echoes louder than ever. Navigating the digital landscape involves seamlessly sharing files between devices, and Google’s Nearby Share emerges as a dynamic conductor orchestrating this symphony of connectivity.
Designed to be more than a passive feature, Nearby Share actively bridges the gap between Android smartphones and Windows PCs, providing users with an intuitive solution for swift and efficient file transfers.
In this article, we’ll show you how to transfer files using Nearby Share between Android and Windows PC.
Watch: How To Adjust Resolution And Frame Rate On GoPro HERO 12
To Transfer Files Using Nearby Share Between Android & Windows
First, you need to install Nearby Share on your Windows PC. To do so, go to the official Google Nearby Share website and install the application from there. Once installed, sign in using your Google Account to get the full experience.
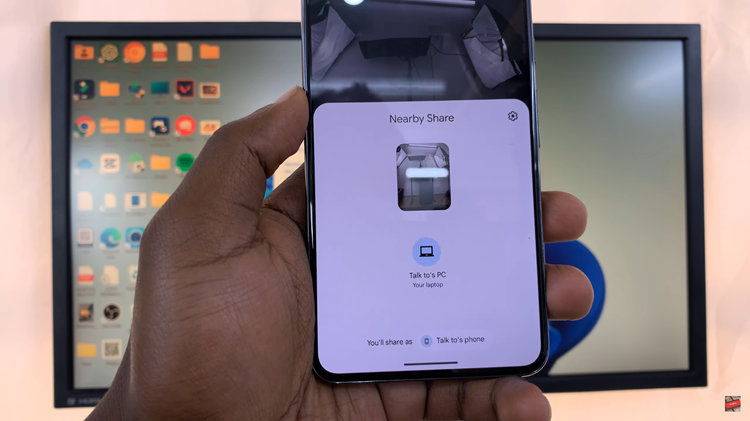
Once done, turn on Nearby Share on your device and allow access to everyone. Now head into your phone’s storage and find the file(s) that you’d like. At this point, select the “Share” button and choose “Nearby Share.” The application will scan for nearby devices.

Once found, tap on the device to initiate the transfer process. The time it takes depends on how large the file(s) might be. Once done, you’ll be able to see the file on your computer. If you’d like to transfer files from Windows to your phone, simply drag and drop the files on the app and choose your recipient.
By following the steps outlined in this guide, you can harness the power of Nearby Share to effortlessly share files between your Android smartphone and Windows PC, eliminating the need for cables and providing a more convenient user experience.
