In the dynamic world of technology, the ever-increasing need for storage space is a reality most smartphone users face.
For iPhone enthusiasts looking to optimize and manage their external storage, the process of formatting an SD card or Micro SD card directly on the device can be a incredibly useful.
In this guide, we’ll walk you through the comprehensive step-by-step process on how to format your SD card or Micro SD card on your iPhone.
Also Read: How To Hard Reset Airpods Pro With Android Phone
How To Format SD Card or Micro SD Card On iPhone
Equipment Needed:
- For Older iPhone Models: Lightning connector adapter with a card reader.
- For Latest iPhone Models: Adapter with a Type-C connector and a card reader.
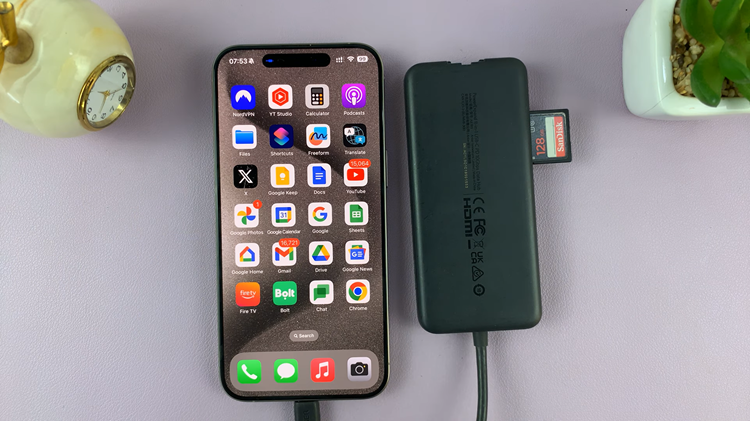
For older iPhone models, use an adapter with a Lightning connector to connect the card reader to your device. If you have the latest iPhone, use an adapter with a Type-C connector along with a compatible card reader.

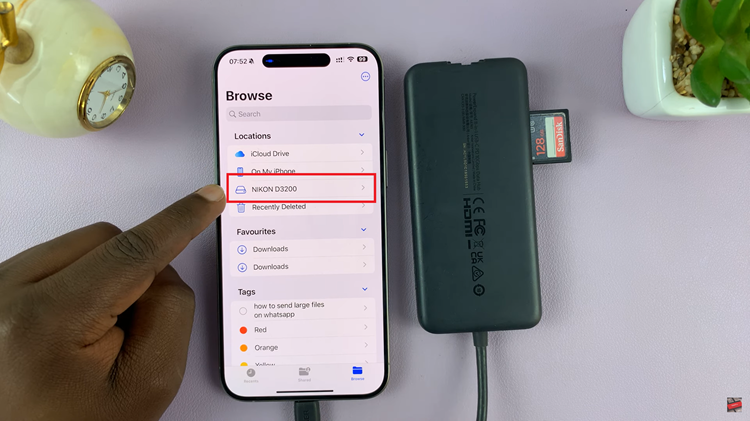
Once the adapter and card reader are connected, navigate to your iPhone’s home screen and open the Files app. This app allows you to manage and access files on your device, including external storage like SD cards. In the Files app’s home page, you should see your connected SD card.

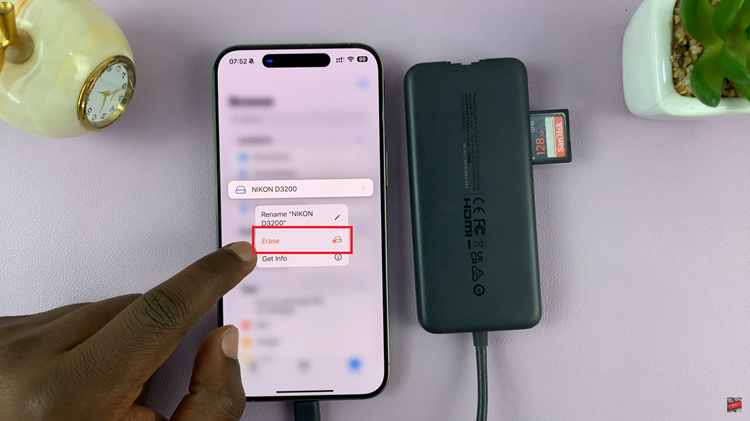
To initiate the formatting process, long-press on the SD card. A menu will appear, and from this menu, select the “Erase” option. This action will prompt the device to start the formatting process.

A confirmation prompt will appear, asking if you are sure you want to erase the SD card. To proceed, tap on the “Erase” option. Once you confirm the erase, the iPhone will begin the formatting process. Be patient and wait for the device to complete the operation. After the formatting is finished, the SD card will automatically open to indicate that it is now empty.

