In today’s interconnected world, staying connected via WiFi is integral to our daily lives. Whether streaming videos, browsing social media, or working remotely, our Android devices are constantly accessing the internet.
However, this increased connectivity can sometimes lead to exceeding data limits and unexpected charges. To avoid these pitfalls and gain better control over your internet consumption, it’s essential to monitor and manage your WiFi data usage on your Android device effectively.
Here’s a step-by-step guide on how to check WiFi data usage on your Android device:
Watch: How To Turn ON Bluetooth On Samsung Device
To Check WiFi Data Usage On Android
Firstly, turn on your Android device and unlock it by entering your PIN, pattern, password, or using biometric authentication like fingerprint or face recognition. Next, Locate and tap on the “Settings” app on your home screen or in the app drawer.
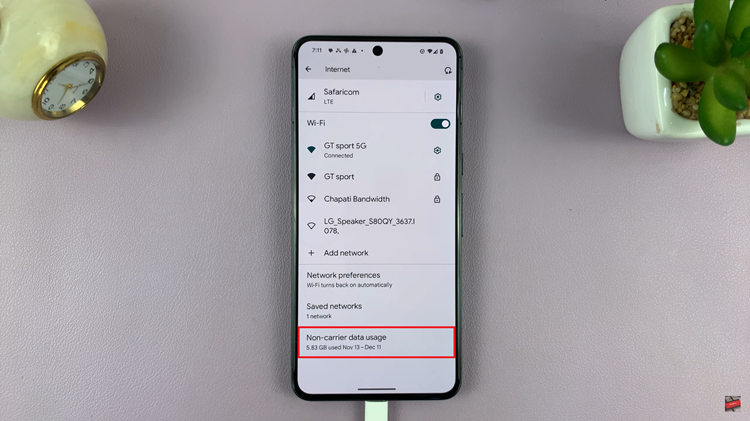
Within the Settings menu, scroll down until you find and tap on the option labeled “Network & Internet” or “Connections” depending on the device manufacturer. At this point, find the “Data Usage” option on your device. Alternatively, select “Internet” > “Data Usage” on some Android devices.

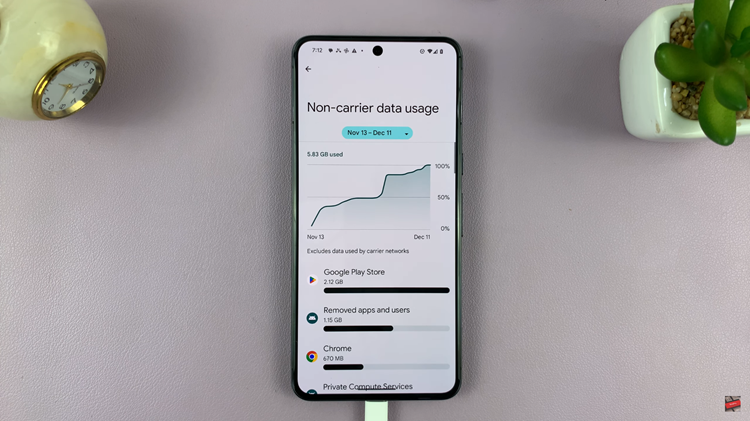
This section displays the data usage statistics for your connected WiFi networks. You can now see how much data you’ve used in the selected period.

In conclusion, regularly monitoring your WiFi data usage helps you stay within your limits, avoid unexpected charges, and optimize your overall internet consumption on your Android device. Let us know in the comment section below if you have any questions or suggestions.

