Embarking on a journey with a new smartphone is always an exciting experience, and the Samsung Galaxy A05s promises to be a reliable companion in the world of mobile technology.
As you unbox your device and feel the anticipation building, the first crucial steps involve powering up your Samsung Galaxy A05s and navigating through the initial set-up process.
In this guide, we’ll walk you through the comprehensive step-by-step process on the first time boot and set up of the Samsung Galaxy A05s.
Also Read: First Time Boot & Set Up Of Samsung Galaxy A05
First Time Boot & Set Up On Samsung Galaxy A05s
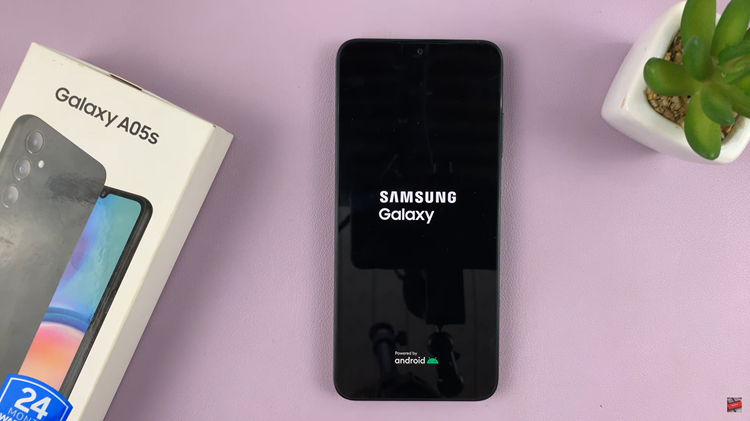
The first step is to power on your Samsung Galaxy A05s. Locate the side key or power button on your device, usually found on the right or left side. Press and hold the side key until the Samsung logo appears on the screen. Once you see the logo, release the button, and your device will start up.

Upon successfully booting up, you’ll be directed to the setup page. Here, you can choose your preferred language by tapping on the corresponding option. After selecting your language, tap on “Continue.”
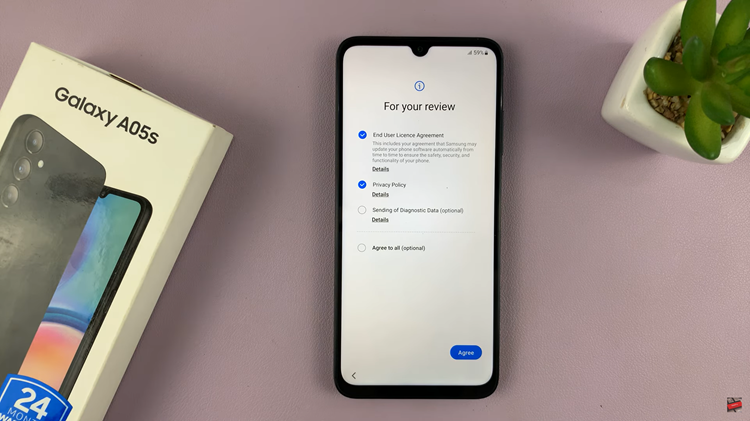
Next, you will be prompted to agree to the Terms of Service and Privacy Policy. It’s essential to read through these terms, and if you agree, proceed by tapping on the relevant options. This step ensures that you are aware of and agree to Samsung’s policies.

Follow any on-screen instructions that appear during the setup process. You’ll also need to connect your Samsung Galaxy A05s to a Wi-Fi network. Choose your preferred network, enter the necessary credentials, and wait for the device to establish a connection.
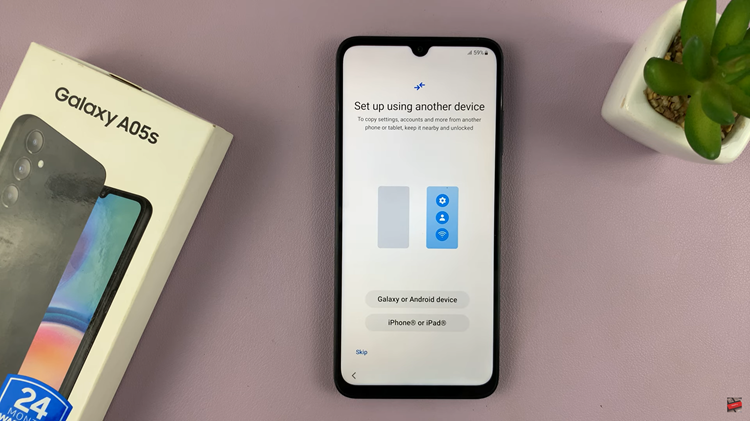
During the setup process, you may encounter options to set up your device using another phone or tablet. If you have a previous Samsung device or want to transfer data from another Android device, this option can be handy. Alternatively, you can choose to skip this step.

Once you have completed the setup process, your Samsung Galaxy A05s will display its home screen. This is your gateway to the device’s features, apps, and functionalities. Take a moment to explore the interface and customize settings according to your preferences.

