In today’s fast-paced world, wireless earbuds have become an essential accessory for many individuals. They provide convenience, mobility, and high-quality sound without the hassle of tangled wires.
Oraimo FreePods 4 is one such product that offers a seamless listening experience. If you’ve recently purchased these earbuds and are eager to pair them with your Android phone, you’ve come to the right place.
In this guide, we’ll walk you through the comprehensive step-by-step process on how to pair & set up Oraimo FreePods 4 with Android phone.
Also Read: How To Disconnect & Unpair Oraimo FreePods 4 From Android Phone
How To Pair & Set Up Oraimo FreePods 4 With Android Phone
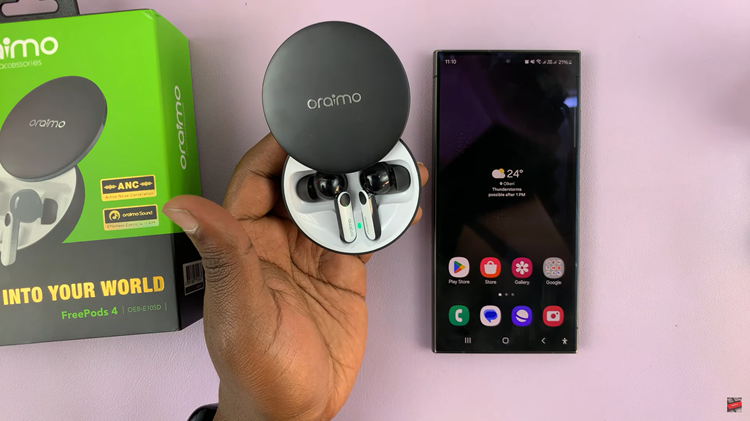
Before you begin the pairing process, ensure that your Oraimo FreePods 4 are ready to pair. To do this, simply remove the FreePods from their charging case. Place them in pairing mode by pressing and holding the button on the charging case until the LED indicator starts blinking rapidly. This indicates that the earbuds are ready to pair.
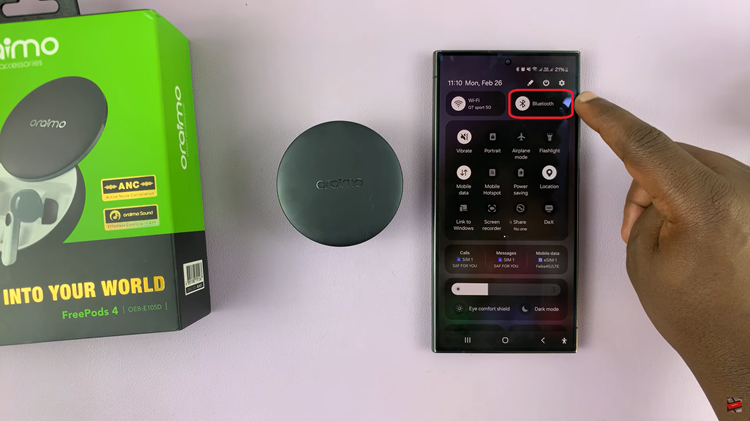
Now that your Oraimo FreePods 4 are in pairing mode, it’s time to prepare your Android phone for connection. Unlock your Android phone and navigate to the Quick Settings menu. Look for the Bluetooth icon and tap on it to enable Bluetooth. Alternatively, you can access Bluetooth settings through the Settings app.
With Bluetooth enabled on your Android phone, you’re ready to pair your Oraimo FreePods 4. Wait a few moments for your Android phone to detect nearby Bluetooth devices. On your phone screen, a pop-up notification should appear indicating that the FreePods have been detected. Tap on this notification to initiate the pairing process.
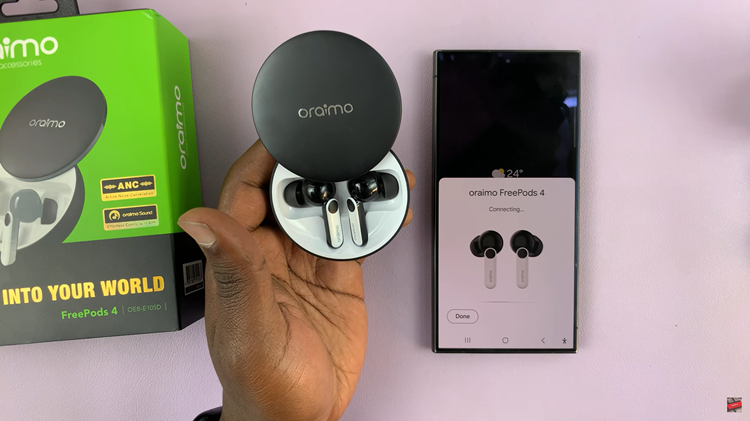
Once the pairing process is complete, you should see a confirmation message. Now you can enjoy your favorite music, podcasts, and more wirelessly and hassle-free. Remember that whenever you want to use your FreePods with your Android device, simply enable Bluetooth, and they will automatically connect.
Watch: How To Pair & Connect Oraimo FreePods 4 To Windows PC
