In today’s fast-paced digital world, a stable internet connection is paramount for various tasks, from remote work and online gaming to streaming movies and browsing the web.
While Wi-Fi is convenient, it can sometimes be unreliable, especially in areas with high interference or weak signals. Fortunately, connecting your laptop to a router via an Ethernet cable provides a reliable and high-speed alternative.
In this comprehensive guide, we’ll walk you through the step-by-step process of establishing a wired connection between your laptop and router.
Why Choose Ethernet?
Before diving into the setup process, let’s explore why you might want to opt for an Ethernet connection over Wi-Fi:
Speed and Stability: Ethernet connections typically offer faster speeds and greater stability compared to Wi-Fi, making them ideal for bandwidth-intensive activities like online gaming or video streaming.
Reduced Interference: Unlike Wi-Fi signals, Ethernet connections are not susceptible to interference from other wireless devices or obstacles like walls, which can degrade signal quality.
Enhanced Security: Wired connections are generally more secure than wireless ones, as they are not as vulnerable to hacking or unauthorized access.
Read: How To Right Click On Mac & MacBook
Connect Laptop To Router via Ethernet Cable
Before getting started, ensure you have the following equipment on hand:
Ethernet Cable: Also known as a network cable or LAN cable, this cable will be used to connect your laptop to the router. Make sure it’s long enough to reach from your laptop to the router without stretching.
Laptop: Naturally, you’ll need a laptop or desktop computer with an Ethernet port (most laptops have one) to establish the wired connection.
Router: Ensure your router has an available Ethernet port to connect your laptop.
Step-by-Step Guide
Now, let’s walk through the process of connecting your laptop to the router via Ethernet cable:
First, identify the Ethernet ports on both your laptop and router. These ports are typically labeled LAN, Ethernet, or represented by a symbol resembling three connected lines.
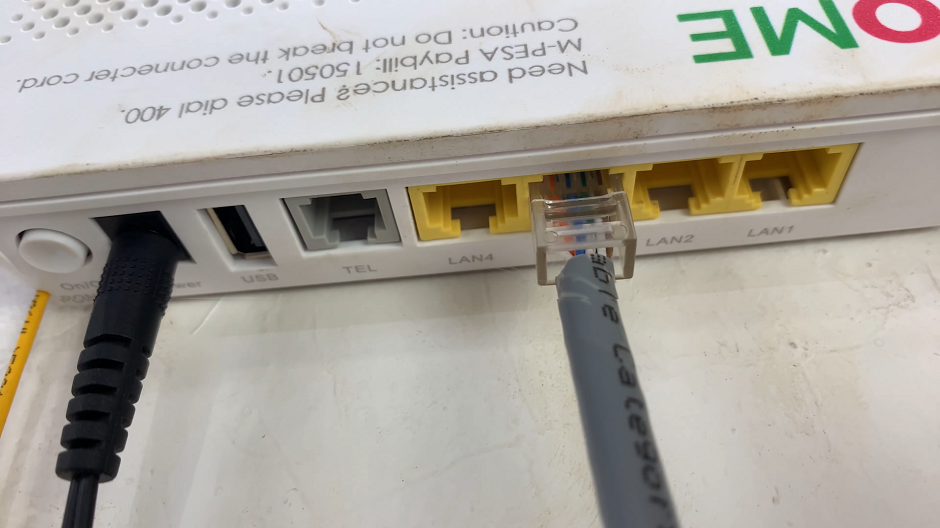
Take one end of the Ethernet cable and plug it into the Ethernet port on your laptop. Ensure it clicks into place securely.
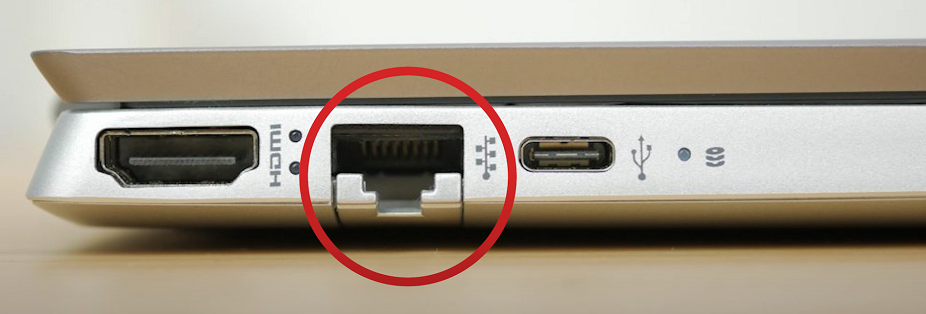
Next, plug the other end of the Ethernet cable into an available Ethernet or LAN port on your router. In most cases, your laptop should automatically detect the wired connection and configure the network settings accordingly. If not, use this guide, to get your connection up.
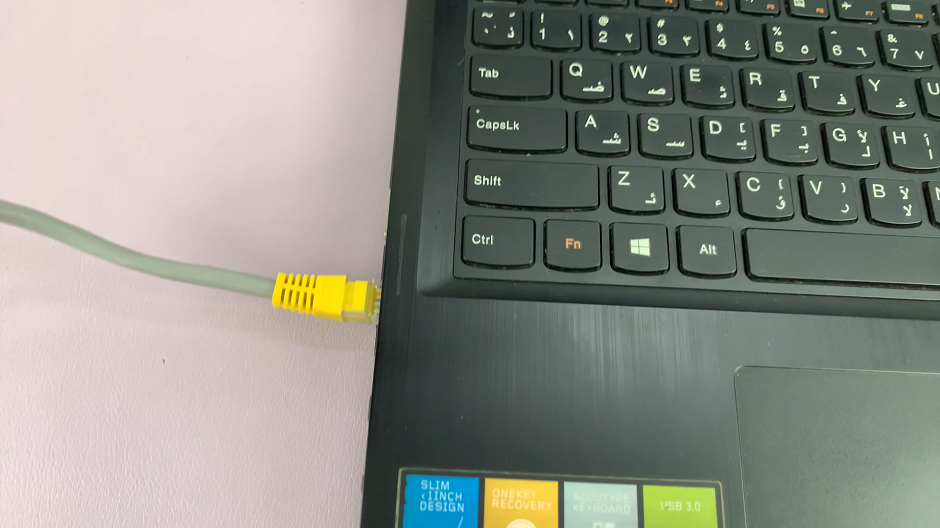
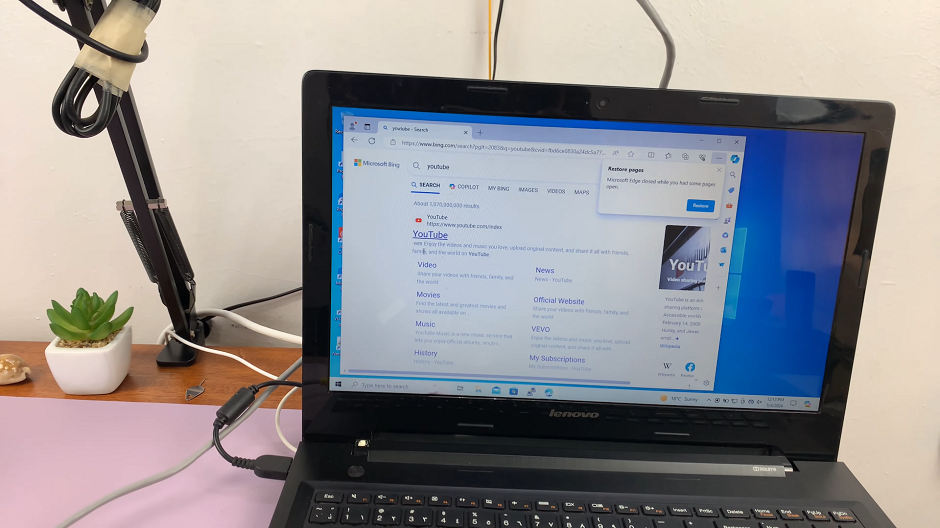
Once your laptop is connected to the router via Ethernet cable, open a web browser and navigate to a website to confirm that you have internet access. If successful, congratulations! You’ve successfully connected your laptop to the router via Ethernet cable.
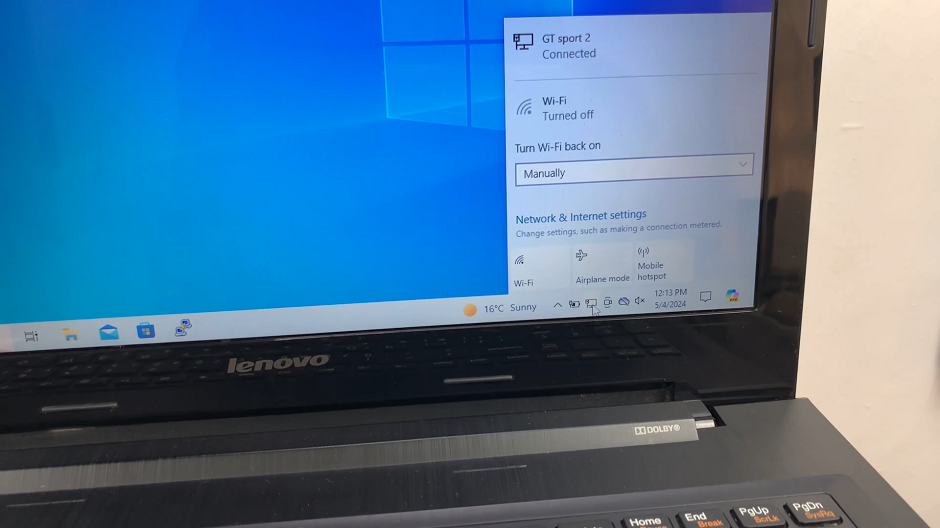
Test out the ethernet connection to ensure it works well.
Troubleshooting Tips
If you encounter any difficulties during the setup process, consider the following troubleshooting tips:
Check Cable Connections: Ensure both ends of the Ethernet cable are securely plugged in.
Restart Devices: Sometimes, a simple restart of your laptop and router can resolve connectivity issues.
Update Drivers: If your laptop is not recognizing the Ethernet connection, ensure you have the latest network drivers installed.
Reset Router: As a last resort, you can try resetting your router to its factory settings, but be aware that this will erase any custom configurations.
By following these steps and troubleshooting tips, you can enjoy a stable and high-speed internet connection on your laptop by connecting it to the router via Ethernet cable. Whether you’re working, gaming, or streaming, a wired connection offers reliability and performance that Wi-Fi can’t match. Say goodbye to lag and signal dropouts, and hello to seamless connectivity!
Watch: How To Enable Text Message Notifications On Lock Screen Of Samsung Galaxy A55 5G
