In this article, we’ll delve into the step-by-step process of connecting a USB microphone to your Mac device, ensuring seamless integration and optimal performance.
In the digital age, where content creation and virtual communication have become integral parts of our lives, having high-quality audio is paramount. Whether you’re a content creator, podcaster, musician, or simply someone who enjoys crisp sound during video calls, connecting a USB microphone to your Mac or MacBook can significantly enhance your audio experience.
USB microphones have gained popularity due to their simplicity and versatility. Unlike traditional microphones that require complex setups with audio interfaces and cables, USB microphones can be directly connected to your computer via a USB port. They come in various designs and price ranges, catering to different needs and preferences.
Choosing the Right USB Microphone
Before diving into the connection process, it’s essential to select a USB microphone that suits your requirements. Consider factors such as your intended use (e.g., podcasting, gaming, music production), recording environment, and budget. Research different models, read reviews, and compare features to make an informed decision. Some popular USB microphone brands include Blue Yeti, Audio-Technica, Rode, and Samson.
Watch: How To Format SD Card In Samsung Galaxy A35 5G
Connect USB Microphone To Mac/MacBook
Connecting a USB microphone to your Mac or MacBook is a straightforward process. Follow these steps:
First, ensure that your USB microphone is compatible with macOS. Most USB microphones are plug-and-play devices and work seamlessly with Mac systems. However, there may not be a USB port on your Mac or MacBook.
To get around this, you may simply need to get a type-C adapter that has a USB port to use. Consider this one that I’ve used for my demonstration:
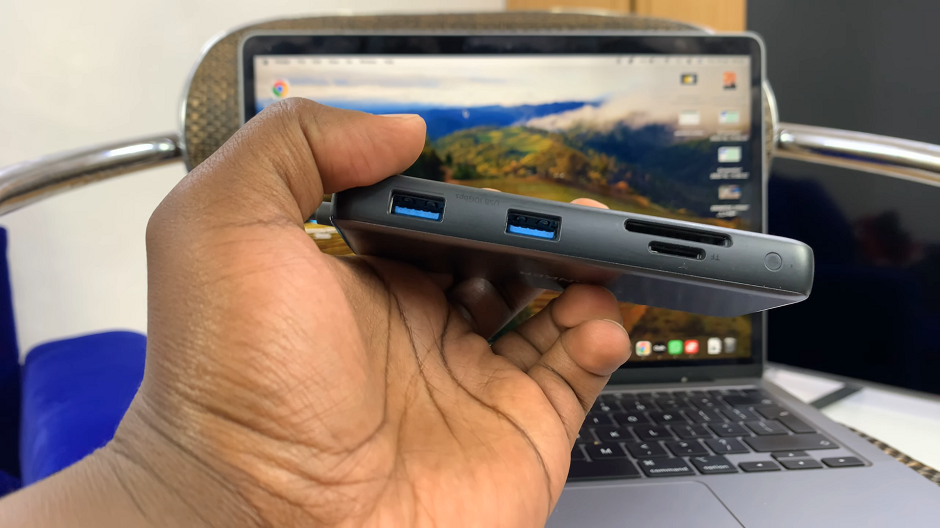
Plug one end of the adapter into the USB-C port on your Mac or MacBook. Then, using the provided USB cable, connect the USB microphone to an available USB port on your adapter.
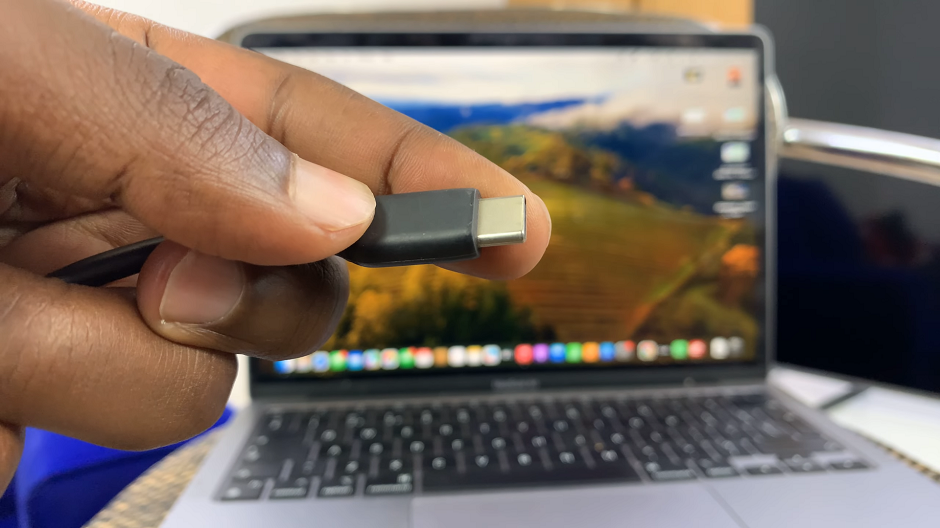
Upon connecting the microphone, your mac or MacBook should detect it. Click on Allow on your Mac or MacBook to allow the accessory to connect.
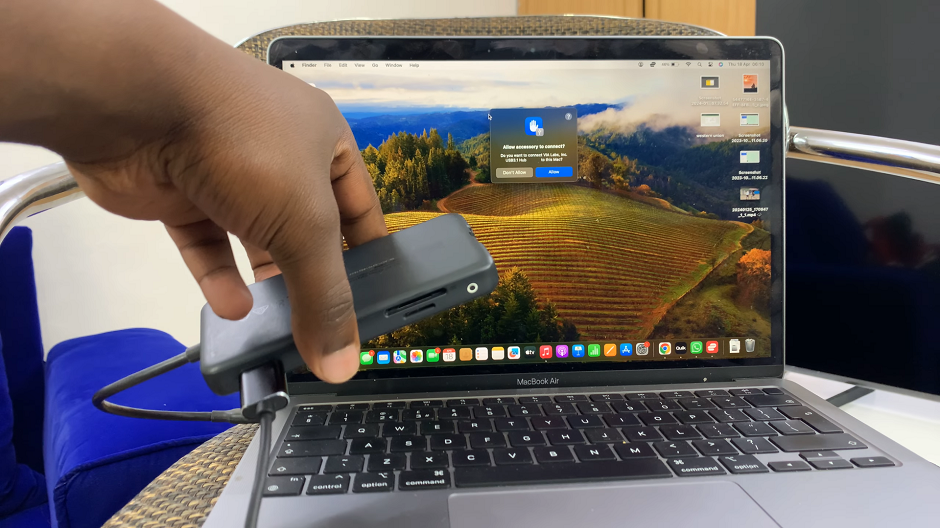
Once connected, navigate to System Settings option on your Mac or MacBook. You can access System Settings from the Apple logo in the top-left corner of your screen or by searching for it using Spotlight (Cmd + Spacebar).
In System Settings, click on the Sound option from the left-hand side pane to access audio settings. Under the Input tab, you should see your USB microphone listed. Select it as the input device to route audio input through the microphone.
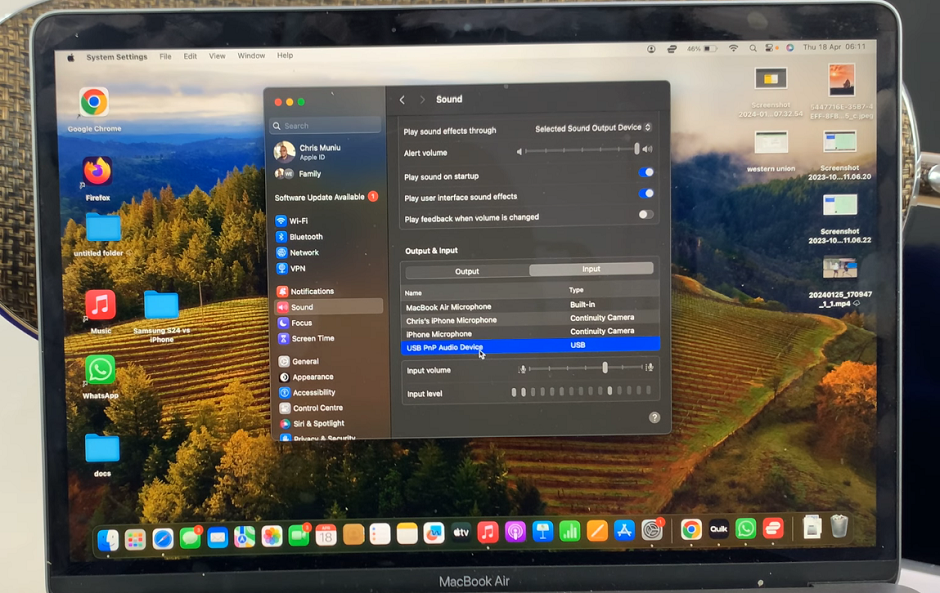
Depending on your preferences and the capabilities of your USB microphone, you may have additional settings to adjust, such as input volume and input level.
To ensure that your USB microphone is functioning correctly, open an audio recording or communication application (e.g., GarageBand, Zoom, Skype) and perform a test recording or call. Speak into the microphone to verify that the audio is being captured accurately.
Troubleshooting Common Issues
While connecting a USB microphone to your Mac is usually a straightforward process, you may encounter occasional issues. Here are some common troubleshooting steps:
Check Cable Connections: Ensure that the USB cable is securely connected to both the microphone and your Mac’s USB port.
Restart Your Mac: Sometimes, simply restarting your Mac can resolve connectivity issues.
Update Drivers: Check for any available driver updates for your USB microphone on the manufacturer’s website.
Try Different USB Ports: If one USB port doesn’t work, try connecting the microphone to a different USB port on your Mac.
Reset Audio Settings: In System Preferences, try resetting audio settings to default and re-selecting your USB microphone as the input device.
Connecting a USB microphone to your Mac or MacBook opens up a world of possibilities for enhancing your audio quality in various scenarios. By following the steps outlined in this guide and choosing the right USB microphone for your needs, you can enjoy crystal-clear sound during podcast recordings, gaming sessions, virtual meetings, and more.
