Embarking on your Canva design journey opens doors to endless creativity, and mastering the art of outlining shapes adds depth and sophistication to your creations. With Canva’s intuitive platform, transforming ordinary shapes into outlined masterpieces is both simple and rewarding. Whether you’re a seasoned designer or just starting, this tutorial will guide you step by step through the process, ensuring your designs stand out with precision and flair. So, let’s dive in and explore how to elevate your Canva designs with stunning outlined shapes!
In this tutorial, we’ll delve into the intricacies of adding outlines to shapes in Canva, unraveling the techniques to customize borders, styles, and colors effortlessly. From basic shapes to intricate designs, Canva offers a myriad of possibilities to unleash your creativity and bring your vision to life. With each step, we’ll navigate the tools and features, seamlessly blending creativity with functionality. So, join us on this journey of exploration and discovery as we uncover the secrets to crafting captivating outlined shapes in Canva.
Watch:How To Crop Image To Shape In Canva
Making Outlined Shapes In Canva
Here’s how;
Step 1: Begin by accessing the “Elements” tab on the sidebar of your Canva workspace. Within this tab, you’ll find a vast array of shapes to choose from. Whether you’re looking for a simple square, a playful heart, or a sleek arrow, Canva offers a diverse selection to suit your design needs. Simply search for your desired shape using the search bar, and once you’ve found it, click on the shape to add it to your canvas.
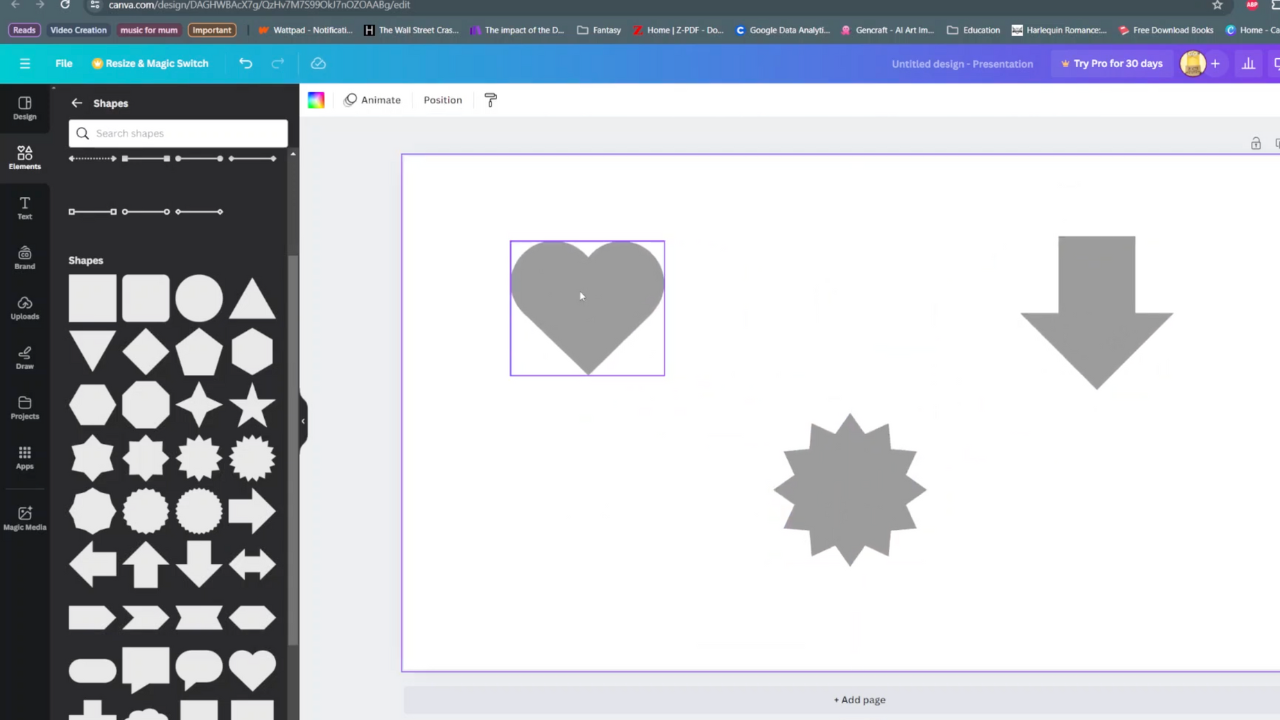
Step 2: Once your shape is added to the canvas, it’s time to customize its appearance. Click on the shape to select it, and you’ll notice a toolbar at the top of the screen. Within this toolbar, locate the option labeled “Color” and click on it to reveal a palette of color choices. Choose a color that complements your design scheme or aligns with your branding. With just a few clicks, you can transform the look and feel of your shape to suit your preferences.
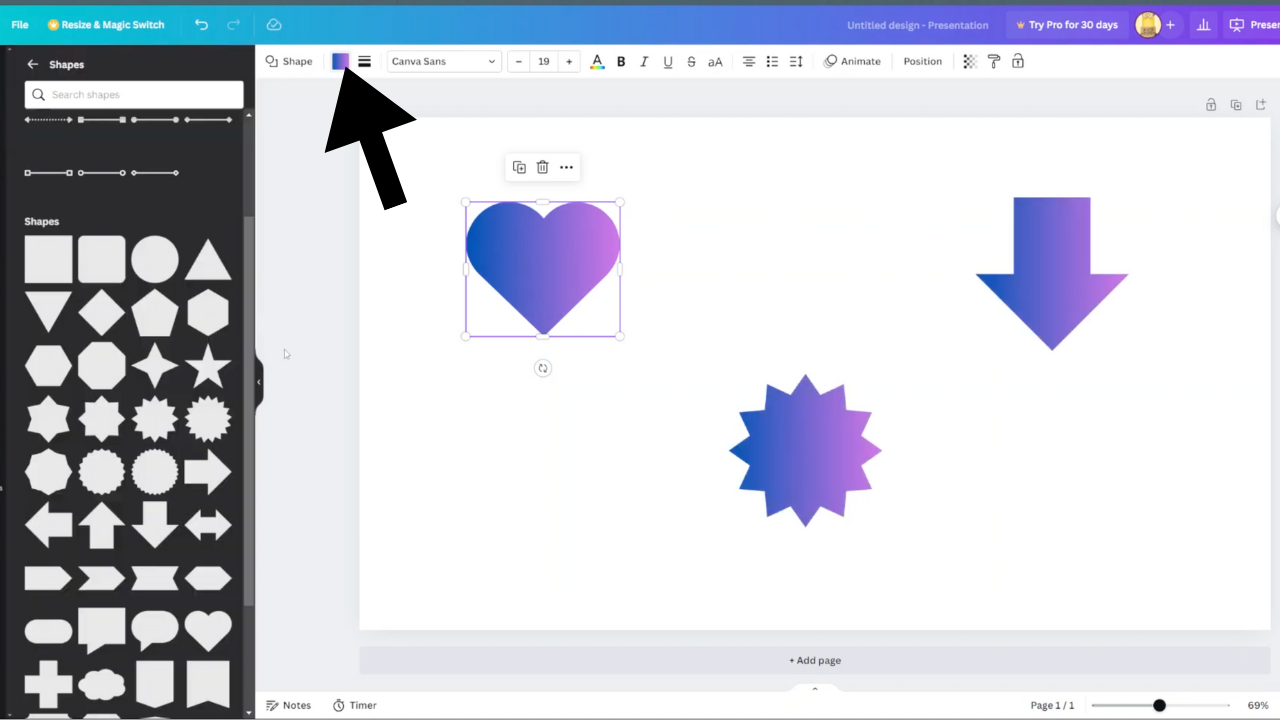
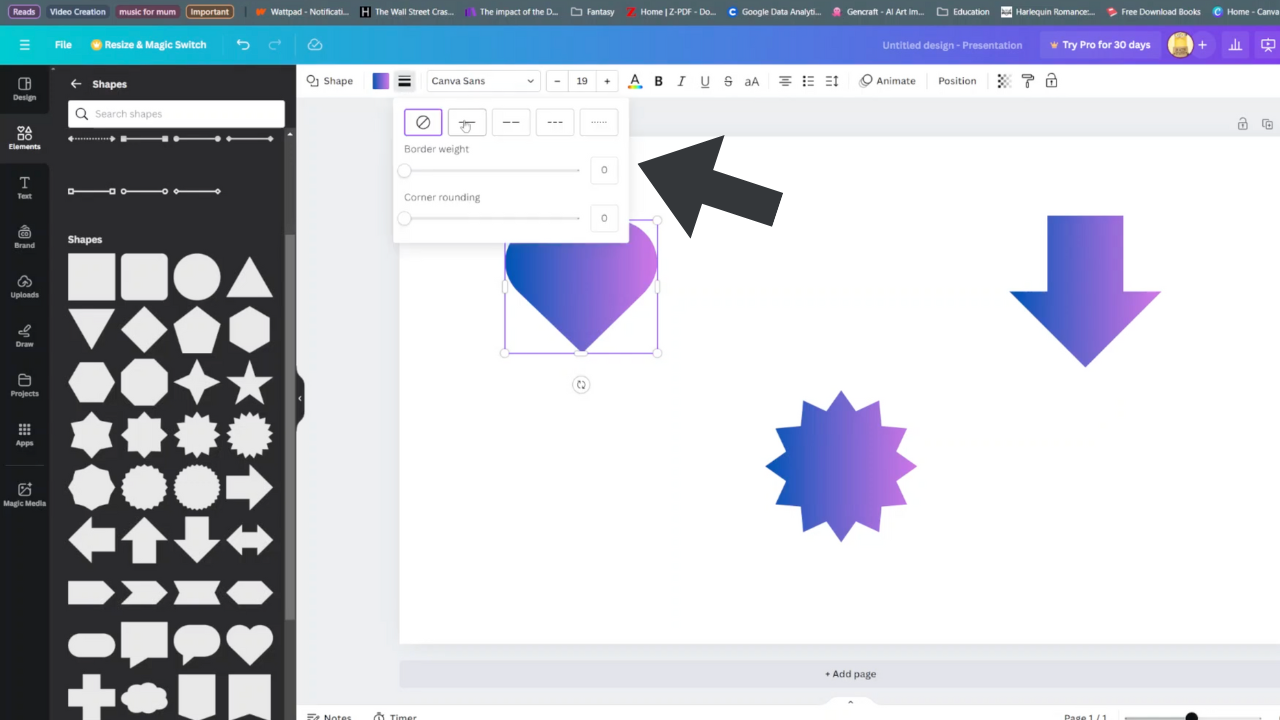
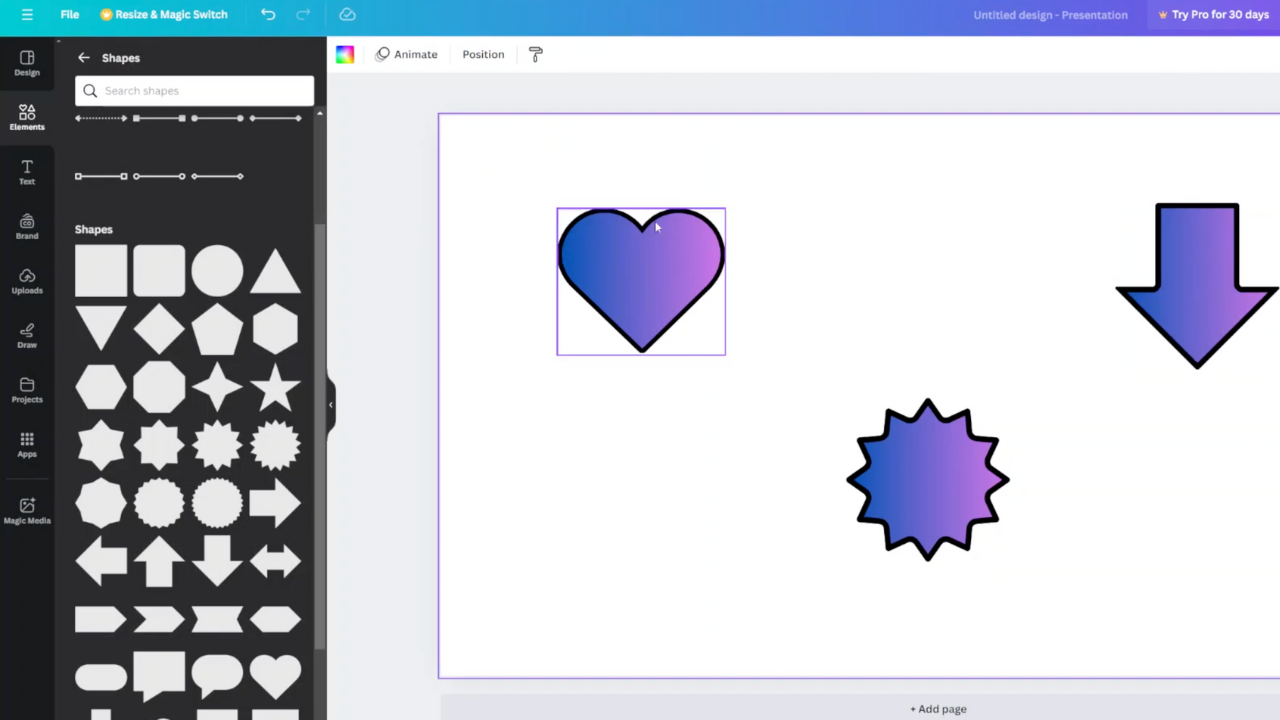
Step 3: With the color of your shape selected, it’s time to add an outline to enhance its visual impact. Click on the shape once again to select it, and then navigate to the “Border style” option in the toolbar. Here, you’ll find a variety of border styles to choose from, including solid lines, dashed lines, and dotted lines. Select the border style that best fits your design aesthetic and adjust the thickness of the border using the slider provided. Once you’re satisfied with the appearance of your shape, you can further customize it by selecting the color of the border. With these simple steps, you can easily add depth and dimension to your designs in Canva.
