In today’s fast-paced world, keeping our devices charged and ready for action is more important than ever. The Rabbit R1, known for its efficiency and sleek design, is no exception.
Whether you’re a first-time owner or a seasoned user, knowing how to properly charge your Rabbit R1 is crucial for maintaining its performance and extending its lifespan.
In this guide, we’ll walk you through the comprehensive step-by-step process on how to charge the Rabbit R1.
Also Read: How To Switch Between Selfie & Back Camera On Rabbit R1
How To Charge Rabbit R1
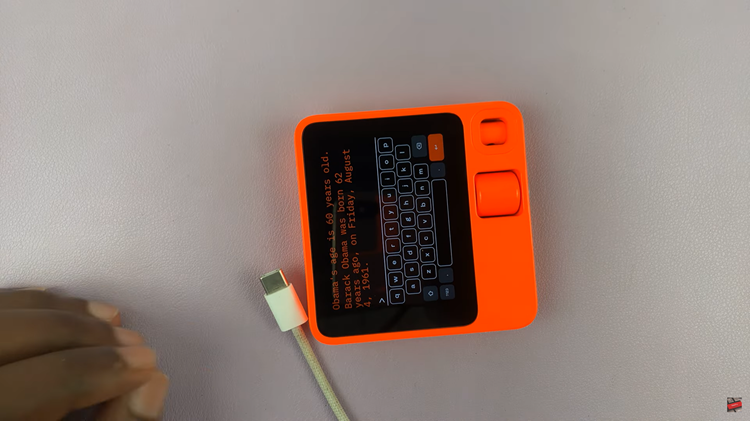
First, locate a Type-C cable. This type of cable is common and is characterized by its small, reversible connector, making it easy to plug in without worrying about the orientation. Make sure the power source is reliable and capable of delivering sufficient power to charge your Rabbit R1.

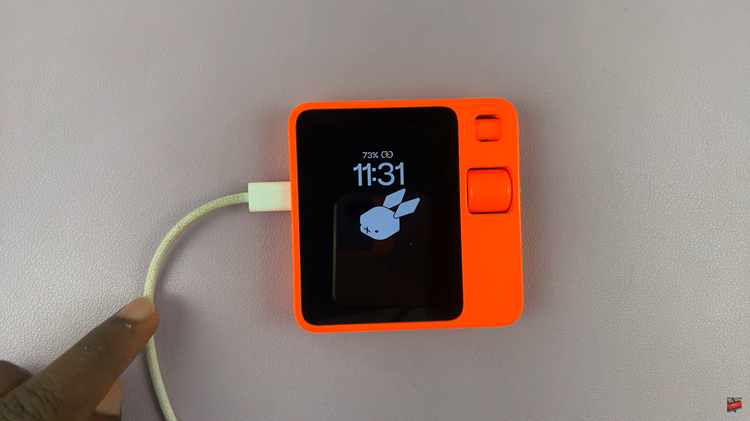
Next, take the other end of the Type-C cable and insert it into the charging port on your Rabbit R1. The charging port is located on the side of the device for easy access. Once connected, your Rabbit R1 should indicate that it is charging. Look for a charging icon on the display signaling that the device is receiving power.

Charging your Rabbit R1 is a simple process that ensures your device is always ready for use. By following these steps and tips, you can maintain your Rabbit R1’s battery health and enjoy uninterrupted performance. Always use reliable equipment and stay vigilant for any signs of charging issues to keep your Rabbit R1 in top condition.
