The M4 iPad Pro is a powerful device that combines the convenience of a tablet with the functionality of a laptop.
One of the key features that enhances its versatility is the ability to connect external storage devices, such as hard disks.
This capability allows users to expand storage, transfer large files, and manage data more efficiently. In this article, we’ll guide you through the steps to connect a hard disk to your M4 iPad Pro.
Why Connect a Hard Disk to Your iPad Pro?
Connecting a hard disk to your iPad Pro offers several benefits:
Increased Storage: Expand your device’s storage capacity without relying on cloud services.
File Management: Easily transfer and manage files, including large media files, documents, and backups.
Portability: Carry your essential data with you, accessible directly from your iPad Pro.
Before you start, ensure you have the following items:
M4 iPad Pro: Ensure your iPad is updated to the latest version of iPadOS.
External Hard Disk: Choose a hard disk that is compatible with iPadOS. Most USB-C and USB 3.0 hard disks will work.
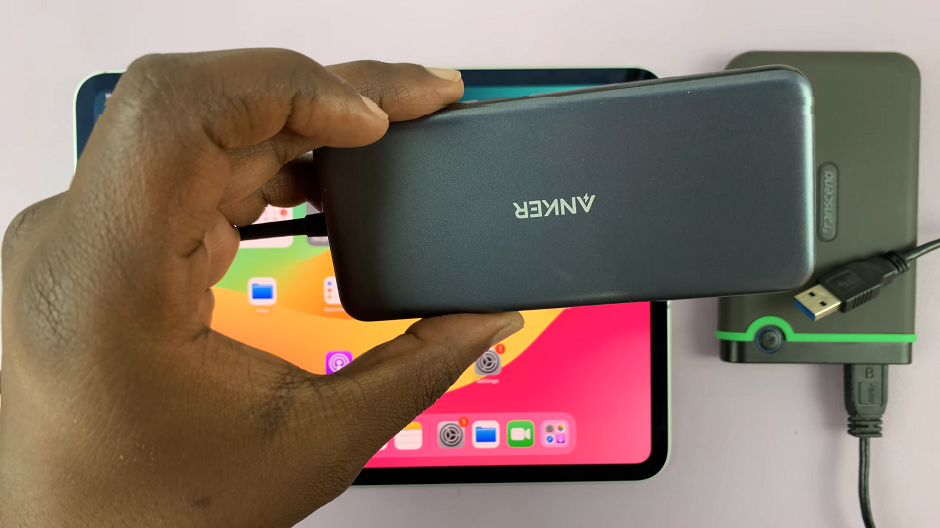
USB-C to USB Adapter: If your hard disk does not have a USB-C connection, you’ll need an adapter.

Read: How To Add eSIM On M4 iPad Pro
Connect Hard Disk To M4 iPad Pro
First, attach the USB-A Hard Disk cable to the port on the adapter. Then proceed to connect the adapter’s USB-C cable to the USB-C port on your iPad Pro.
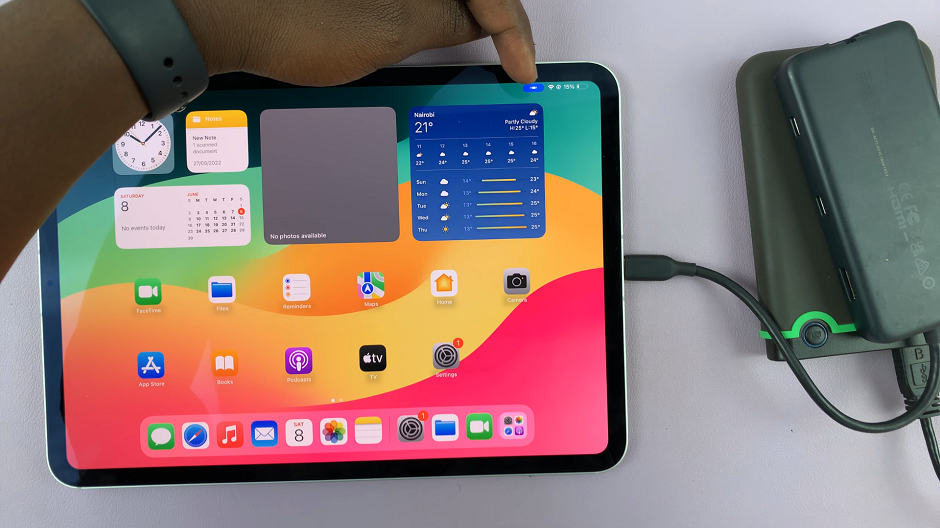
Connect the hard disk directly to the iPad Pro if it has a USB-C connection. You should see a blue icon in the notification bar, indicating successful connection.

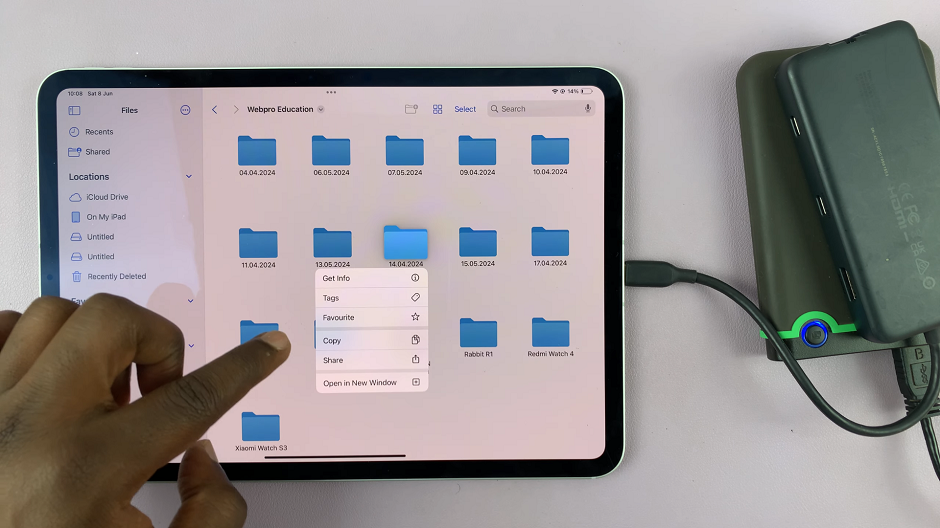
Launch the Files app on your iPad Pro. Your hard disk should appear under the Locations section in the Files app. Tap on it to access its contents.

You can now browse, open, copy, move, and delete files on and to your hard disk directly from the Files app.

Troubleshooting Tips
If your hard disk does not appear or is not working correctly, try the following:
Check Connections: Ensure all cables and adapters are securely connected.
Restart Your iPad: Sometimes a simple restart can resolve connectivity issues.
Update iPadOS: Ensure your iPad Pro is running the latest version of iPadOS.
Check File System: Ensure your hard disk is formatted in a compatible file system (exFAT or FAT32).
Additional Tips
Use Powered Hubs: If you are connecting multiple devices or using a power-hungry hard disk, consider using a powered USB hub.
Data Security: Regularly back up your data to avoid loss. Use encrypted hard disks for sensitive information.
File Management Apps: Consider using third-party file management apps for enhanced features and functionality.
Connecting a hard disk to your M4 iPad Pro is a straightforward process that greatly enhances the device’s functionality. With increased storage and improved file management capabilities, you can maximize the potential of your iPad Pro for both work and leisure. Whether you’re a professional needing extra storage for large files or a student managing coursework, this setup can be incredibly beneficial.
By following the steps outlined in this guide, you’ll be able to seamlessly connect and manage your hard disk with your iPad Pro, making your device even more versatile and powerful.
