The 120Hz refresh rate, often marketed by Apple as ProMotion, is a feature that significantly enhances the visual experience on your iPad.
Whether you are drawing, gaming, or simply scrolling through your device, the higher refresh rate provides smoother motion and more responsive touch interactions.
In this article, we’ll guide you through the steps to enable the 120Hz refresh rate on your iPad and troubleshoot common issues you might encounter.
Understanding 120Hz Frame Rate
The refresh rate of a display refers to the number of times the screen updates its image per second. A higher refresh rate, such as 120Hz, means the screen refreshes 120 times per second. This leads to:
Smoother animations and transitions.
Reduced motion blur.
More responsive touch interactions.
Enhanced overall visual experience.
Read: How To Add/Remove Controls In Control Center In iOS 18 (iPad)
Enable 120Hz Refresh Rate On iPad
First, locate and tap the Settings app on your iPad. The Settings app icon looks like a set of grey gears and is typically found on your home screen.
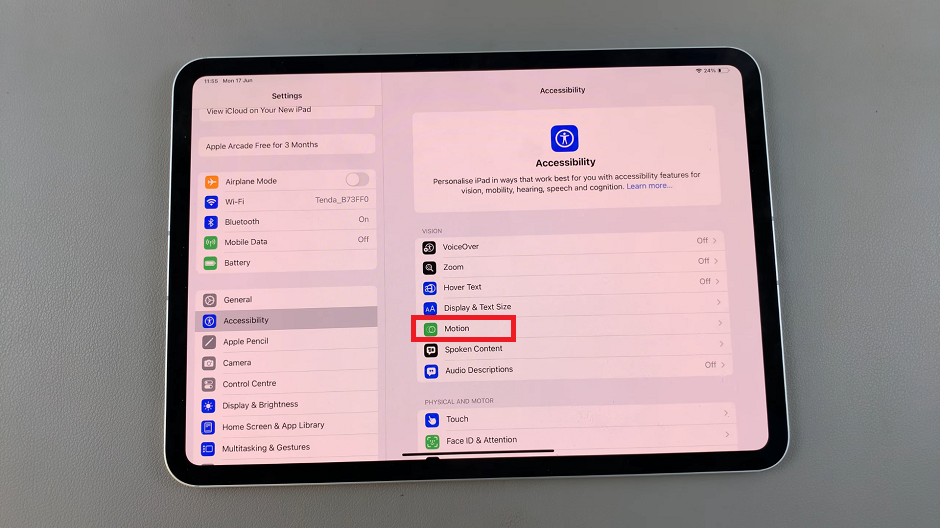
Once you’re in the Settings app, scroll down the menu on the left side until you find Accessibility. Tap on it to open the accessibility settings and look for the Motion option.

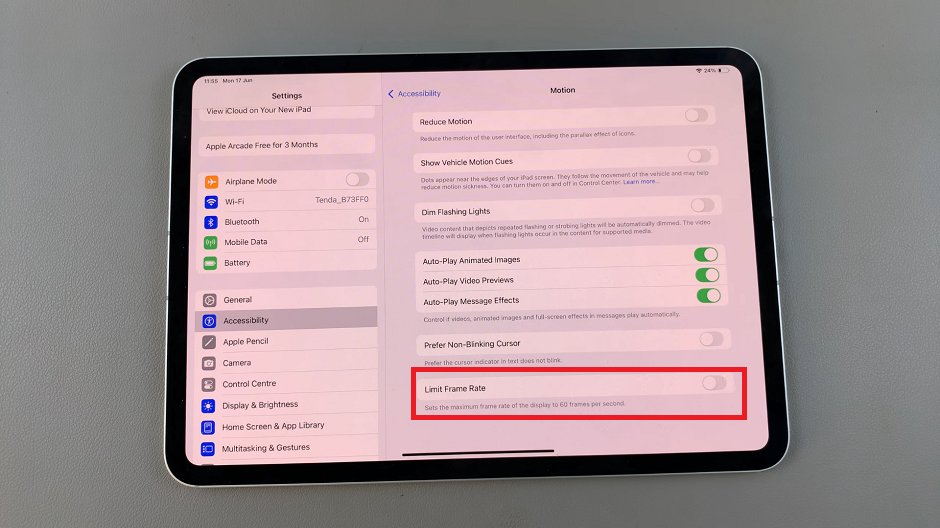
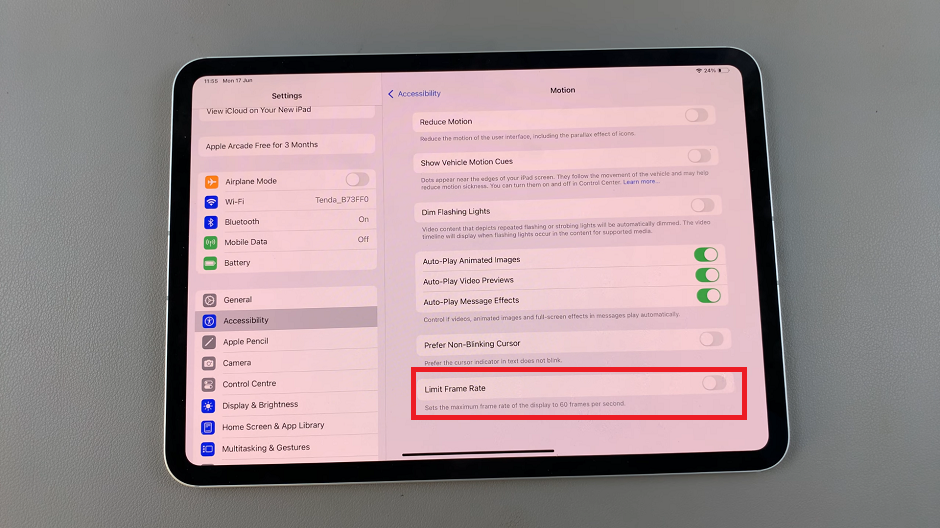
Locate the Limit Frame Rate option. You will see a toggle switch next to it. If the switch is green, it means the 60Hz is the maximum refresh rate currently enabled.

Tap the switch to turn it off. The switch will turn grey, indicating that the 60Hz refresh rate limit is now disabled. This means that you’re now using the 120Hz refresh rate.

Enabling the 120Hz refresh rate on your iPad can transform your user experience, making everything from drawing to gaming smoother and more enjoyable. By following the steps outlined in this guide, you can easily enable this feature and troubleshoot any common issues.

