With the increasing popularity of content creation on mobile devices, knowing how to edit videos on your iPad is a valuable skill.
One common editing task is removing sound from a video, whether to create a silent film, overlay new audio, or eliminate unwanted background noise.
This guide will walk you through the process using the inbuilt feature on the Photos app.
Watch: M4 iPad Pro Dynamic Volume Buttons Explained
Remove Sound From Video On iPad
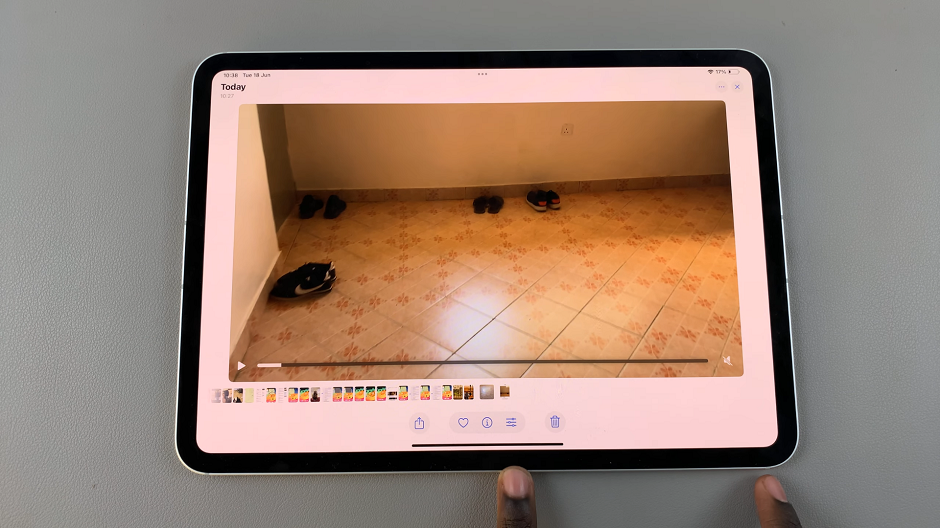
To begin, locate the Photos app on your iPad and tap to open it. Navigate to the video you wish to rotate. You can find your photo by browsing through albums or using the search function.
Once you have selected the video you want to rotate, tap the Edit button located at the bottom of the screen. It is resembles an equalizer. This will open the editing interface, where you’ll find a range of editing options.

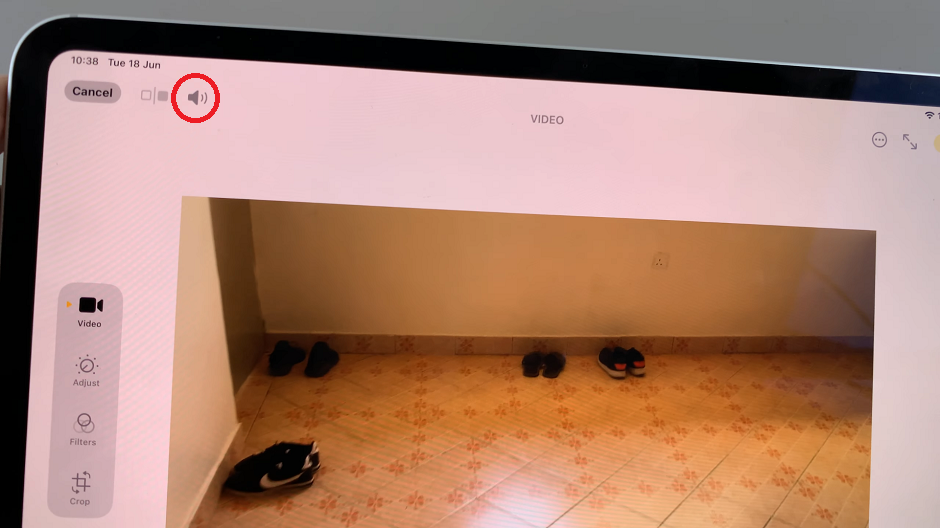
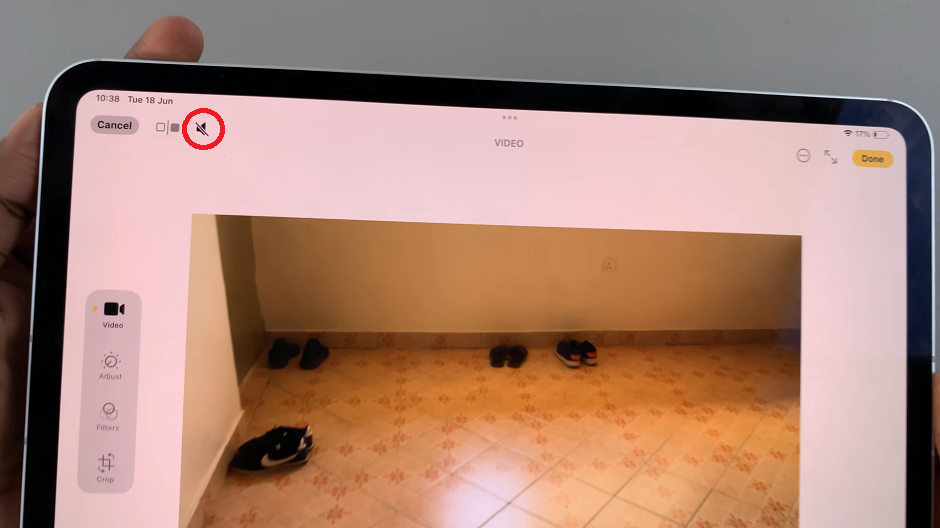
In the top left corner, tap the Audio button (it looks like a speaker icon). Then, tap on Done to save your changes.

This will remove sound from the video. Now, whenever you play or share your video, there will be no sound on it.

Removing sound from a video on your iPad is a straightforward process with the right tools. The steps are simple and can help you create professional-looking videos with ease. With these tips and techniques, you can enhance your content and make your videos stand out.

