In today’s digital age, video content is more popular than ever, and having a reliable video editing tool on your mobile device can make a significant difference. CapCut, developed by Bytedance Pte. Ltd., has emerged as a leading video editing app, offering a user-friendly interface and a variety of powerful editing features.
Installing CapCut on your iPad is a straightforward process, but it’s important to follow the correct steps to ensure a smooth setup. This guide will walk you through each stage of the installation process, from checking your device’s compatibility to downloading and setting up the app.
Let’s dive in and get started on bringing your creative visions to life with CapCut.
Watch: How To Turn ON Assistive Touch On iPad
Install CapCut Video Editor On iPad
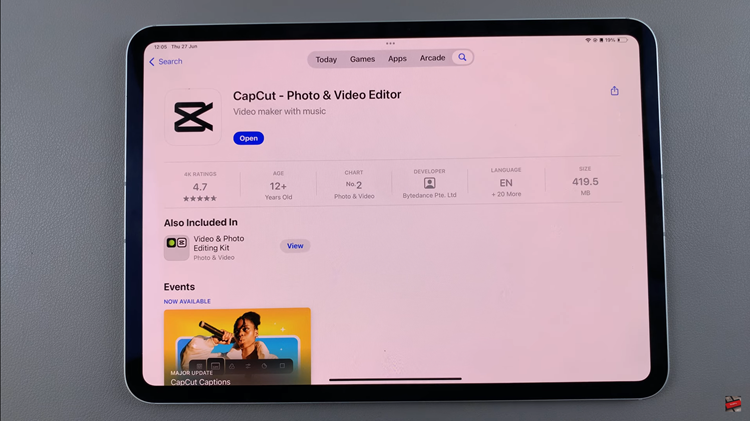
To begin installing CapCut on your iPad, start by tapping on the App Store icon located on your iPad’s home screen. Then, utilize the search bar at the top of the App Store interface to input “CapCut” or “CapCut Video Editor“. Proceed to locate the official CapCut app developed by Bytedance Pte. Ltd.
After finding CapCut in the search results, tap on its listing to open the app’s page. From there, tap the “Get” button to initiate the download process directly to your iPad. Once the download completes, the “Get” button will transform into “Open“. Tap on “Open” to launch the CapCut application.

Following the app’s launch, you may encounter prompts requesting permissions. Allow any necessary permissions by following the on-screen instructions. Once these setup steps are completed, you are now ready to start editing photos and videos using CapCut, harnessing its versatile editing tools and features.
In conclusion, installing CapCut on your iPad allows you to leverage its powerful video editing capabilities right from your mobile device. Whether you’re creating vlogs, tutorials, or personal videos, CapCut provides intuitive tools to bring your creative vision to life. Get started today and unleash your editing skills with CapCut!

