In the era of digital creativity, having powerful tools at your fingertips is essential for capturing and refining moments. The Final Cut Camera app stands out as a versatile solution, empowering iPhone users to elevate their video creation process effortlessly.
Whether you’re a seasoned content creator or an amateur enthusiast, installing Final Cut Camera on your iPhone opens up a world of possibilities for enhancing videos directly from your device.
In this guide, we’ll walk you through the comprehensive step-by-step process on how you can install final cut camera app on the iPhone.
Also Read: How To Install Final Cut Camera App On iPad
How To Install Final Cut Camera App On iPhone
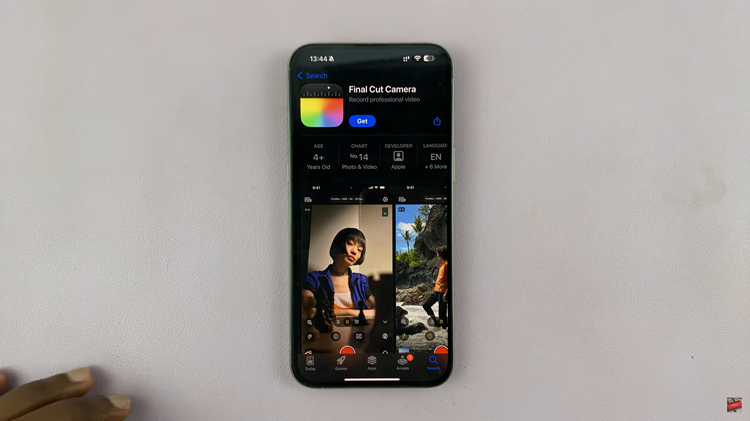
Tap on the App Store icon on your iPhone’s home screen to launch it. In the App Store’s search bar, type “Final Cut Camera” and tap on the search button. From the search results, locate Final Cut Camera and tap on it. On the app’s page, tap the “Get” button next to the app icon.

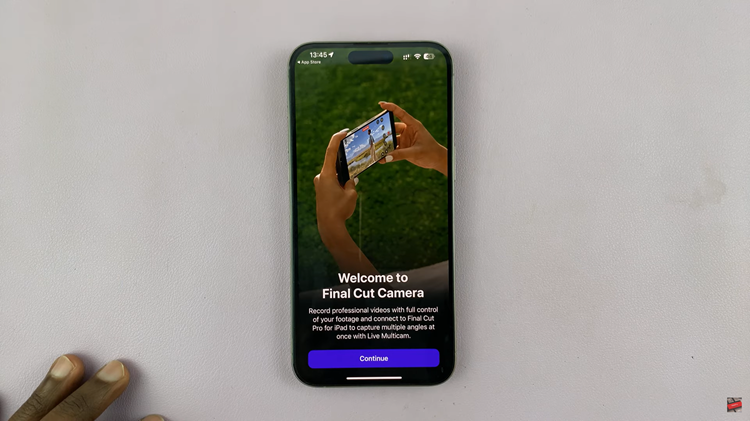
You might be prompted to use Face ID or enter your Apple ID password to confirm the installation. The app will begin downloading. Once the app is downloaded and installed, tap on “Open” from the App Store or go back to your home screen and tap on the Final Cut Camera icon to launch the app.

This guide ensures users can seamlessly install Final Cut Camera and begin using it. Now that you have Final Cut Camera installed on your iPhone, you’re ready to create and edit videos with ease. Enjoy exploring the app’s capabilities and unleash your creativity!

