Updating your Google account name can be a simple way to keep your online identity current. Whether you’re making a change due to a recent life event or just updating your information, it’s an easy process that ensures your name appears correctly across all Google services.
Following the steps to change your name will help you personalize your account and ensure consistency. By making these adjustments, you’ll keep your account information accurate and aligned with your preferences.
Watch:How To Turn Off Two Step Verification For Google Account
Change Google Account Name
1. Open Google and Access Your Profile:
- Start by opening Google in your browser. Click on your profile icon, which is located in the top right corner of the screen.

2. Select “Manage Your Google Account”:
- From the drop-down menu, choose “Manage Your Google Account” to enter the account settings area.
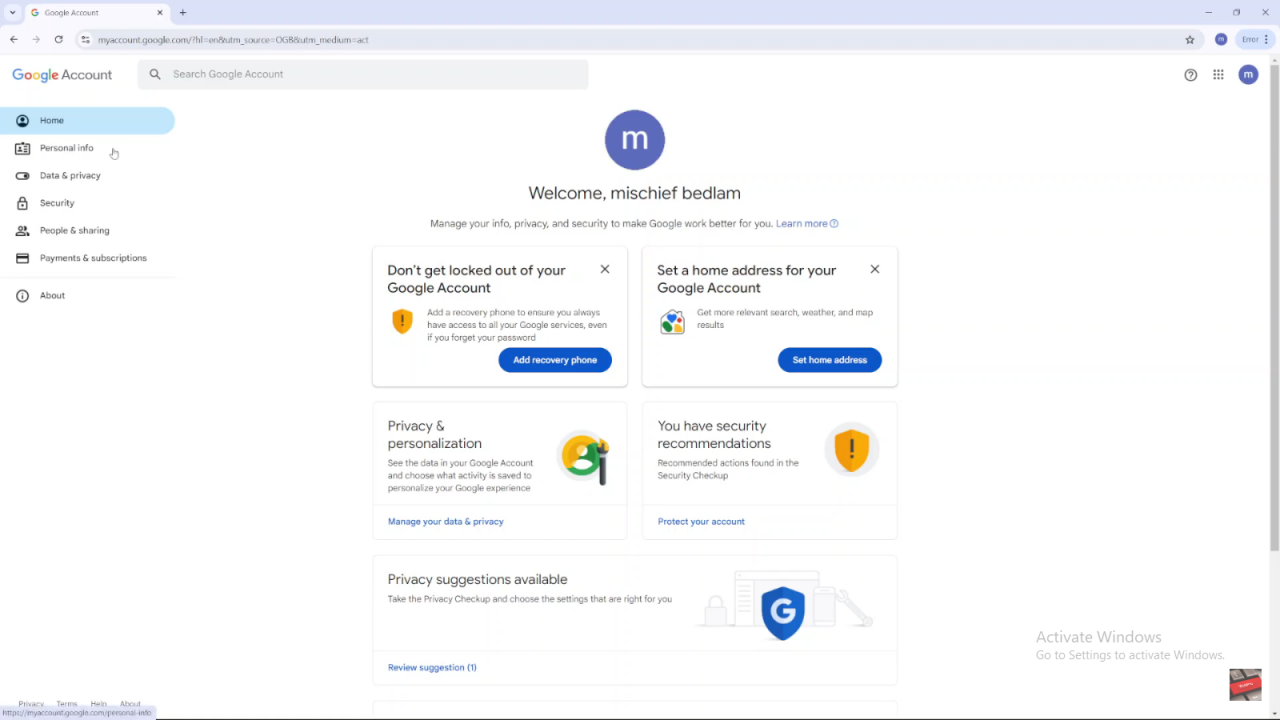
3. Navigate to “Personal Info”:
- Once in your account settings, go to the “Personal Info” section. This is where you can manage details related to your profile.
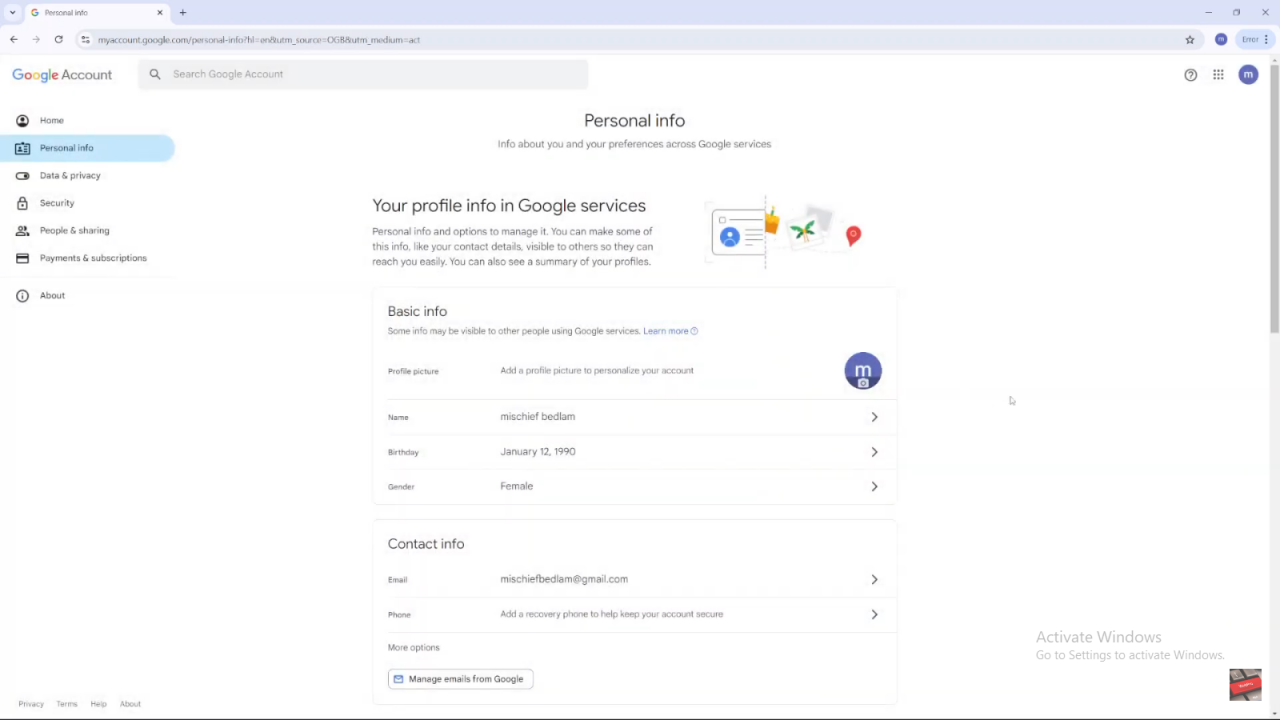
4. Edit Your Current Name:
- On your profile page, locate and click on your current name. This action will allow you to make changes to your displayed name.
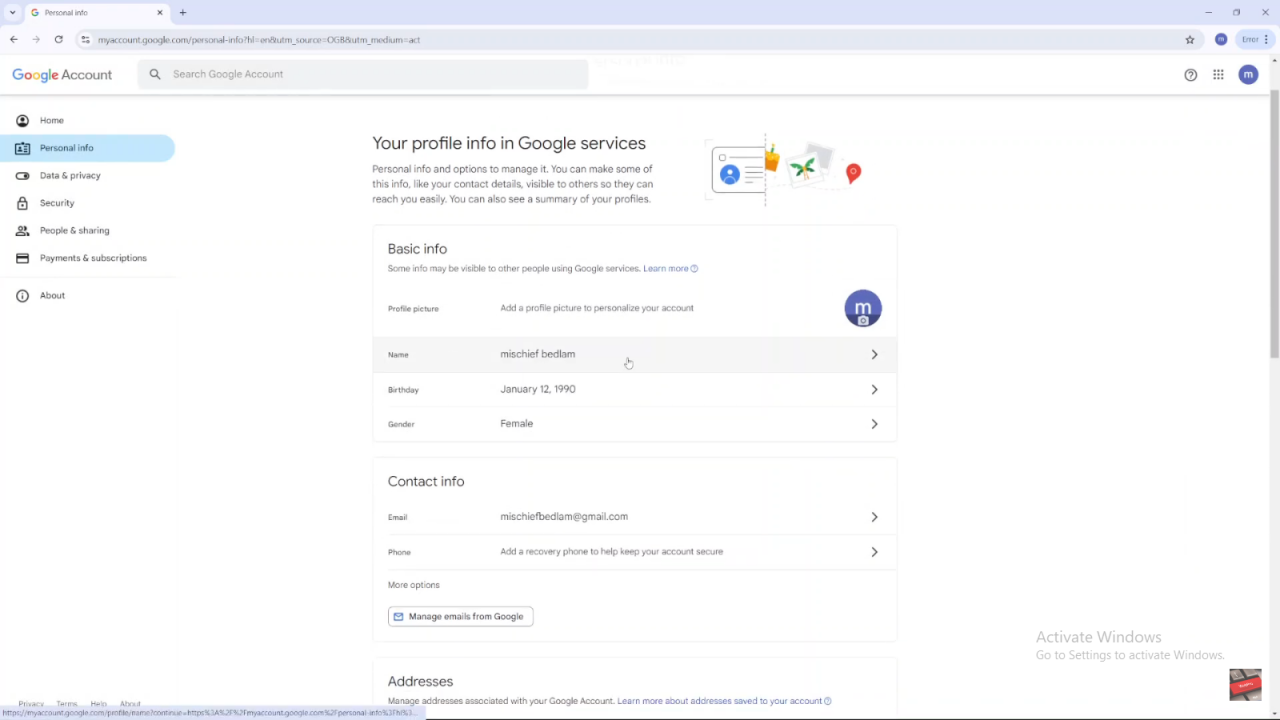
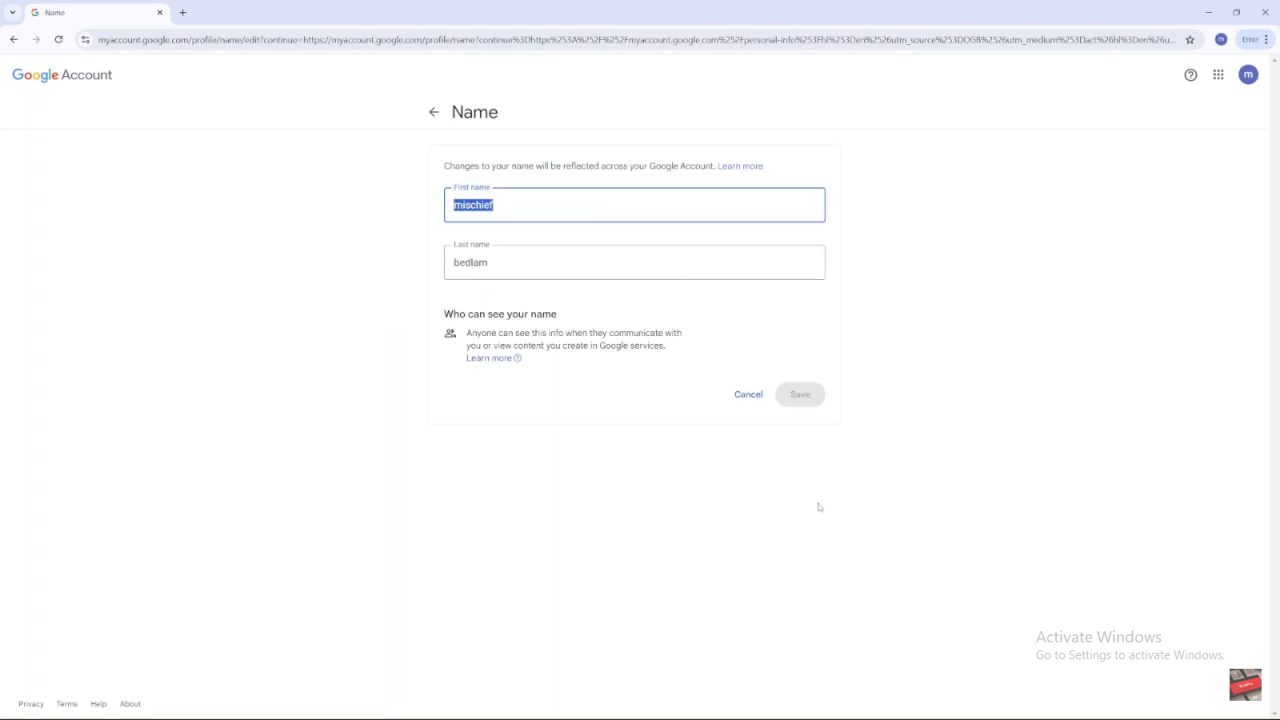
5. Enter Your New Name:
- In the text box that appears, input your new first name. If necessary, you can also update or remove your last name to match your preferences.
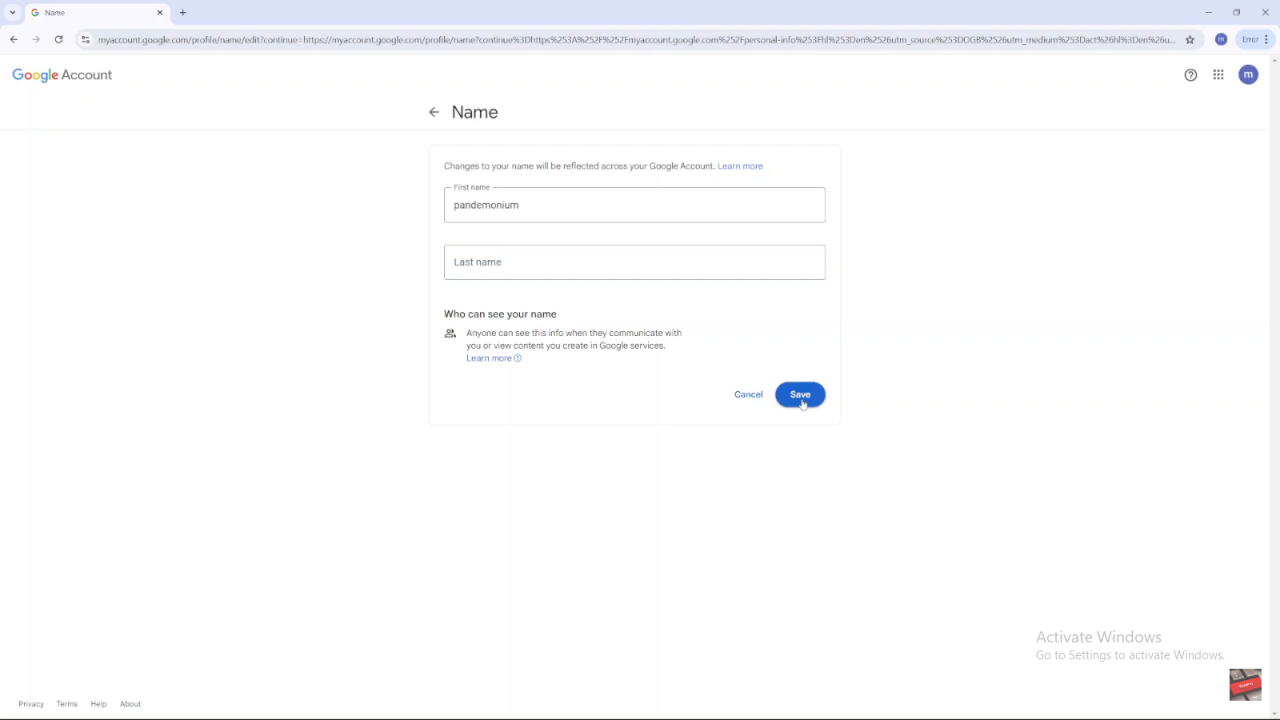
6. Save Your Changes:
- After entering your new name, click “Save” to apply the changes. This step ensures that your new name is updated across all Google services.
7. Optionally Add a Nickname:
- If you wish, you can add a nickname by selecting the “Nickname” option. Enter your desired nickname and click “Save” to include it in your profile. This step is optional but can be useful for personalizing your account further.
Read:How To Turn Off Two Step Verification For Google Account

