Connecting an SD card to an iPhone opens up new possibilities for expanding storage and managing files. With the right accessories, it’s possible to easily access photos, videos, and documents stored on an SD card directly from an iPhone. This can be especially useful for photographers, travelers, or anyone looking to offload large files without relying solely on cloud storage.
In this guide, we’ll explore the steps needed to connect an SD card to an iPhone and how to efficiently transfer and manage your content. By leveraging this capability, users can enhance their iPhone’s functionality and streamline their file management process.
Watch:How To Add Captions To Photos On iPhone
Connect SD Card To iPhone
Choose the Right SD Card Reader
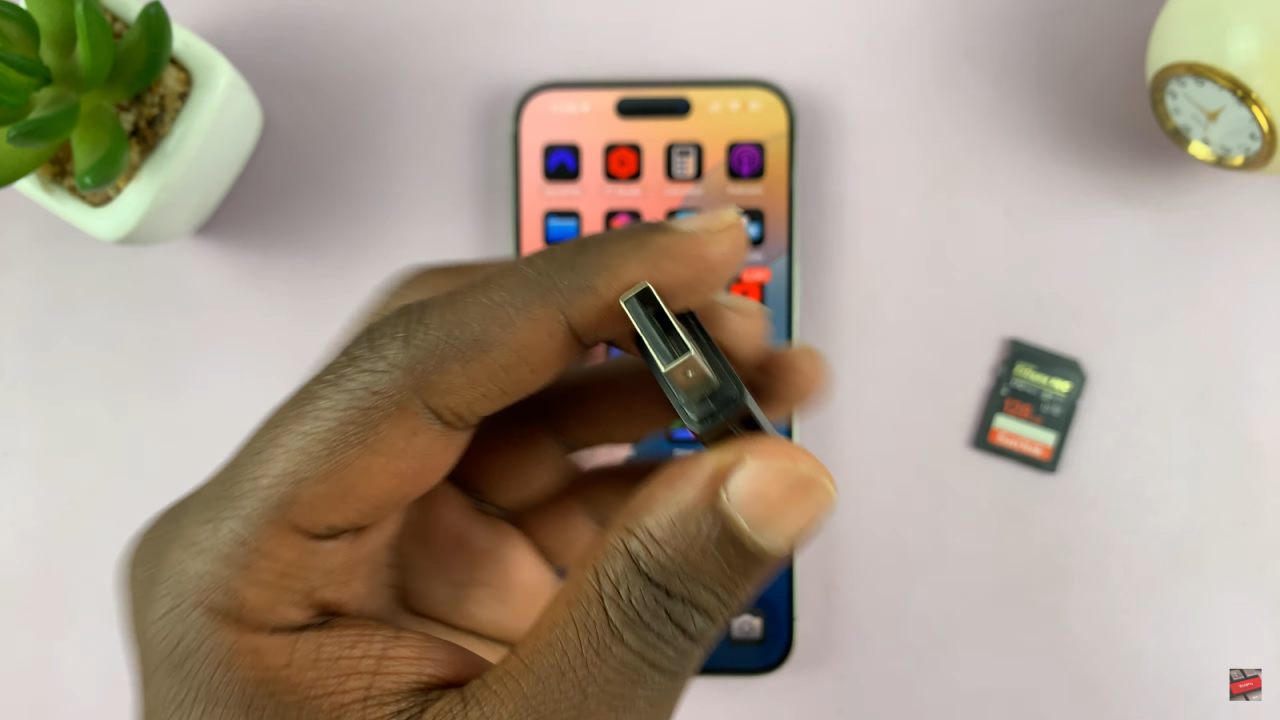
Select an SD card reader based on your iPhone’s port. If you have a type-C port, you can connect the reader directly. If you have an older model with a lightning connector, you’ll need a compatible lightning adapter.
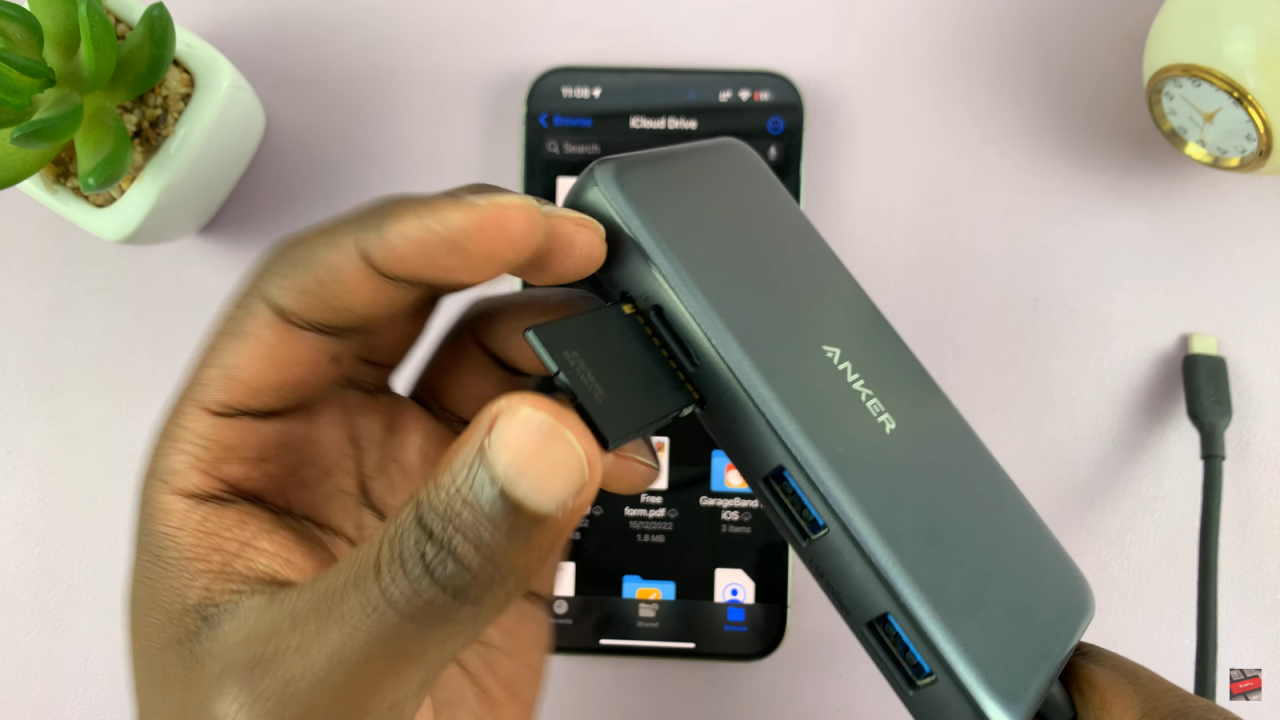
Connect the SD Card to the Reader
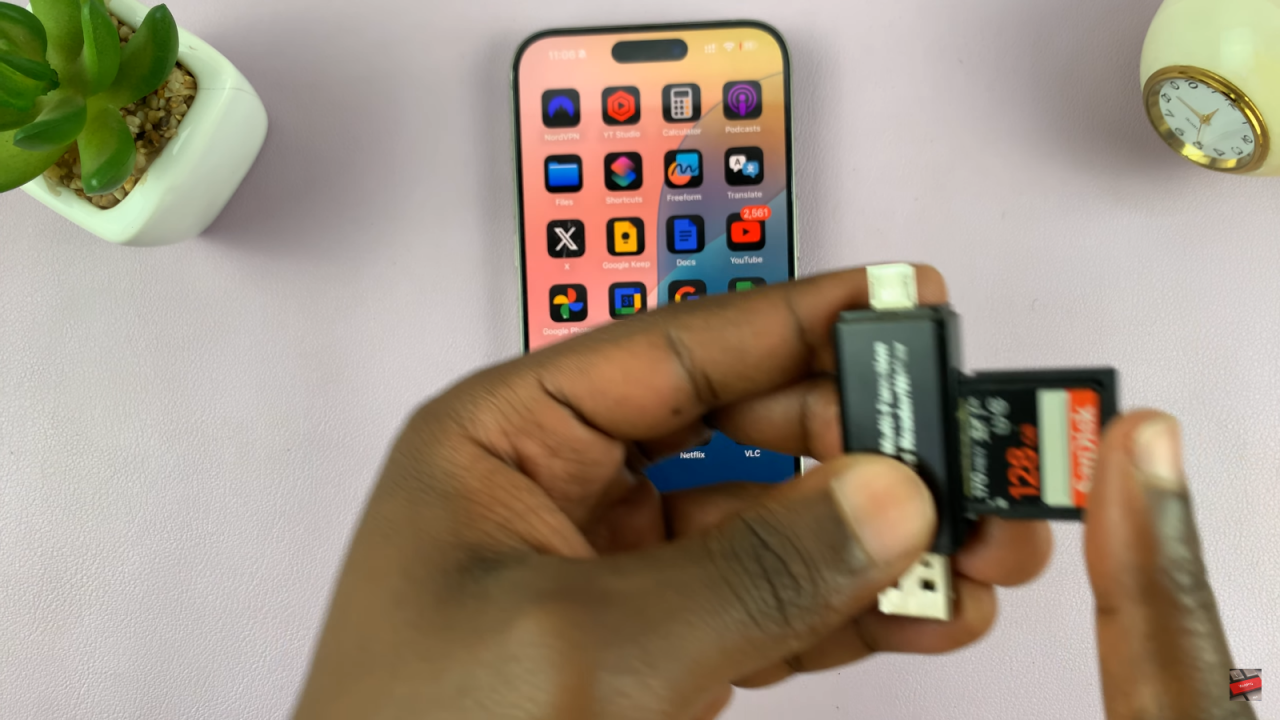
Insert the SD card into the SD card reader. For older readers with a full-size USB, you will need an adapter to connect to your iPhone.
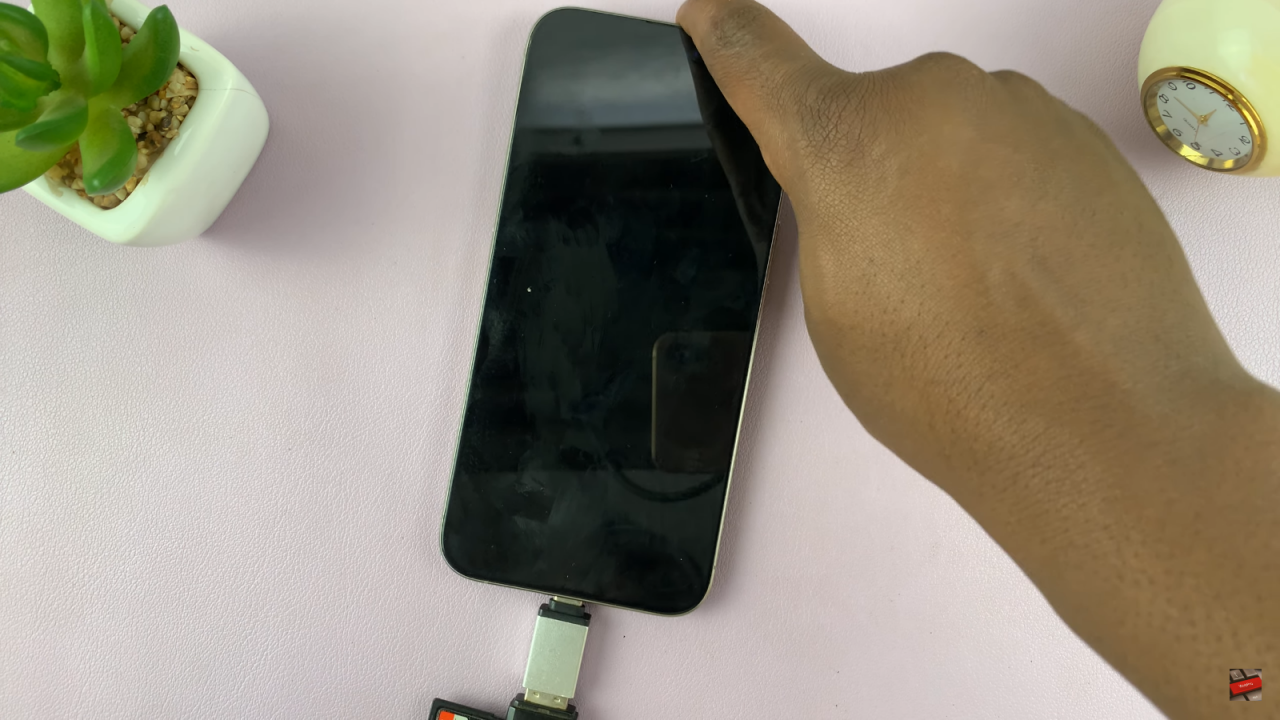
Connect the Reader to Your iPhone
Plug the SD card reader into your iPhone’s port. For a type-C reader, connect it directly; for a USB reader, use the necessary adapter.
Access the Files App
Open the Files app on your iPhone. You should see your SD card listed.
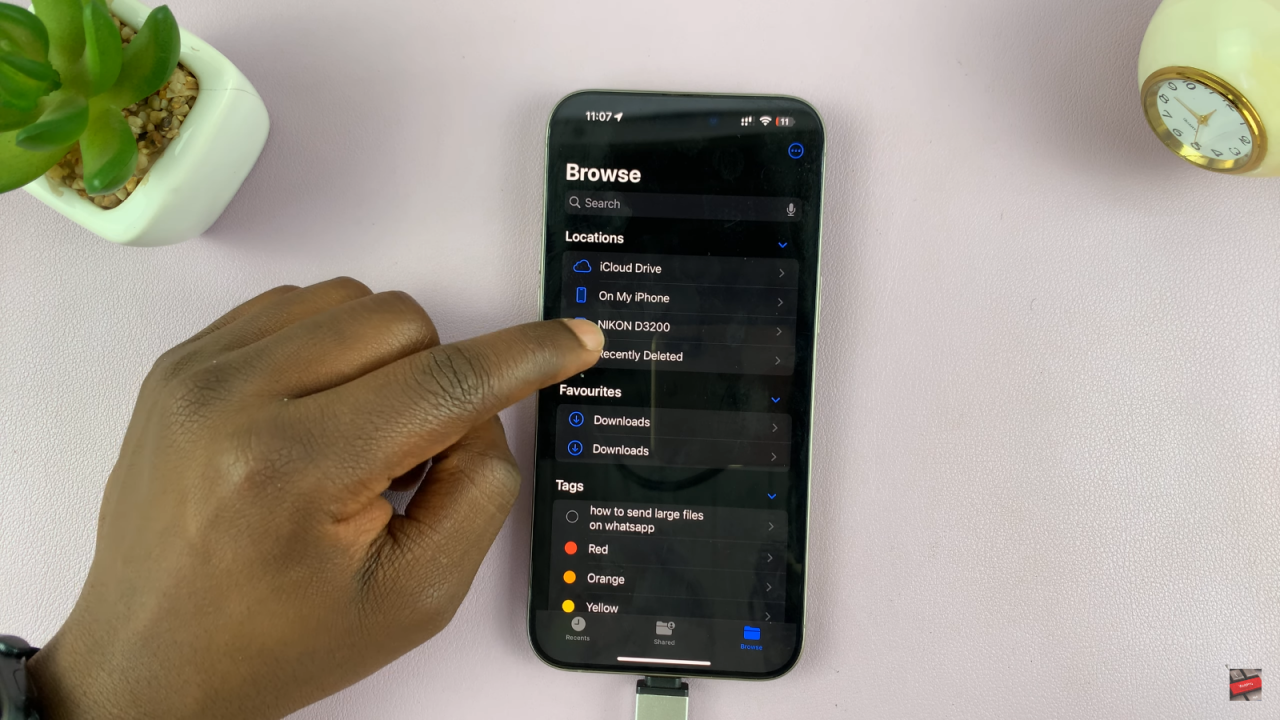
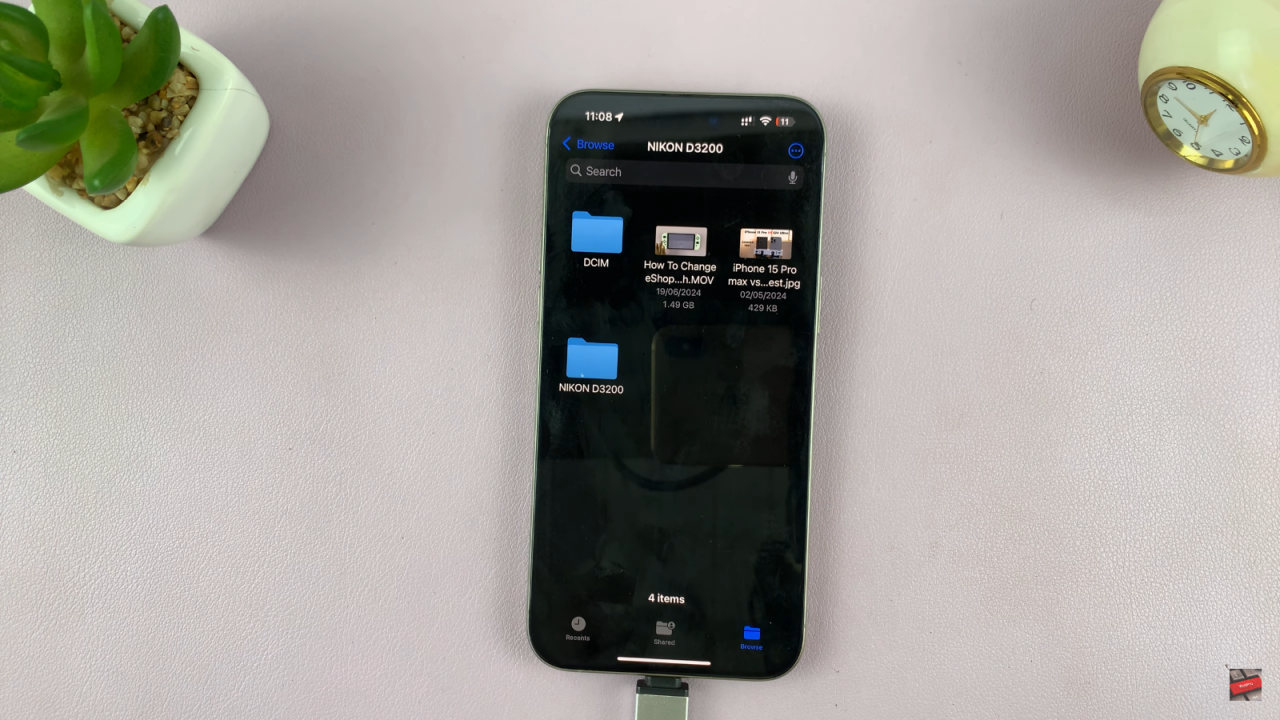
Access and Manage Files
Tap on the SD card to view and manage the files. You can transfer photos and videos to and from the SD card as needed.
For Older iPhones
If using an older iPhone with a lightning connector, make sure to have a compatible lightning adapter. Look for options linked in the video description.
Wrap Up
Once finished, safely eject the SD card reader from your iPhone.
