Previous Windows operating systems didn’t have a built in screen recorder for recording the computer screen. There’s plenty of third party apps for this but for the people who don’t like third party applications, Windows 10 comes with a built in free screen recorder.
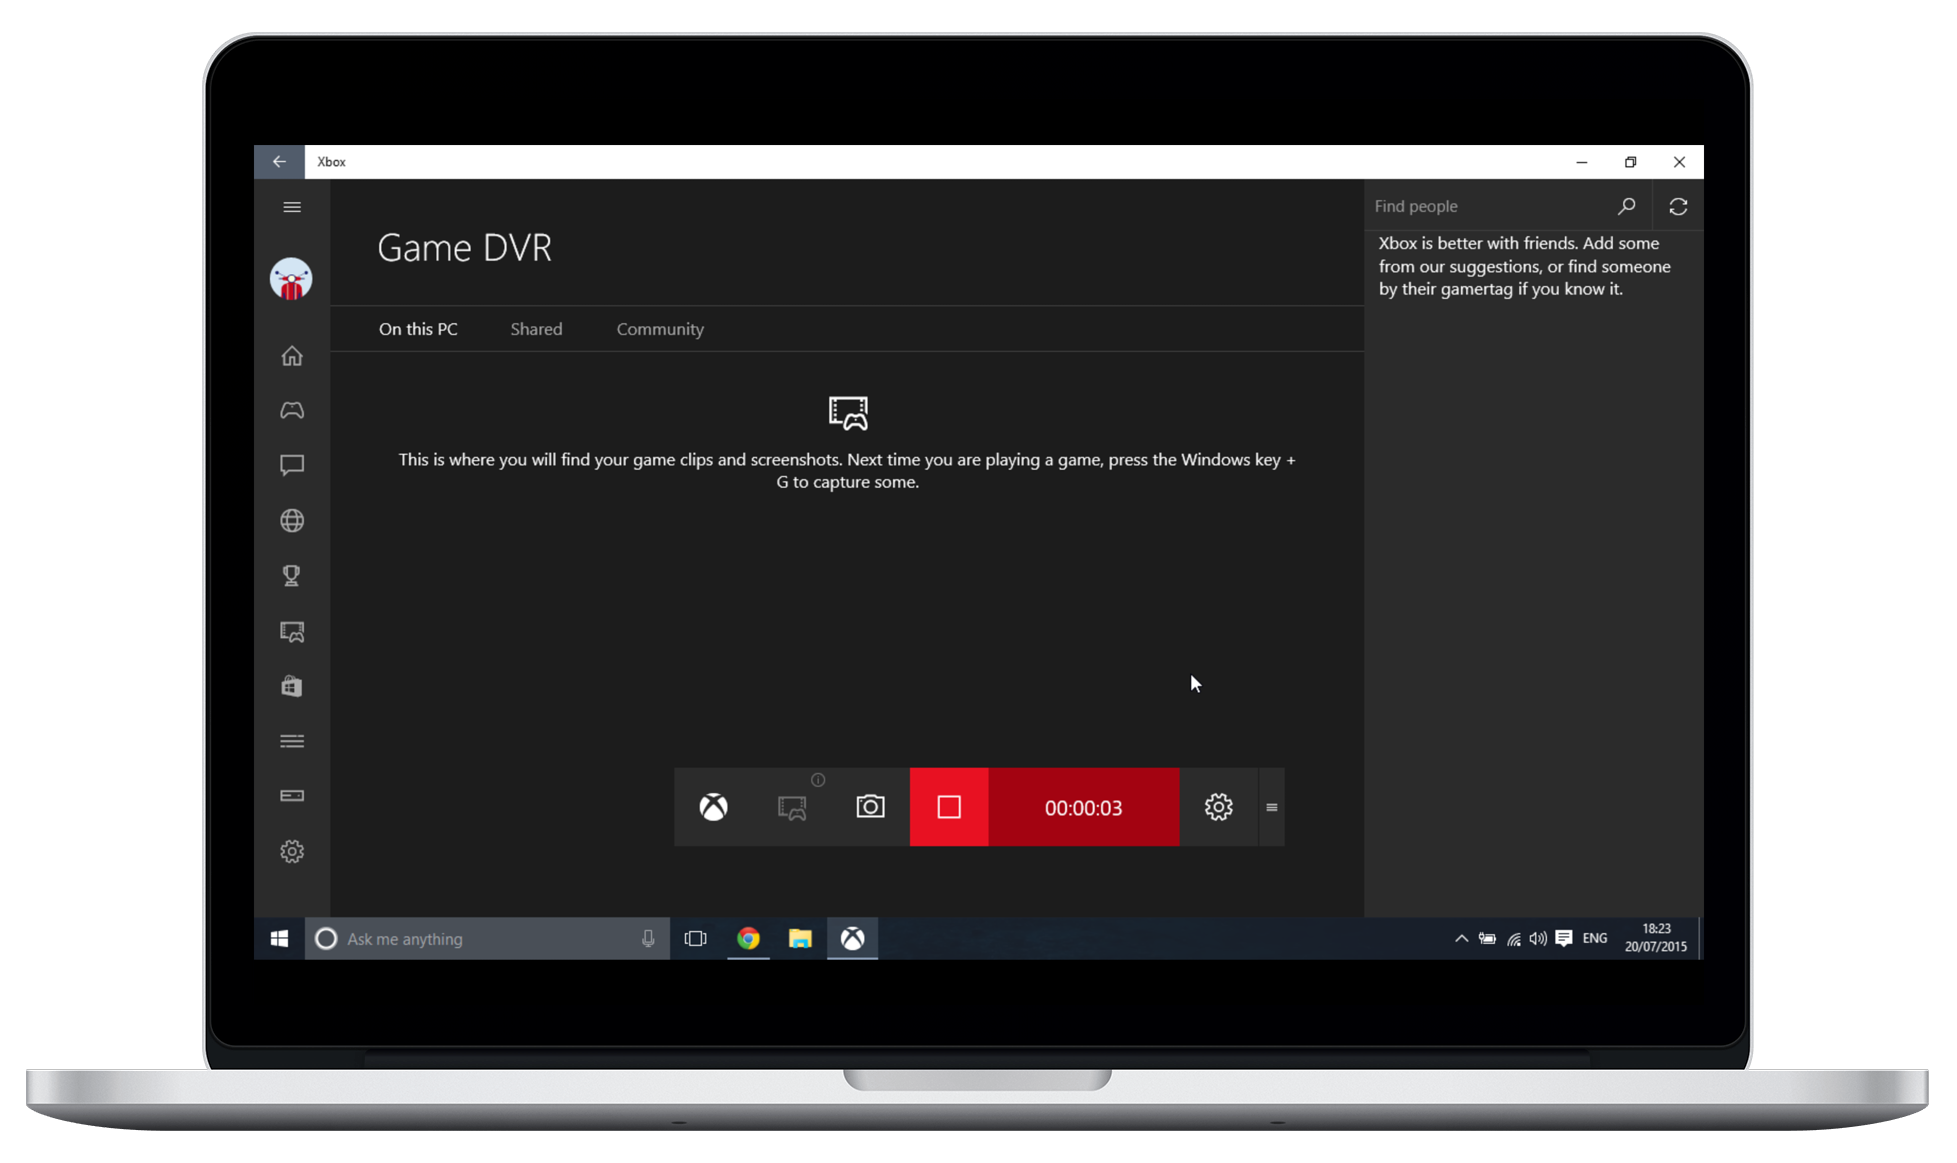
The Windows 10 operating system’s Xbox app is where the screen recorder is hidden. It’s called Game DVR (Digital Video recorder). It was designed to record Xbox games but you ca use it to record any application on your PC.
How To Start Recording:
Before you start recording, you need to set up the recorder. Open the Start menu and go to All apps > Xbox. Select the ‘This is a game’ check box. The recorder will now assume any app you open is a game hence it can be recorded.
Now to start recording, launch the app you want to record. Then press Win + G on your keyboard. From the small window that pops up, clock on the red button to start recording.

By default, it records 30 second videos but tweaking the max length in the settings can give you up to 2 hours recording. The recordings are saved to your computer’s hard drive.
When you finish recording, you can trim the video to the length you wanted. The recorder also gives you the option to rename the video before saving. You can also share videos to your favorite social platform from within the recorder.
The Game DVR’s limitations are in very significant. You can only record one app at a time and the recorder cannot produce high resolution videos. The recorder also can’t record in full screen and will not capture mouse movements meaning it’s a bad choice for screen cast video tutorials.
If you just want to record short clips of applications for personal use, this is a great tool that will not require installation and sometimes paying for screen recorders. For professional screen casts, you might have to still use third party applications.

