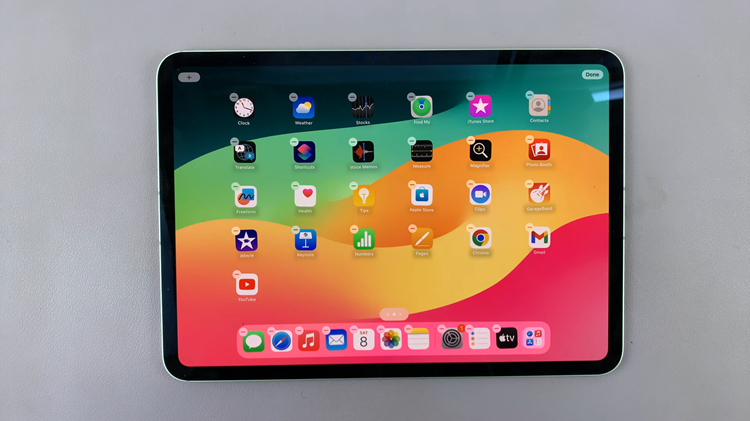
The M4 iPad Pro stands at the forefront of innovation, blending power with portability to redefine what’s possible in a tablet. One of its standout features is the Dock—a versatile bar of app icons situated at the bottom of the screen. This Dock isn’t just for aesthetics; it’s your gateway to seamless multitasking and quick access to your favorite applications.
Whether you’re new to the iPadOS ecosystem or seeking to optimize your workflow, mastering the art of customizing the Dock can significantly enhance your productivity. In this guide, we’ll delve into the steps to add apps to the Dock on your M4 iPad Pro.
Let’s explore how you can unlock the full potential of your iPad Pro’s Dock and transform the way you interact with your device.
Watch: How To Use Center Stage On M4 iPad Pro
Add Apps To Dock On M4 iPad Pro
To begin, unlock your iPad Pro and access the home screen. The Dock is the bar of app icons that appears at the bottom of the screen. Apple strategically places these pre-installed applications—such as Safari for browsing, Messages for communication, and Mail for email management—for easy access.
To customize your Dock further, follow these straightforward steps: first, identify the app you wish to add. Tap and hold its icon until it jiggles, indicating that you can move it. Then, smoothly drag the desired app icon towards the Dock area.

Once positioned to your liking within the lineup of icons, simply release your finger from the screen. After completing these adjustments, tap the “Done” option to confirm and implement the changes seamlessly. These additions provide a clearer, more detailed guide to enhancing the functionality of your M4 iPad Pro’s Dock, ensuring efficient navigation and personalized app access tailored to your needs.
By following these steps, you can effectively enhance your productivity on the M4 iPad Pro by customizing the Dock to suit your needs.

