Roku TVs, known for their user-friendly interface and customizable features, offer a unique way to make your entertainment space truly yours.
One such customization that adds both style and utility is the ability to set a digital clock as a screensaver. Imagine turning your idle TV screen into a sleek digital timepiece. Blending functionality with aesthetics.
In this guide, we’ll walk you through the comprehensive step-by-step process on how to add a digital clock as a screen saver on Roku TV.
Also Read: How To Unpair Paired Airplay Devices On Roku TV
How To Add Digital Clock As Screen Saver On Roku TV
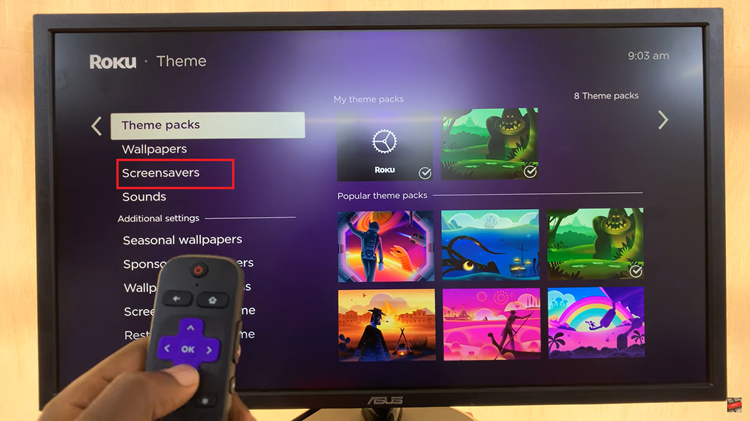
To begin, navigate to the Settings menu. Once you’re in the Settings menu, scroll down and select the “Theme” option. Within the Theme settings, locate and select the “Screensaver” option. This is where you can set up various screensavers, including the digital clock.

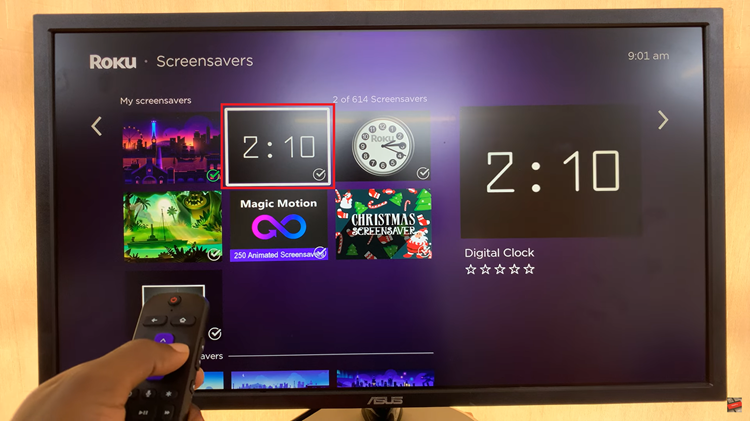
In the Screensaver menu, you’ll find different screensaver options. Look for the digital clock option and choose it. Roku often provides both analog and digital clock choices, so make sure to select the digital clock for this purpose.

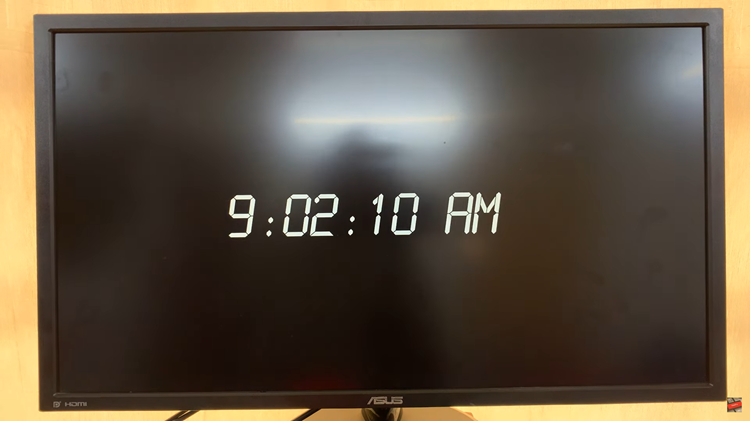
Once you’ve chosen the digital clock, you have the option to preview it or set it as your screensaver immediately. The preview allows you to see how it will look, while selecting “Set as Screensaver” will apply it to your Roku TV when it goes idle.

Adding a digital clock as a screensaver on your Roku TV is a straightforward process that enhances both the aesthetics and functionality of your TV interface. By following these easy steps, you can personalize your Roku experience and have a convenient digital clock display when your TV is not in use.
Watch: How To Set Airplay PIN Requirement To ‘Every Time’ On Roku TV

