Capturing moments with our smartphones has become an integral part of modern life. Whether it’s a breathtaking sunset, a joyous family gathering, or a momentous milestone.
However, as time goes by, the locations where these cherished photos were taken can fade from memory. Wouldn’t it be wonderful if we could preserve not just the images but also the locations forever? Well, Samsung has made it possible for users to add location information to photos that have already been taken on their phones.
In this article, we guide you through the step-by-step process on how to add location information photos taken on your Samsung phone.
Also Read: How To Enable and Use Level In iPhone Camera
How To Add Location Information To Photos Taken On Samsung
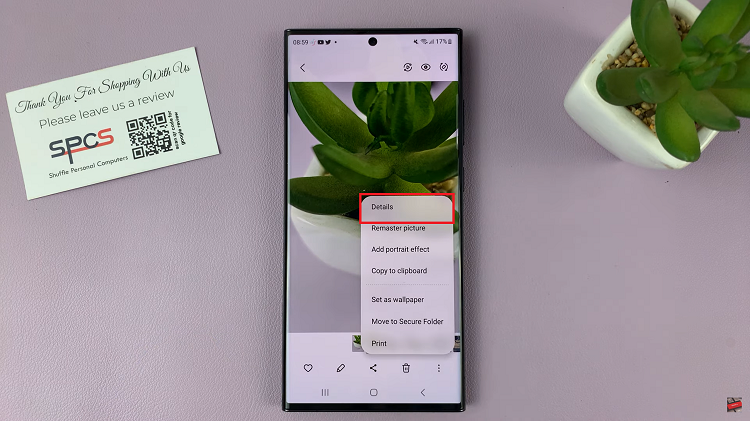
To begin, open the Gallery app on your Samsung phone. Once inside, browse through the albums or folders and select the specific photo you wish to add the location information. You’ll want to tap on the three dots, residing in the bottom right corner of the screen. Next, tap on the out for “Details” option.
You’ll be provided with the photo detail. Tap on “Edit“ on the right side of the screen to add the location information. Then, on the label “Location” tap on the “+” button to add a location to your photo.
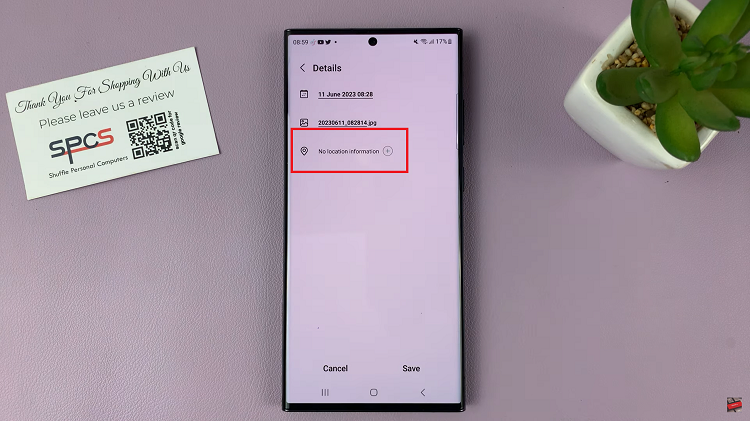
Here’s where you have two options. Firstly, you can manually enter the location. All you need to do is tap on the text field under the “Location” section and diligently type in the relevant details, such as the city, landmark, or address of where the photo was taken.
Alternatively, you can use the map provided and enter the location on the search bar or simply tap on the map to pinpoint the exact location you want.
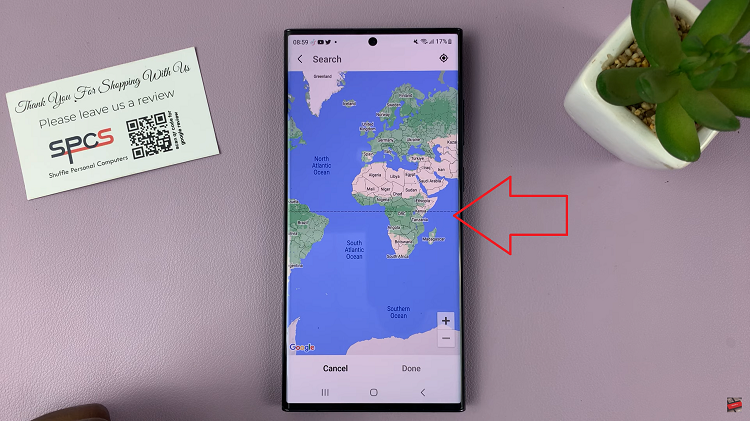
Having entered or selected the location information, tap on “Done” to save the changes you have made. To verify your work, locate your photo and revisit the information page. There, you’ll find the location information on your photograph.
Watch: How To Remove Location Information From Photos & Videos On Samsung Phones
