In this guide, we’ll walk you through the process used to add (set up) an eSIM to your Google Pixel 8 & Pixel 8 Pro, ensuring you can enjoy the benefits of this cutting-edge technology.
With the advent of eSIM technology, setting up your mobile device has never been more convenient. The Google Pixel 8 and Pixel 8 Pro offer seamless eSIM integration, allowing you to activate your cellular plan with just a few taps.
Before we dive into the setup process, it’s essential to have a basic understanding of what an eSIM is. We’ll explain the concept of eSIMs, highlighting their advantages and how they differ from traditional physical SIM cards.
Watch: Google Pixel 8 / Pixel 8 Pro: How To Turn Night Light ON / OFF
Set Up eSIM On Google Pixel 8 / Pixel 8 Pro:
Make sure you meet the prerequisites for setting up an eSIM on your Google Pixel 8 or Pixel 8 Pro. This includes ensuring you have a compatible cellular plan, a stable internet connection, and access to the necessary settings on your device.
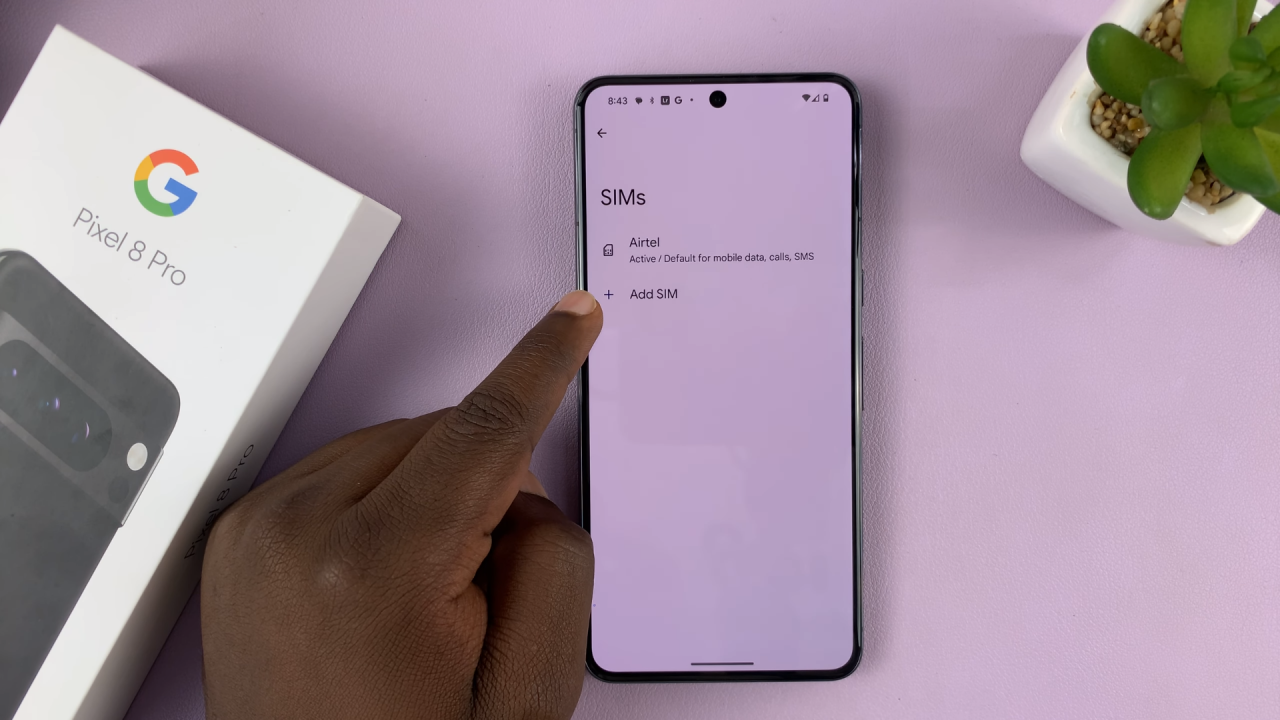
Go to the Settings app on your Pixel 8 or Pixel 8 Pro via the app drawer or quick settings. Under Settings, tap on Network & Internet, then tap on the SIMs option. In the SIMs settings, you’ll find the option to Add SIM.
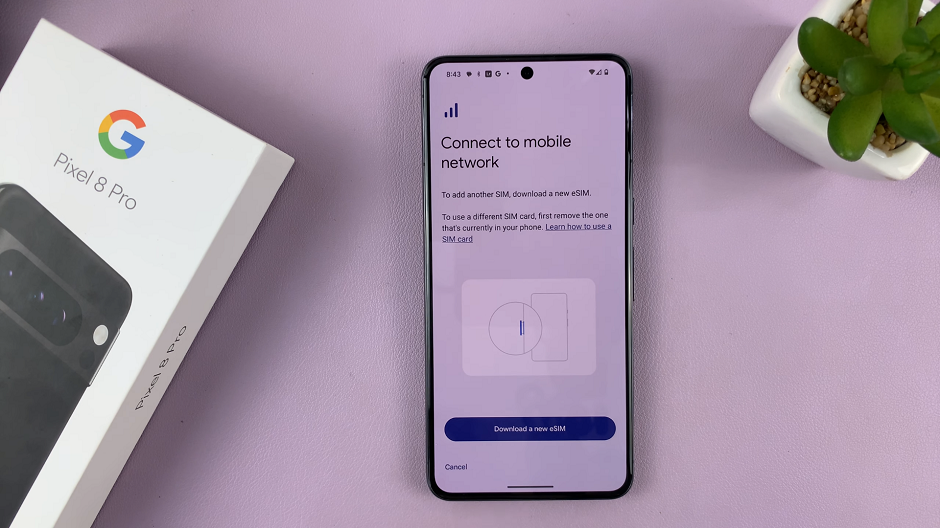
Tap on it. You’ll be prompted to connect to a mobile network when you select the Download a New eSIM option.
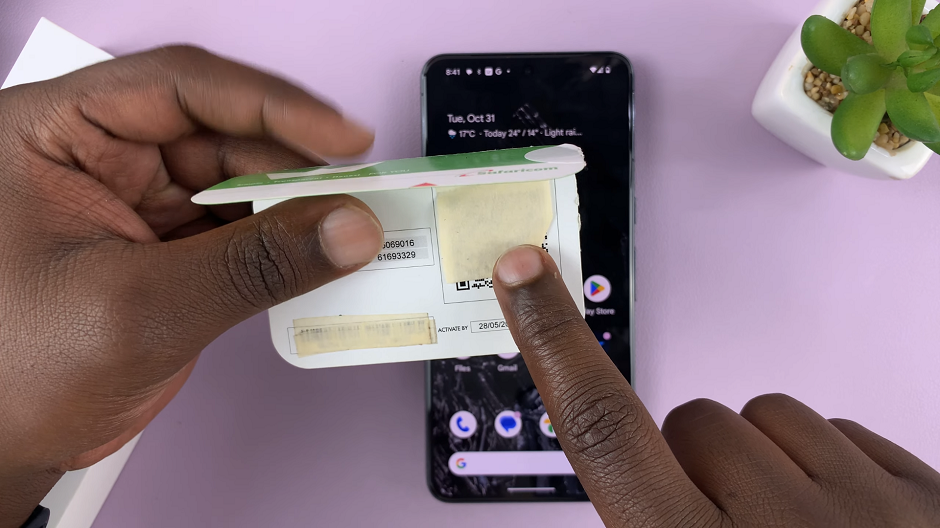
Different network carriers have different ways to add the eSIM profile. eSIMs in my region are added by scanning a QR Code provided by the carrier, on a card with my other network details. It may be different for you.
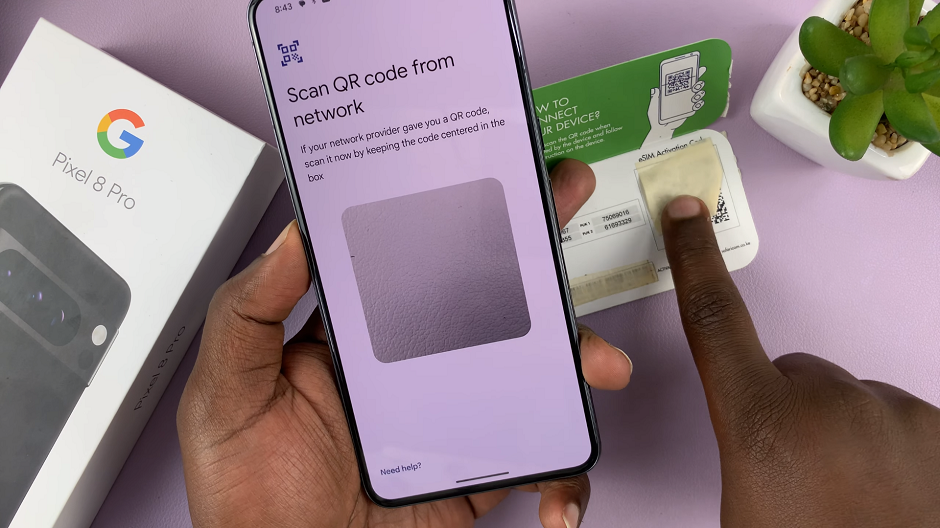
Once you tap on Download a New eSIM, you’ll receive a prompt to scan the QR code after various checks are complete. Once the QR Code is scanned successfully, you’ll need to tap on Download to download the available number from your network carrier.
Set Up eSIM
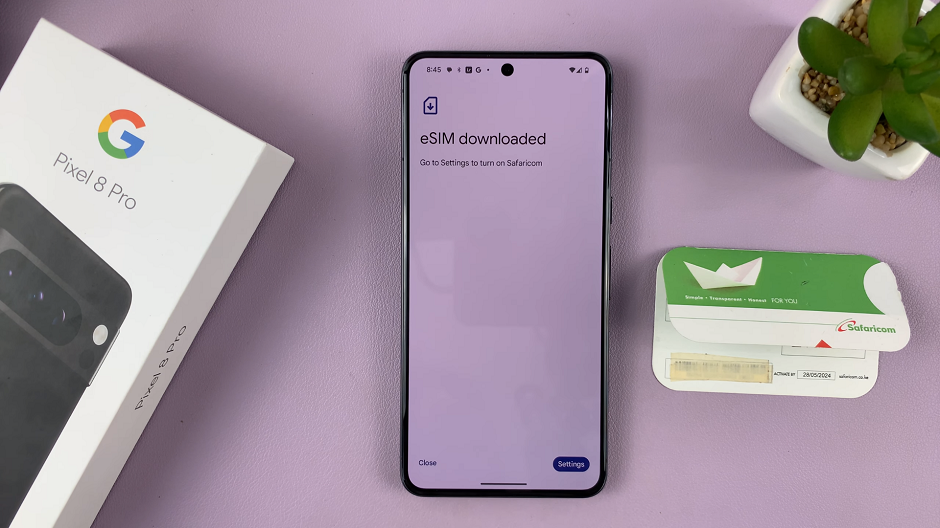
After you download the eSIM profile, you’ll receive a notification and be led to the eSIM Downloaded page. Now, go back to the SIMs settings to activate the eSIM on your Google Pixel 8 or Pixel 8 Pro. This step finalizes the setup and enables your device to use the eSIM for calls, texts, and data.
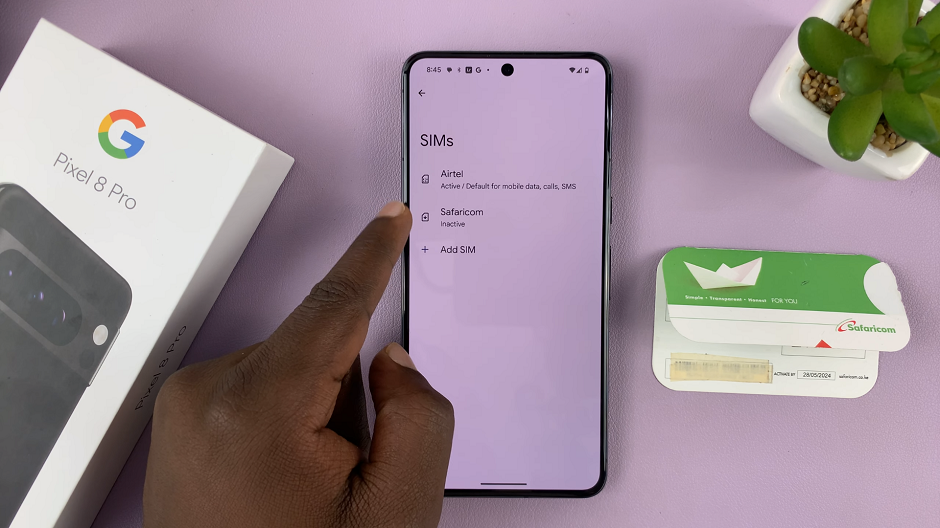
You should now be able to see the eSIM in the SIMs page under Settings. Repeat this process to add another eSIM if you would like.
Congratulations! You’ve successfully set up an eSIM on your Google Pixel 8 or Pixel 8 Pro, unlocking a world of convenience and flexibility in managing your cellular plan.
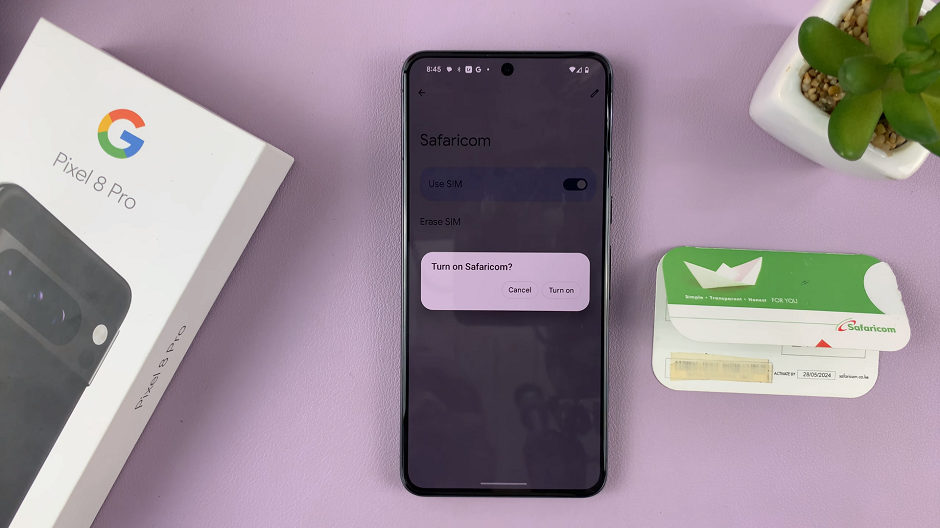
Now, you can tap on the eSIM and toggle the button next to Use SIM to activate the eSIM.
With this guide, you can confidently navigate the eSIM setup process and enjoy the benefits of this advanced technology.
Remember, eSIM technology continues to evolve, and more carriers are adopting it.
Read On: How To Change Ringtone Volume On Google Pixel 8 & Pixel 8 Pro

