The Nintendo Switch has revolutionized the gaming world with its versatile JoyCon controllers, which offer a unique gaming experience both on-the-go and at home.
To enhance this experience and ensure safety, especially during active games, it’s crucial to properly attach wrist straps to your JoyCon controllers.
In this article, we will guide you through the step-by-step process of attaching wrist straps to your JoyCons, making your gaming sessions both fun and secure.
Why Use Wrist Straps?
Wrist straps are essential for several reasons:
Safety: They prevent the JoyCons from slipping out of your hands during intense gameplay, protecting your controllers and surroundings from damage.
Comfort: They provide a more secure grip, reducing the risk of hand fatigue.
Control: They enhance precision and control, especially in motion-based games.
Read: How To Check Download Progress & Time Remaining On Nintendo Switch
Attach Wrist Straps To Nintendo Switch JoyCons
First, figure out which wrist strap you want to use for each JoyCon. Each wrist strap has the + and – symbols on it. Match the symbols with the corresponding symbols on the JoyCon controllers.
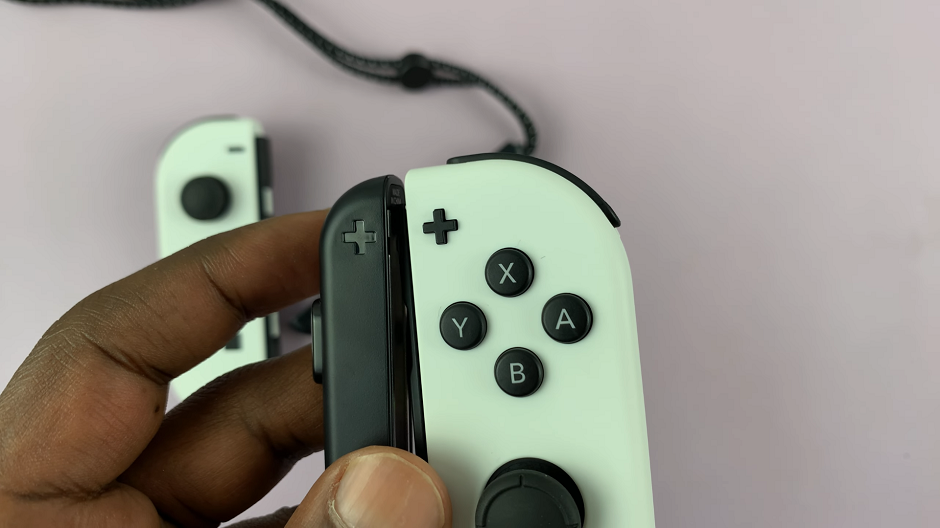
Next, align the wrist strap with the JoyCon. Hold the JoyCon in one hand and the wrist strap in the other. Ensure the + or – symbols on the wrist strap align with the corresponding symbol on the JoyCon. This alignment is crucial for a secure fit.
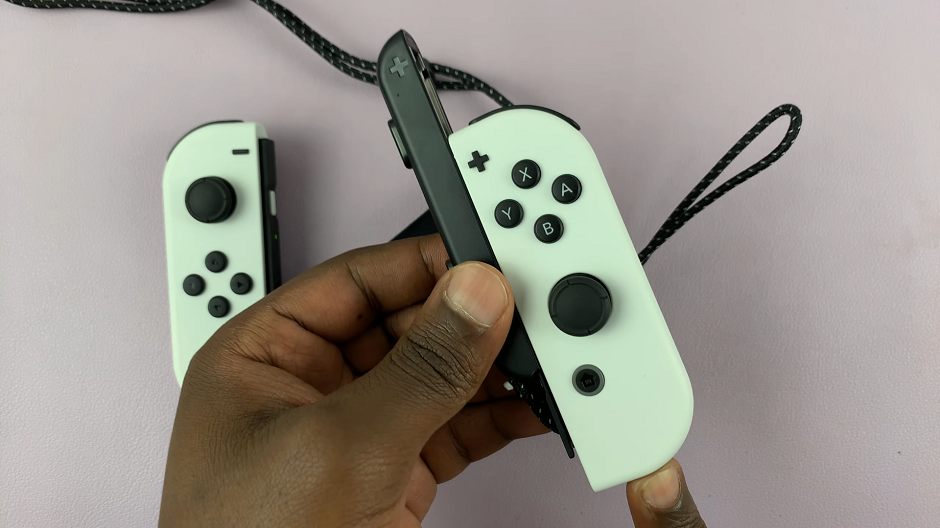
With the symbols aligned, slide the wrist strap onto the JoyCon rail. The strap should slide on smoothly. If you encounter resistance, double-check the alignment. A click will verify that the wrist strap has been attached correctly.
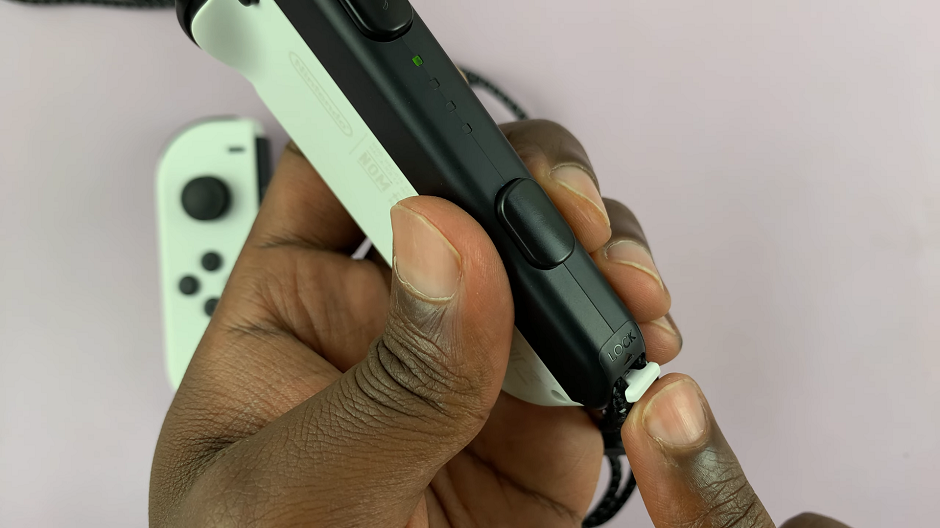
Once the wrist strap is fully slid onto the JoyCon, you’ll notice a small, white Lock switch on the strap. Slide this switch to the lock (upwards) position to secure the wrist strap.
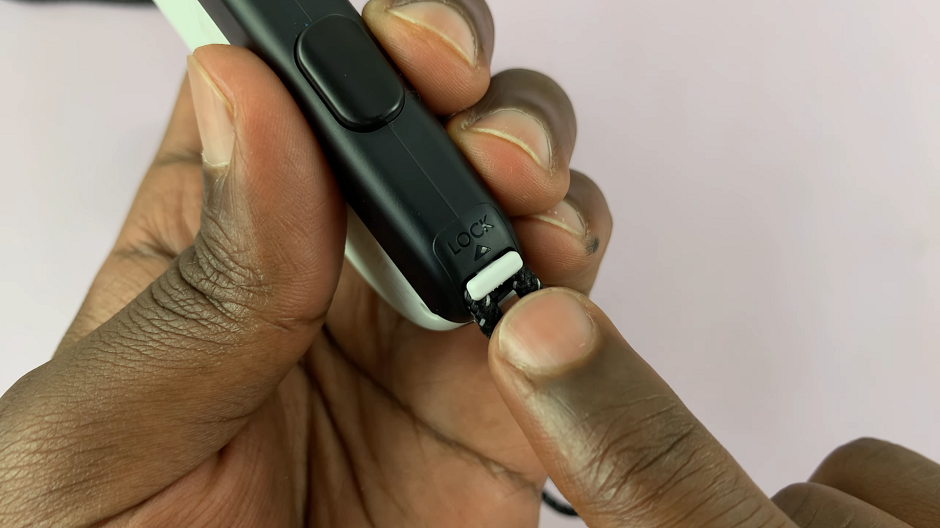
This prevents the strap from accidentally detaching during gameplay.
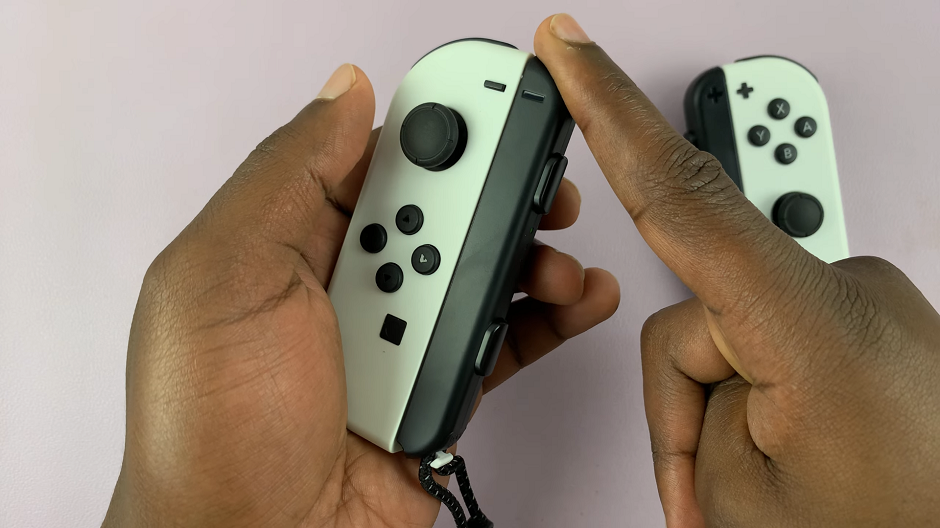
Adjust the strap for comfort. Place your hand through the loop of the wrist strap and tighten it to a comfortable fit. The strap should be snug but not too tight, allowing for free movement while ensuring the JoyCon remains secure.
To remove the wrist straps, slide the lock switch to the unlock position. Gently slide the wrist strap off the JoyCon rail. Store the wrist straps in a safe place when not in use to avoid misplacement or damage.
Troubleshooting Common Issues
Difficulty Sliding the Strap: Ensure the symbols are properly aligned and that there is no debris in the rail.
Loose Fit: Double-check the lock switch and ensure it’s in the “lock” position. If the strap still feels loose, try adjusting the fit on your wrist.
Attaching wrist straps to your Nintendo Switch JoyCons is a simple yet essential step to enhance your gaming experience. By following these steps, you can ensure your JoyCons are securely attached, providing you with comfort, control, and safety during gameplay. Whether you’re swinging for a home run in “Mario Tennis” or exploring Hyrule in “The Legend of Zelda,” properly attached wrist straps will keep your JoyCons safe and your gaming sessions enjoyable.
Watch: iPad: How To Watch YouTube Videos In Picture-in-Picture | Watch YouTube Videos In PiP
