Embarking on the journey of mastering photo blurring in Canva opens up a realm of creative possibilities. From transforming mundane snapshots into captivating visuals to adding depth and intrigue to designs, the ability to blur photos offers versatility and flexibility.
Delving deeper into this realm, it becomes evident that photo blurring is not merely about obscuring details but enhancing storytelling and visual impact. By strategically blurring certain elements while keeping others sharp, you guide the viewer’s gaze and evoke specific emotions.
Furthermore, mastering photo blurring opens up avenues for experimentation and innovation, pushing the boundaries of traditional design. This skill empowers you to create visuals that not only capture attention but also resonate with viewers on a deeper level. Whether you’re a seasoned designer or a novice, learning to blur photos effectively is invaluable. It allows you to infuse your creations with depth, emotion, and personality, elevating the overall quality and impact of your designs.
Watch:How To Add Slide Transitions In Canva
Blurring a Photo In Canva
Step 1: Begin by adding your photo to Canva, ensuring it’s selected. This initial action lays the foundation for the editing process, positioning your image ready for enhancements. Whether it’s a personal photograph or a professional image, Canva accommodates all types of visual content.
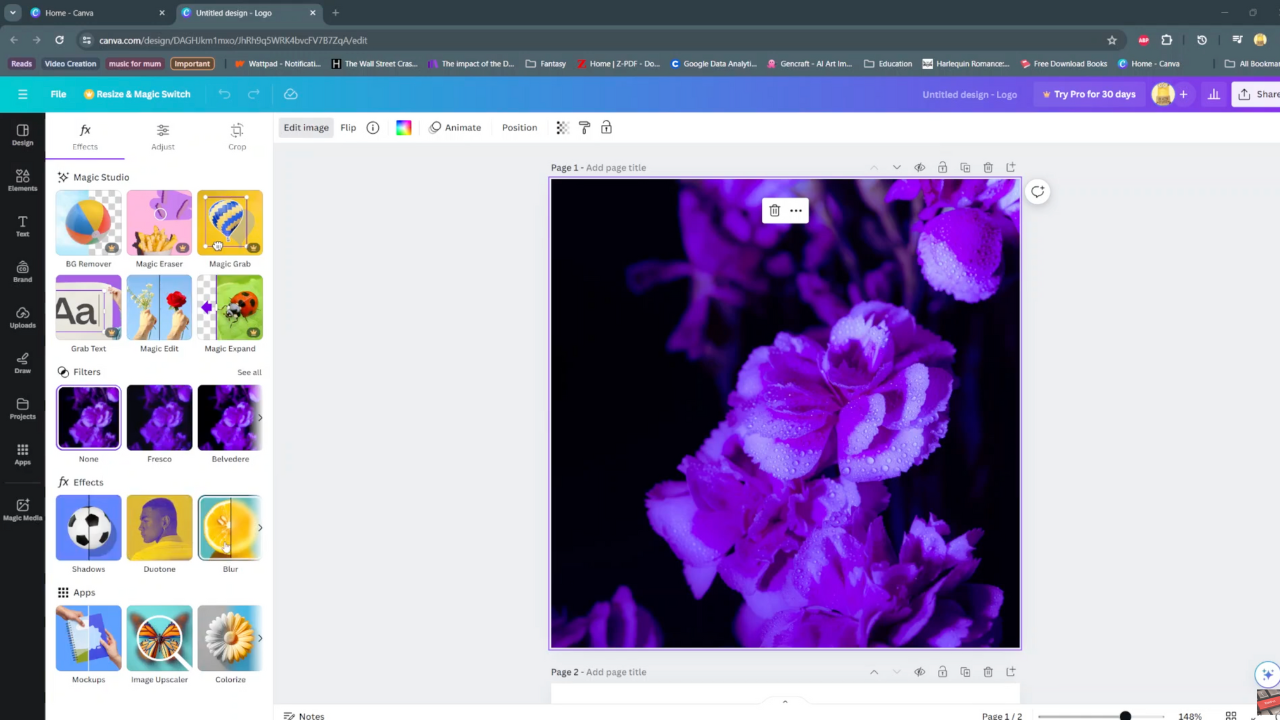
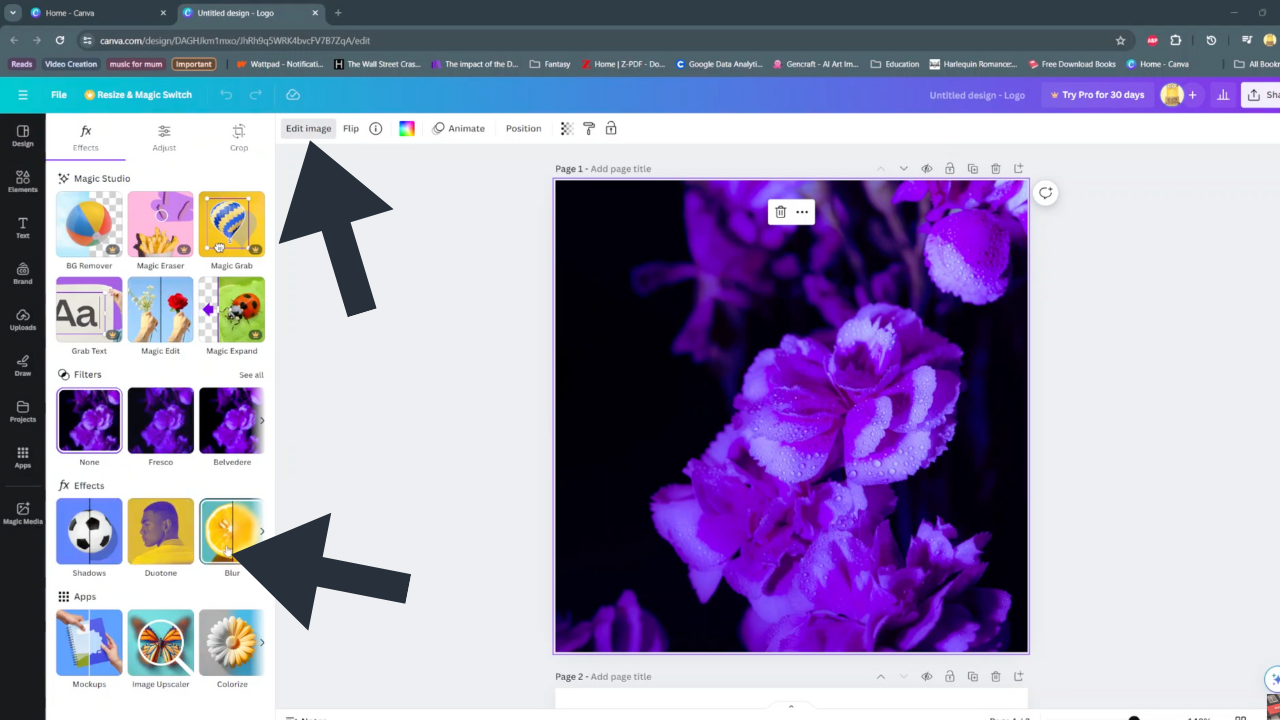
Step 2: Once your image is selected, navigate to the “Edit Image” option. This step signals the transition from image selection to editing mode, where a plethora of customization options awaits. Within the FX settings, locate and choose “Blur.” This transformative action sets the stage for refining your image’s visual impact.
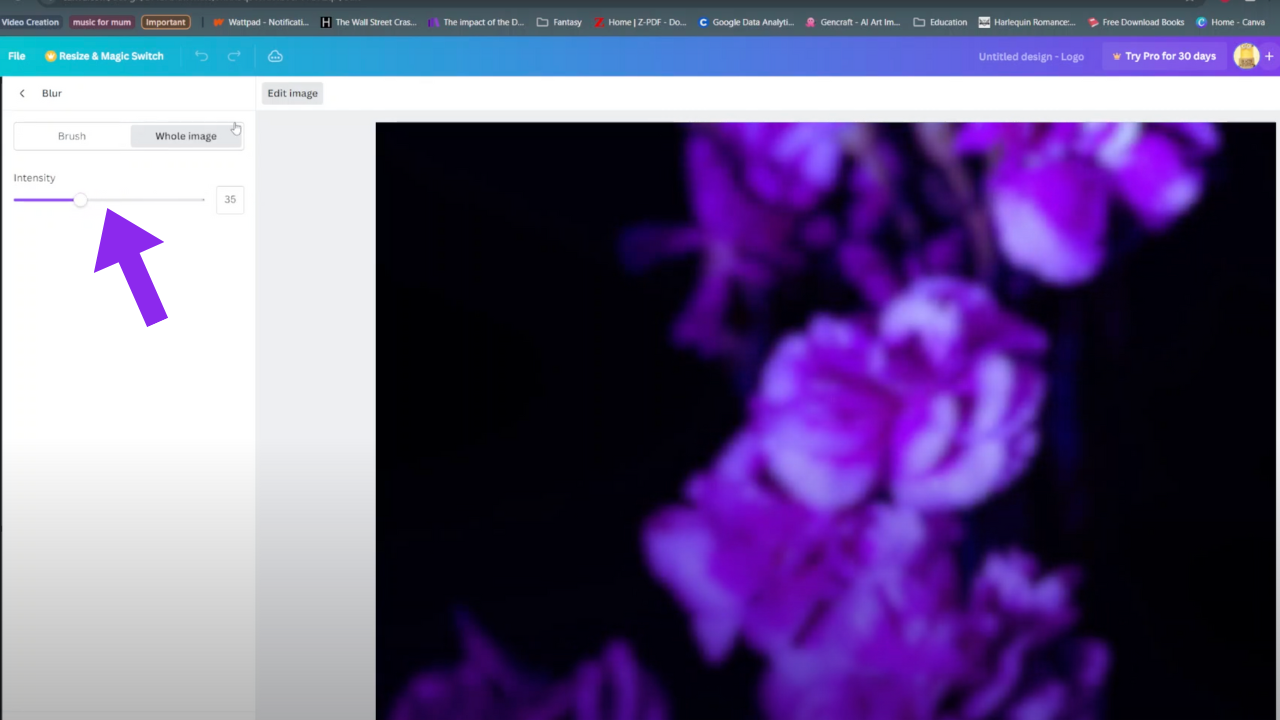
Step 3: Under the “Blur” setting, you’ll encounter the option to apply the effect to the entire image. This feature enables you to create a uniform blur effect across the entirety of your photo. The accompanying slider allows for seamless adjustment of the blur intensity, granting you precise control over the final result.
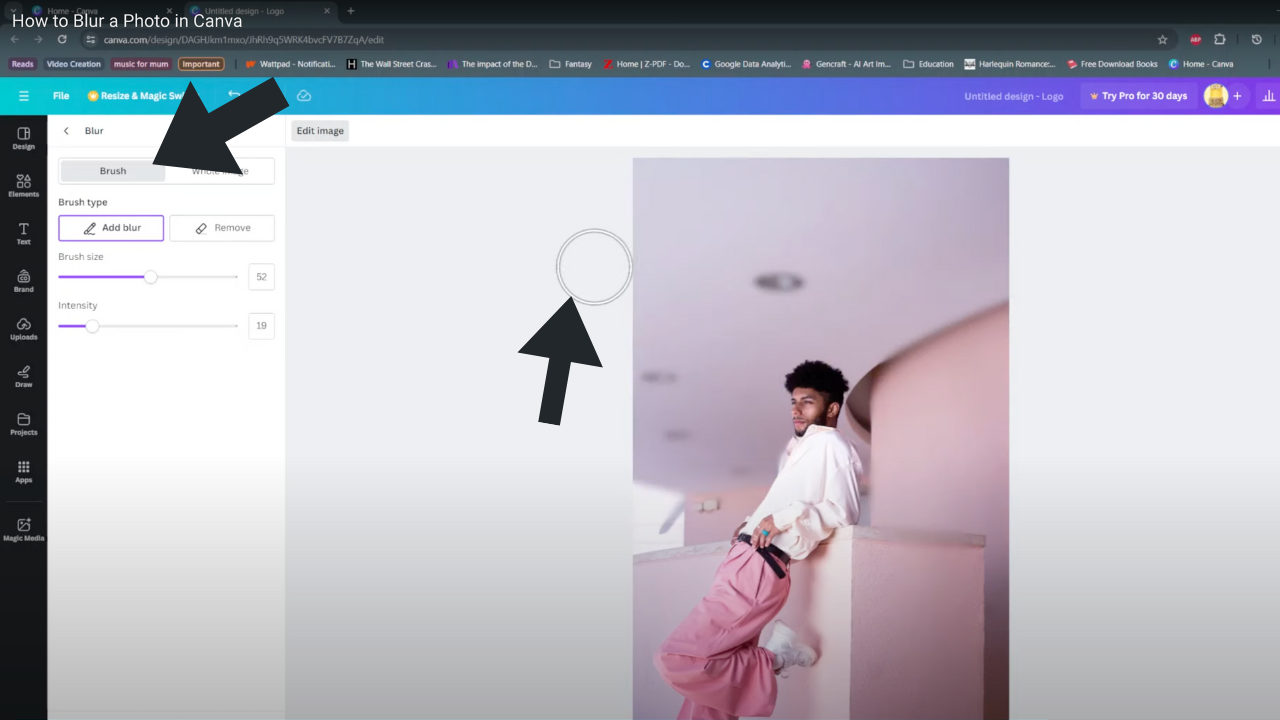
Step 4: For more nuanced editing, opt for the “Brush” tool instead of applying the blur effect to the entire image. This strategic choice empowers you to target specific areas for blurring, adding depth and emphasis where needed. Utilize the brush tool with precision, delicately blurring selected regions to achieve your desired aesthetic. Through this method, you can craft visually captivating images tailored to your creative vision.
As we conclude this journey through the intricacies of blurring photos in Canva, it’s essential to reflect on the newfound skills acquired. Each step undertaken, from adding the image to applying blur effects, has been a pivotal part of the creative process. These actions, though seemingly simple, have laid the groundwork for transforming ordinary images into visually compelling masterpieces. By understanding how to utilize Canva’s tools effectively, you’ve unlocked a world of creative possibilities.

