The Roku TV remote is an essential tool for navigating through the vast world of entertainment on your Roku device.
However, even the most advanced remotes require a power source, and when the batteries run low, it’s time for a quick and simple replacement.
In this guide, we’ll walk you through the comprehensive step-by-step process on how to change the batteries on your Roku TV remote.
Also Read: How To Screen Mirror Any Samsung Phone To Roku TV
How To Change Batteries On Roku TV Remote
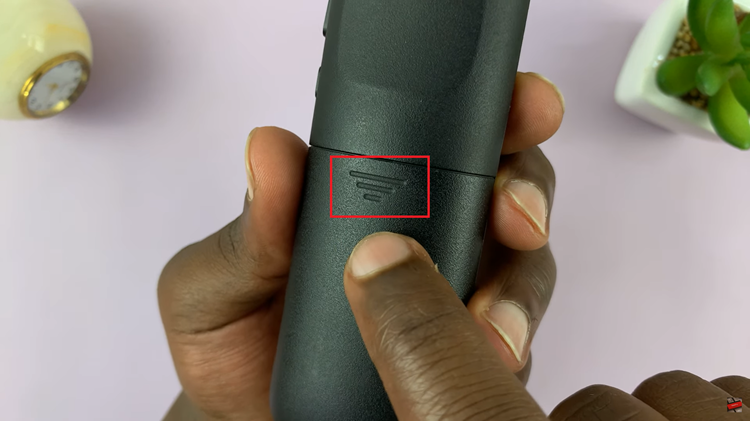
The first step is to find the battery compartment on the back of the remote. This compartment is usually situated near the bottom, and you’ll notice a slight indentation or a cover indicating its location.
Once you’ve located the battery compartment, gently open the cover. This can typically be done by sliding it in the direction indicated on the cover or by using a small coin or flat tool to release the latch.

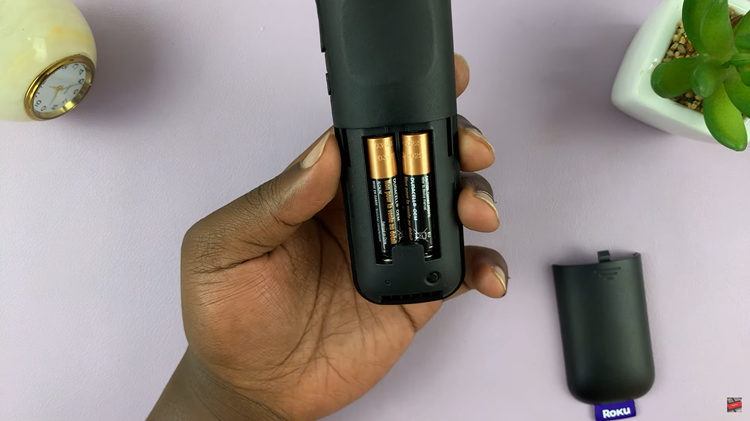
Carefully remove the old batteries from the compartment. Take note of their orientation, as it’s crucial to insert the new batteries correctly.
Grab your fresh set of batteries and align them according to the polarity indicated inside the battery compartment. Most remotes have a diagram displaying the correct orientation for positive (+) and negative (–) ends.

Once the new batteries are securely in place, close the battery compartment cover. Make sure it clicks into position, ensuring a snug fit that prevents the batteries from dislodging during regular use.
To ensure the success of the battery replacement, test your Roku TV remote by pressing a few buttons. If everything is in order, you should notice an immediate response from your Roku device. If not, double-check the battery orientation and reseat them if necessary.
