In the ever-evolving world of technology, customization is key, and Android users know this better than anyone. One of the ways you can tailor your Android experience is by changing the default apps on your device.
Whether you prefer a different web browser, messaging app, or gallery application, Android offers a simple process to make these adjustments.
In this guide, we’ll walk you through the comprehensive step-by-step process on how to change default app on your Android phone.
Also Read: How To Enable & Disable Homepage Button On Chrome Mobile
How To Change Default Apps On Android
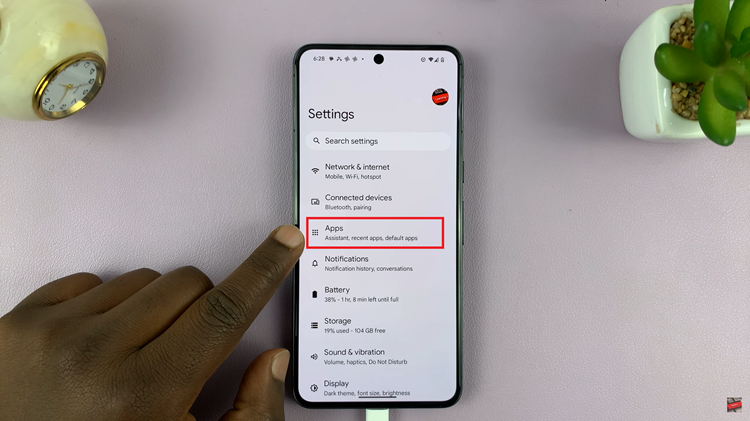
The first step is to open the Settings app. Within the Settings menu, look for the “Apps” or “Application Manager” option. The exact wording may vary slightly depending on your device and Android version. Once you locate it, tap on it to access the list of all installed apps on your device.
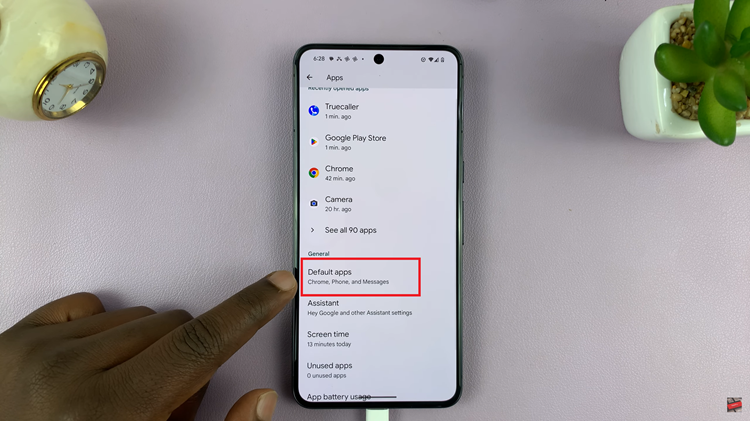
Among the various app settings, you should find an option labeled “Default Apps” or something similar. This is where you’ll manage the default settings for various actions on your device. Tap on “Default Apps” to proceed.
In the Default Apps menu, you’ll see a list of categories such as Browser, Phone, Messaging, and more. Tap on the category corresponding to the app you want to change. For example, if you want to change the default web browser, select the “Browser” option.
Once you’ve chosen the category, a list of installed apps that can serve as alternatives will appear. For instance, if you’re changing the default browser, you might see options like Chrome, Firefox, or any other browser you have installed. Tap on the alternative app you prefer to set as the default.
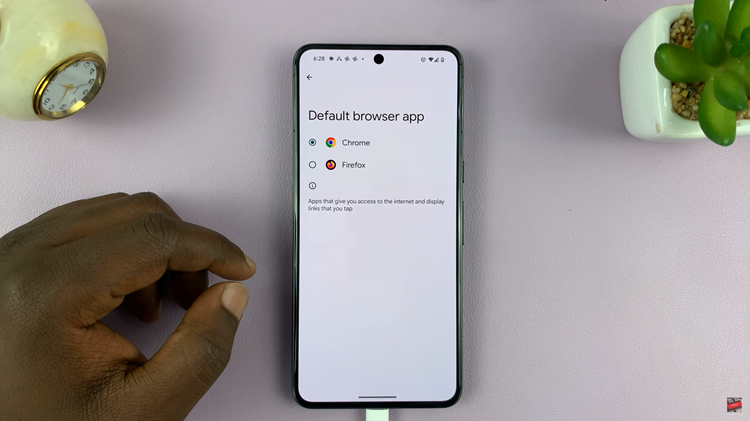
After selecting the alternative app, you may be prompted to confirm your choice. This ensures that you indeed want to change the default setting. Confirm your decision, and you’re all set!
