In the vast world of Android customization, there are numerous ways to make your smartphone uniquely yours. One simple yet impactful way to add a personal touch to your device is by changing its name.
Your Android device’s name is more than just a string of characters; it’s a reflection of your style and personality.
In this guide, we’ll walk you through the comprehensive step-by-step process on how to change the device name on your Android phone.
Also Read: How To Change Default Apps On Samsung Phone & Tablet
How To Change Device Name On Android
Locate the Settings app. Within the Settings menu, scroll down until you find the option labeled “About Phone” or “About Device.” This section typically contains essential information about your device, including software details and hardware specifications.
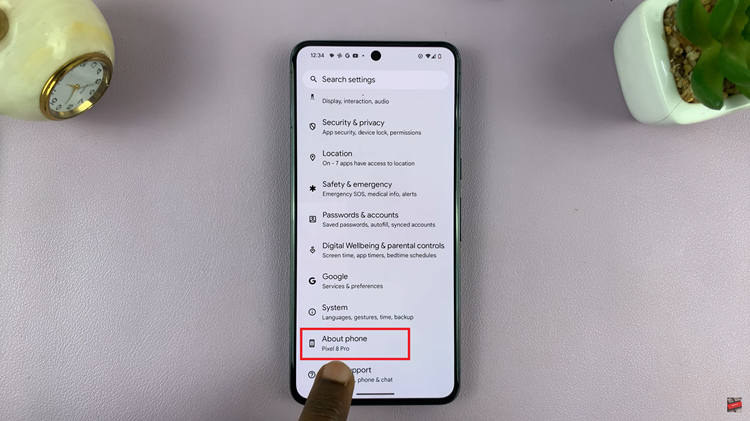
Once you’re in the “About Phone” section, look for the option named “Device Name.” It’s the key to personalizing your Android device. Tap on it to proceed to the next step.
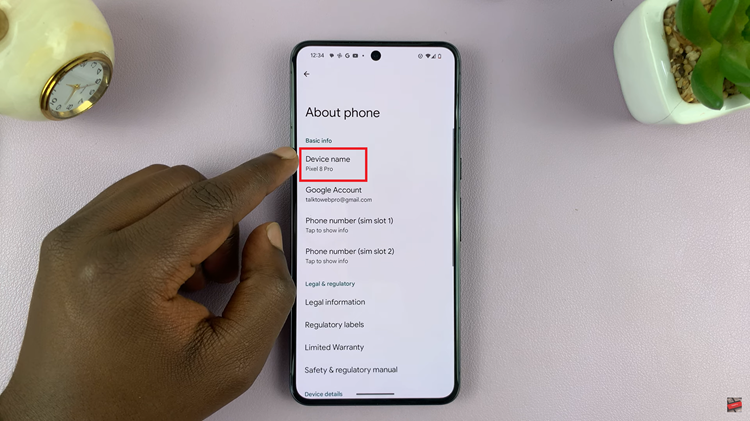
In the “Device Name” menu, you’ll see the current name of your device. Tap on it, and a text box should appear, allowing you to input a new name for your Android device. Choose a name that reflects your style or makes your device easily identifiable. After typing the new name, tap on “OK” to save the changes.
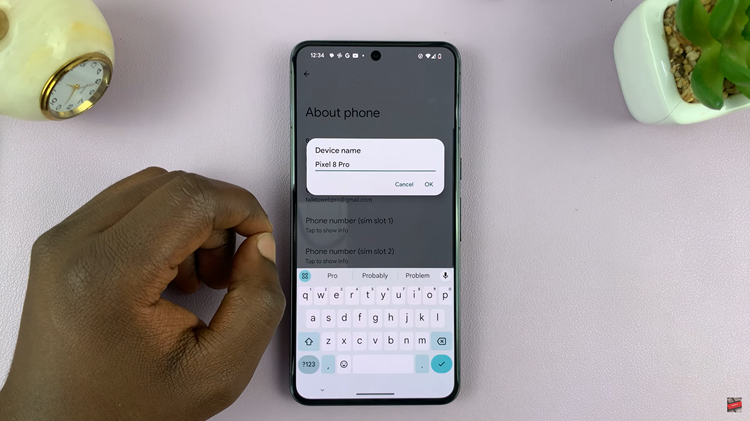
Once you’ve entered the desired device name and tapped “OK,” the changes should take effect immediately. You can double-check by returning to the “About Phone” section and ensuring that the updated device name is displayed. Changing your device name will also change the Bluetooth name.
