In the world of audio technology, comfort and fit are paramount for an immersive listening experience. The Oraimo FreePods 4, known for their exceptional sound quality and ergonomic design, offer users the opportunity to tailor their earbuds to their unique ear shapes and preferences.
One of the key features that contribute to this customizable experience is the ability to change the ear tips. Whether you’re upgrading to a more secure fit or simply seeking greater comfort, changing the ear tips can be useful.
In this guide, we’ll walk you through the comprehensive step-by-step process on how to change the ear tips of your Oraimo FreePods 4.
Also Read: How To Connect Oraimo FreePods 4 To ANY Smart TV
How To Change Ear tips Of Oraimo FreePods 4
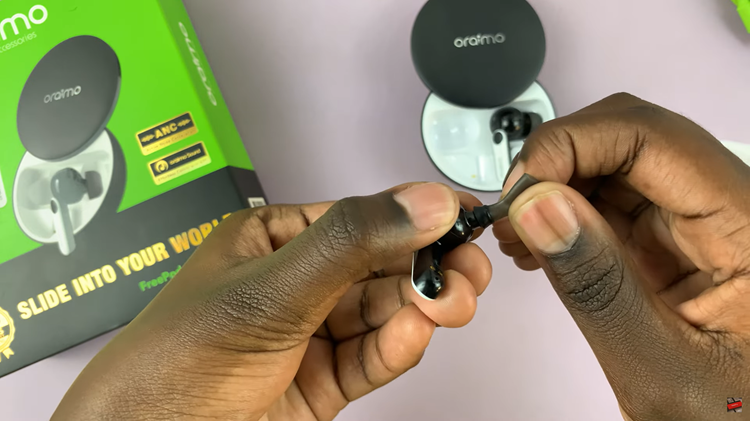
Start by gently gripping the existing ear tip of your Oraimo FreePods 4. Be careful not to apply excessive force to avoid damaging the earbuds. Slowly pull the ear tip away from the earbud until it detaches completely.

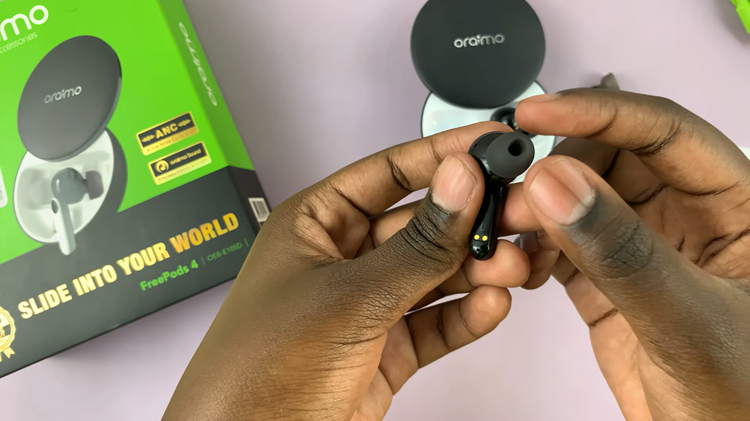
The FreePods 4 come with a variety of replacement ear tips in different sizes. Take your time to select the ear tip size that best fits you. Once you’ve selected the appropriate replacement ear tips, align the nozzle of the earbud with the opening of the ear tip. Ensure that they are correctly positioned. With gentle pressure, push the ear tip onto the earbud until it is secured.

Changing the ear tips of your Oraimo FreePods 4 can significantly enhance your listening experience. By following the steps outlined in this guide, you can customize the fit of your earbuds to suit your individual preferences and enjoy improved comfort and sound quality.

