Customizing the mouse pointer speed in Windows 11 can significantly impact your computing experience, allowing you to fine-tune the sensitivity of your mouse to suit your preferences and needs.
Whether you prefer a slower and more precise pointer or a faster and more responsive one, Windows 11 offers easy-to-use settings to achieve just that.
In this step-by-step guide, we’ll walk you through the process of changing your mouse pointer speed in Windows 11.
Watch: How To Install Ubisoft Connect App On Windows PC
How To Change Mouse Pointer Speed In Windows 11
First, click on the Start button and then the gear icon (Settings) to open Windows Settings. If you can’t find the Settings icon, click on the search bar and type in Settings.
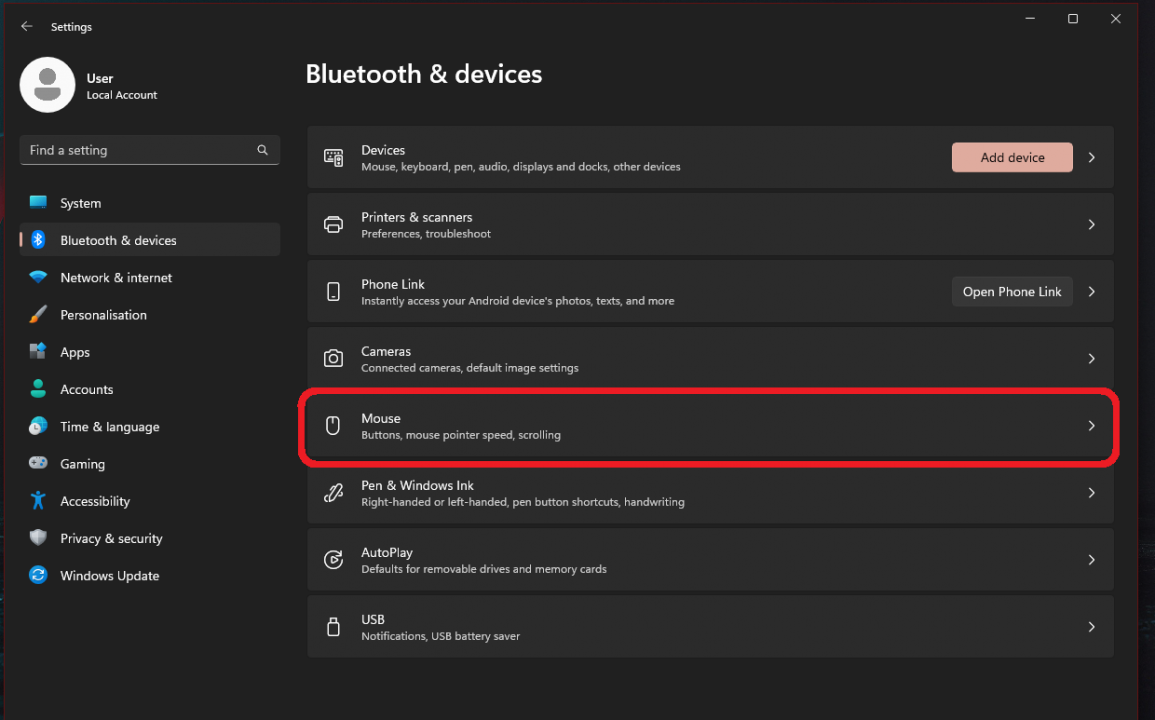
Next, click on “Bluetooth & Devices” from the menu that appears on the left side. Now scroll down and click on the “Mouse” option.
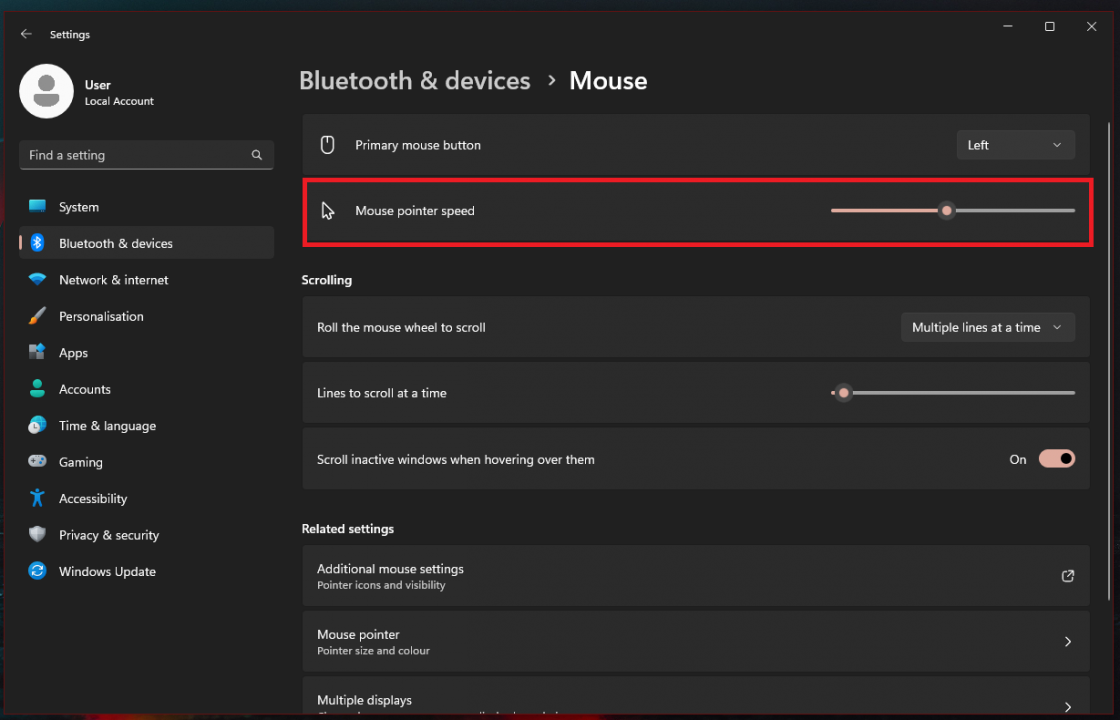
At this point, you’ll see the “Mouse pointer speed” option with a slider icon. Slide the pointer speed slider left to decrease the speed for slower movement or right to increase the speed for faster movement.
After making changes to the pointer speed, it’s essential to test the new settings. Move your mouse around the screen and perform various tasks such as navigating through folders, selecting text, and interacting with icons.
And that’s how to change the mouse pointer speed in Windows 11. If you have any questions or suggestions, let us know in the comment section below. If you found the article helpful, consider sharing it with someone who needs it.
Read: How To Enable & Disable 24-Hour Clock Format On Apple Watch