In this article, we’ll delve into the intricacies of changing the Wi-Fi connection on the Xiaomi Smart Camera C500 Pro, empowering you to maintain uninterrupted surveillance effortlessly.
In the era of smart homes and interconnected devices, ensuring seamless connectivity is paramount. Xiaomi, known for its innovation in the realm of smart technology, presents the Xiaomi Smart Camera C500 Pro, a cutting-edge device designed to enhance home security and monitoring.
However, as circumstances change and networks evolve, it’s essential to know how to adapt your smart camera to stay connected.
Understanding the Importance of Wi-Fi Connection
Before we embark on the journey of switching Wi-Fi connections, let’s grasp why it’s crucial for the functionality of your Xiaomi Smart Camera C500 Pro. Wi-Fi serves as the lifeline, enabling communication between the camera and your smartphone or home network. A stable and secure Wi-Fi connection ensures real-time monitoring, access to footage, and timely alerts, thereby maximizing the utility of your smart camera.
Preparing for the Change
Gather Necessary Information: Before initiating the process, ensure you have essential details at hand, including the new Wi-Fi network’s name (SSID) and password. This information is vital for seamlessly connecting your Xiaomi Smart Camera C500 Pro to the updated network.
Accessing the Xiaomi Smart Camera App: Open the Xiaomi Smart Camera app on your smartphone. This intuitive application serves as the command center for managing your smart camera and configuring its settings.
Watch: How To Disable Lock Screen Shortcuts On Samsung Galaxy A35 5G | Remove Lock Screen Shortcuts
Change Wi-Fi Connection On Xiaomi Smart Camera C500 Pro
There’s really no option to switch the Wi-Fi connection from the camera’s settings. Therefore, for this to be possible, you’ll have to reset your Xiaomi Smart Camera C500 Pro. To do this:
Locate the reset button. On the Xiaomi Smart Camera C500 Pro, it should be right next to the USB-C port. Long press on the reset button for about 7 seconds, until you hear a voice confirmation of the reset.
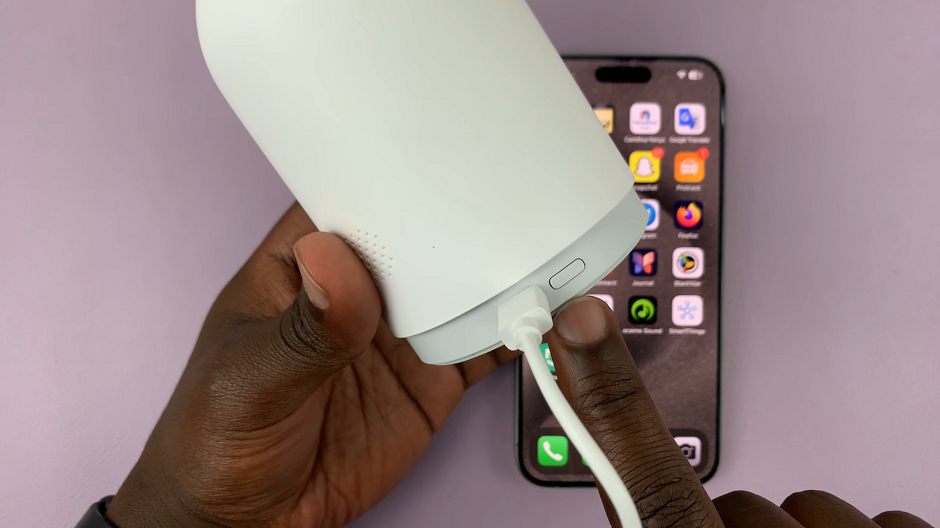
The camera will reboot, and the reset process will begin. Be patient, as this may take a few moments to complete.
Once the reset is complete, you’ll need to set up your Xiaomi Smart Camera C500 Pro again from scratch.
Next, connect your phone to the new Wi-Fi network that you want to use on your camera. Follow the appropriate steps for your specific device.
Open the Xiaomi Mi Home app on your device. Once you’re in the Xiaomi Mi Home app, locate the Xiaomi Smart Camera C500 Pro in your device list. Tap on the camera to access its menu. Then, tap on the three dots in the top-right corner to access the Settings menu.
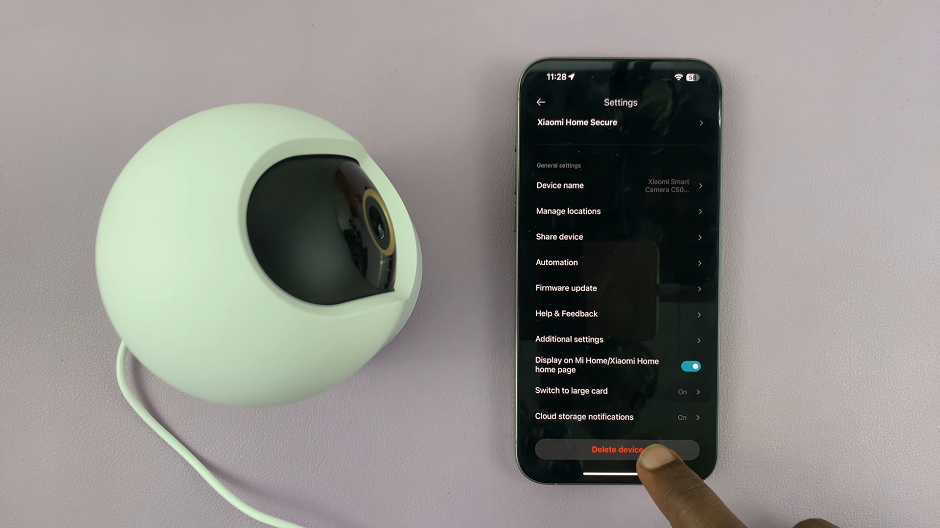
Within the settings menu, scroll all the way down to find the option, Delete Device and tap on it. Tap on OK to confirm the device removal. With the device removed, you should now be able to enter set up the device afresh.
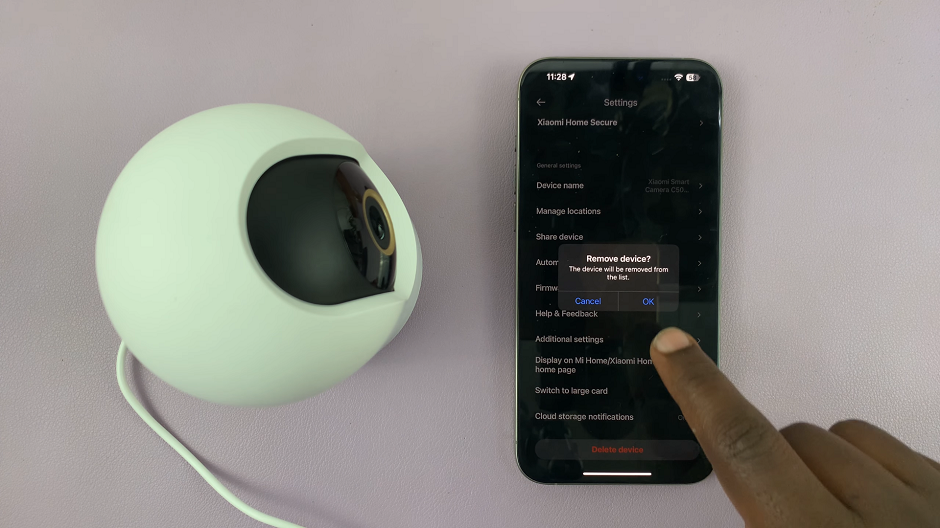
Add Device To Change Wi-Fi Connection On Xiaomi Smart Camera C500 Pro
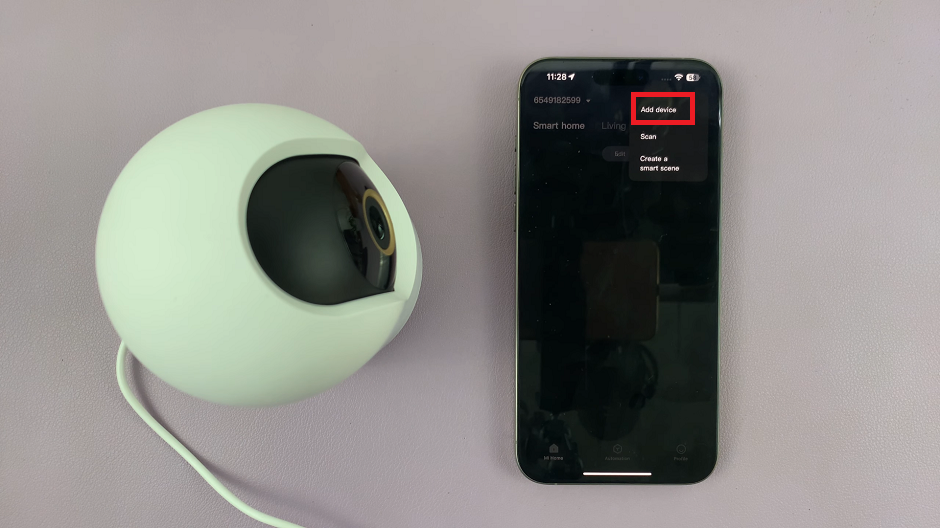
Go back to the Mi home app’s main page and tap on the + icon in the top-right hand corner. Then, select Add device from the options. Your device should detect the camera automatically, since it is in set up mode.
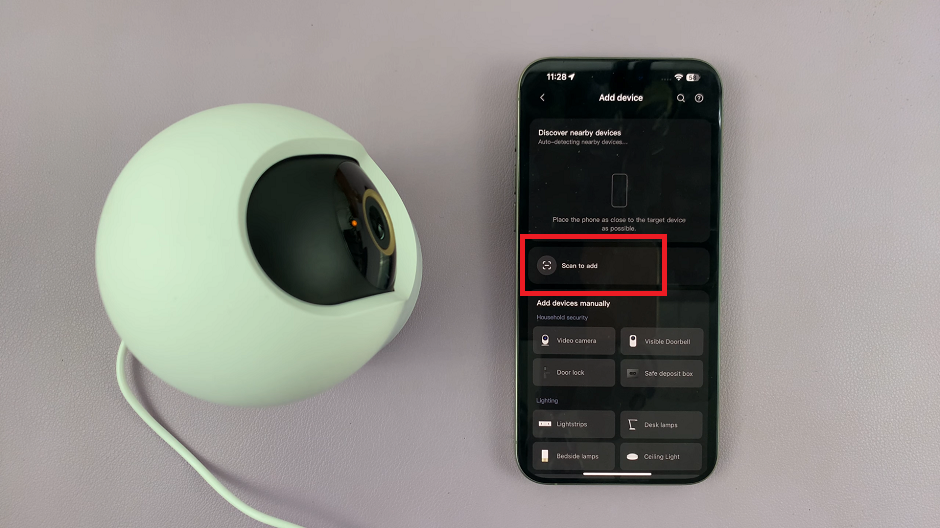
If the camera is not detected immediately, simply tap on Scan to Add.
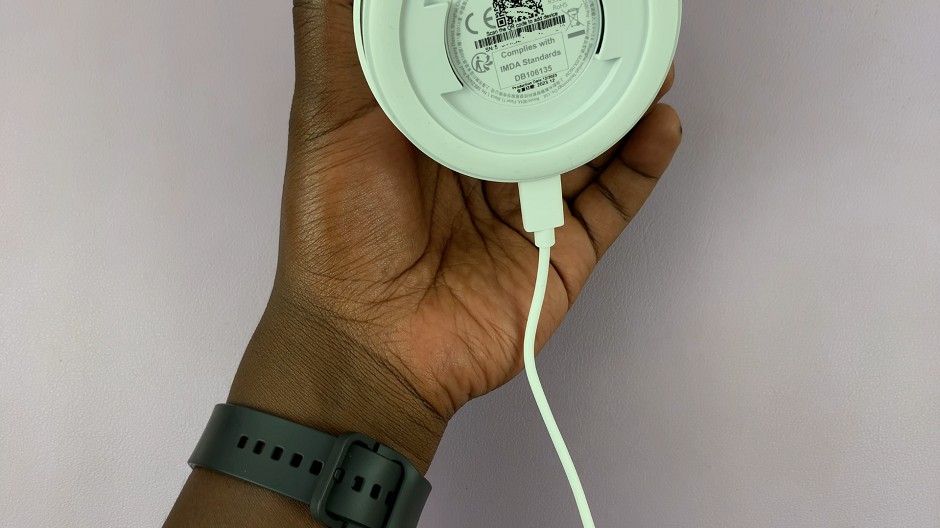
Use the QR code scanner to scan the QR code at the bottom of the camera. This will prompt you to reset the device again. So, long press the reset button on the camera once more.
As you wait for the camera to reset, tap on the Device Reset option on your device. This will direct you to the Select Wi-Fi page.
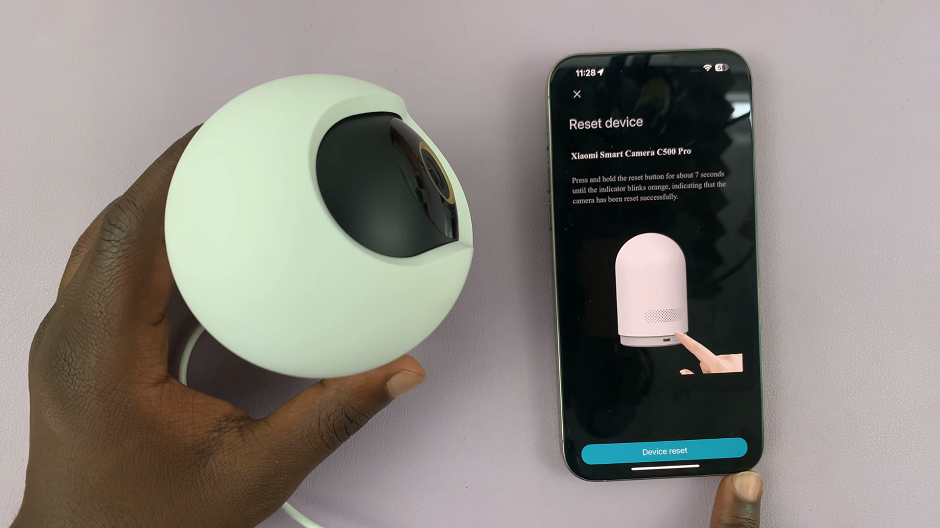
Next, you want to change the Wi-Fi connection. Tap on the Wi-Fi name to edit, and delete the name of the Wi-Fi connection that is there.
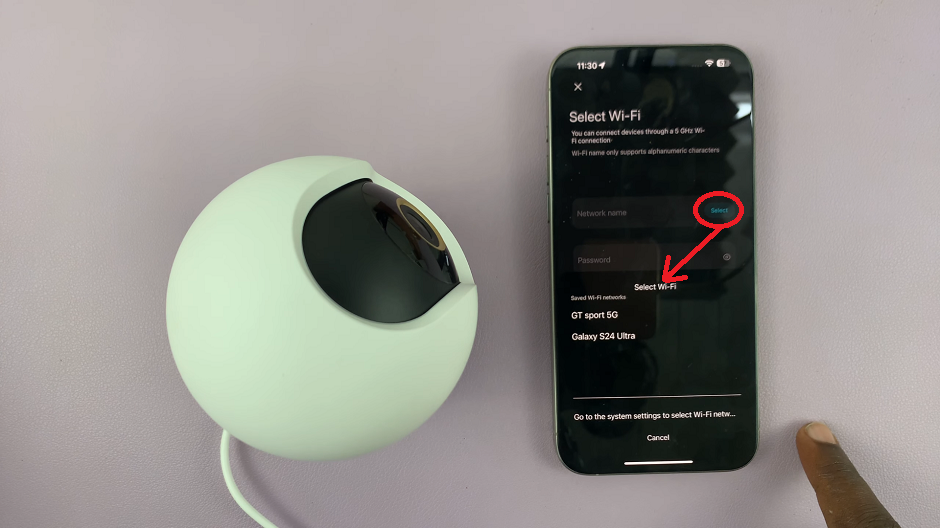
Tap on the Select option. From the list of available networks, select your new Wi-Fi network. Enter the password and tap on Next.
In the next page, you will be prompted to join the Wi-Fi network created by camera. Tap on Join. Wait patiently for the connection to be established.
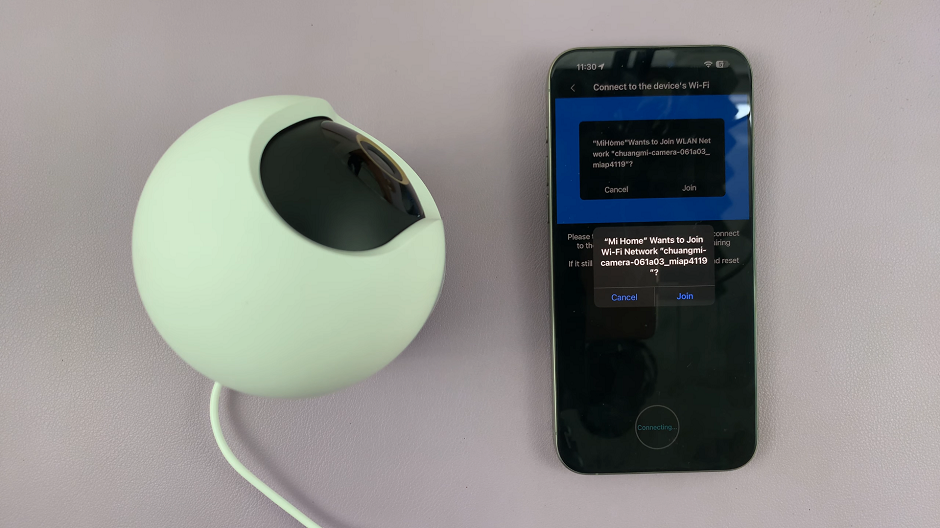
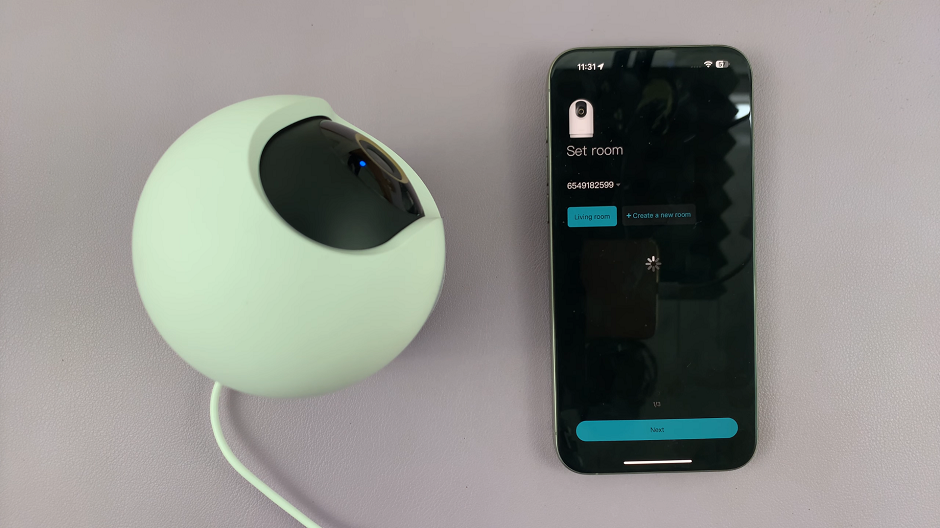
Once it’s connected, you can set up the camera as usual, with it connected to the new Wi-Fi network. Simply follow the on-screen instructions. Once you are redirected to the live feed, it will confirm that the switching of the Wi-Fi connection was successful.
Final Checks and Troubleshooting
Verify Connectivity: Double-check that your Xiaomi Smart Camera C500 Pro is now connected to the new Wi-Fi network. You can do this by ensuring the camera’s status within the app displays as online or connected.
Troubleshooting: In the event of connectivity issues or unsuccessful connection attempts, verify that the entered Wi-Fi password is correct and that the selected network is functioning correctly. Additionally, ensure that the camera is within range of the Wi-Fi signal.
Congratulations! You’ve successfully mastered the art of changing the Wi-Fi connection on your Xiaomi Smart Camera C500 Pro. By following these straightforward steps, you can adapt your smart camera to new network environments with ease, ensuring uninterrupted surveillance and peace of mind. Remember, maintaining a stable and reliable Wi-Fi connection is essential for harnessing the full potential of your smart home devices.
