Roku TV has emerged as a popular choice for many, providing a diverse range of channels and content. However, circumstances may arise when you need to switch your Wi-Fi network on your Roku TV.
Whether you’ve recently switched to a new Wi-Fi network or need to connect your Roku TV to a different one, fear not – the process is simpler than you might think.
In this guide, we’ll walk you through the comprehensive step-by-step process on how to change the Wi-Fi network on Roku TV.
Also Read: How To Change Theme, Wallpaper & Screen Saver On Roku TV
How To Change Wi-Fi Network On Roku TV
The first step is to access the Settings menu. Within the Settings menu, scroll down and locate the ‘Network‘ option. Highlight and select it to access the Network settings. Under Network settings, look for the ‘Set Up Connection‘ option. Choose this option to initiate the process of setting up a new connection.
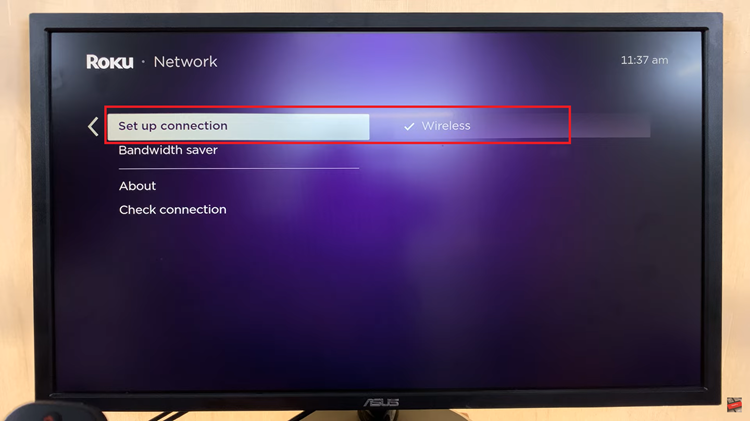
In the connection options, select ‘Wireless.’ Allow the system a moment to scan for available Wi-Fi networks in the vicinity. Wait for Roku TV to complete the scan for available networks. Once the scan is finished, a list of Wi-Fi networks will appear on your screen.
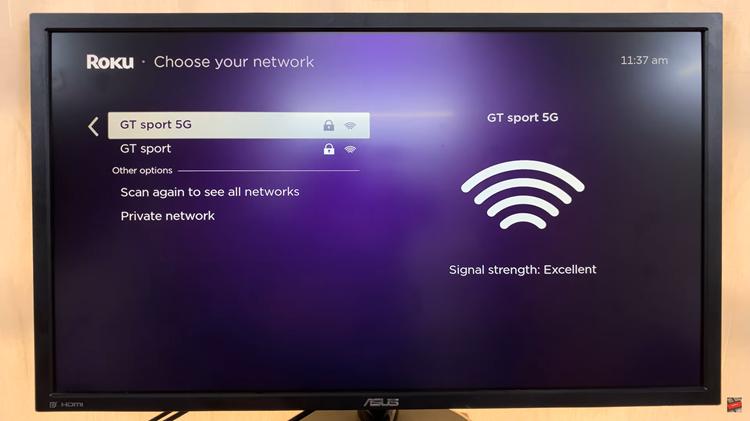
Scroll through the list and choose the Wi-Fi network you want to connect to. Highlight the desired network and select it. If the selected Wi-Fi network is secured, Roku will prompt you to enter the password.
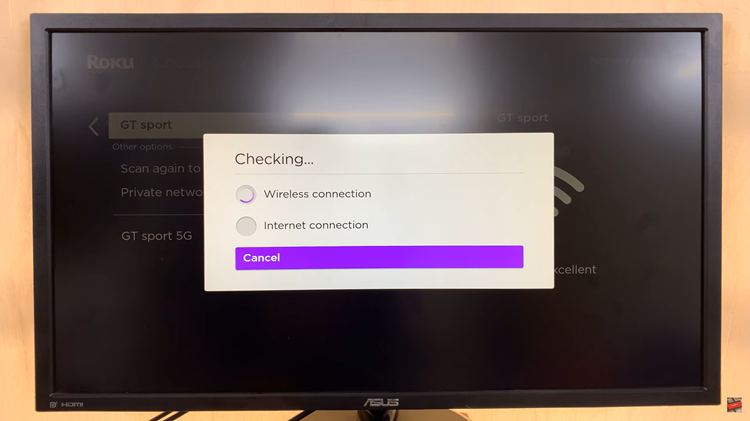
Use the on-screen keyboard to input the correct password for the chosen network. After entering the password, Roku TV will attempt to connect to the new Wi-Fi network. Be patient as it establishes the connection.
By following these simple steps, you can navigate through the settings menu, select the desired Wi-Fi network, and enter the password, allowing you to enjoy uninterrupted streaming on your Roku TV.

