In the realm of social media, Instagram reigns supreme as a platform where individuals can craft their digital personas and connect with a global audience. Your Instagram profile serves as your virtual identity, a canvas where you showcase your interests, experiences, and, of course, your name.
Whether you’re undergoing a rebranding journey, celebrating a milestone, or simply seeking to update your profile with a new alias, the ability to change your name on Instagram empowers you to curate your online presence with precision and authenticity.
In this guide, we’ll walk you through the comprehensive step-by-step process on how you can change your name on Instagram.
Also Read: How To See Your Instagram Subscriptions
How To Change Your Name On Instagram
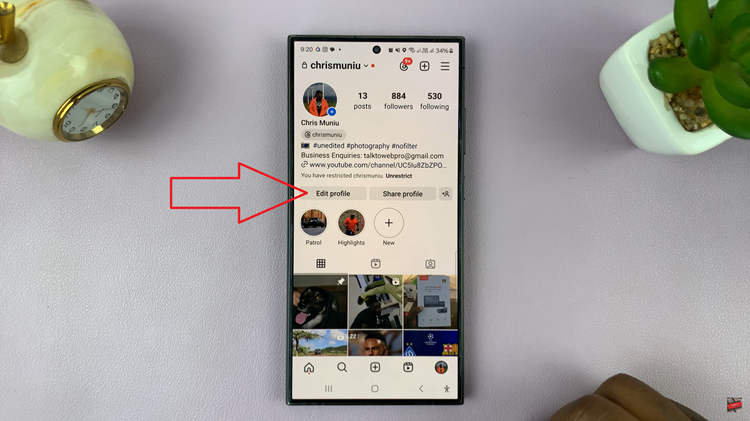
Begin by opening the Instagram app and logging into your account. Once logged in, locate the profile icon, typically found in the bottom-right corner of the screen, and tap on it. On your profile page, you’ll see an option labeled “Edit Profile.”
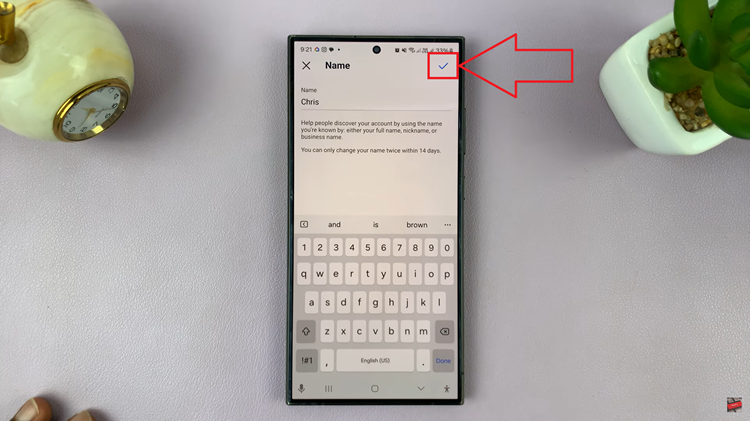
Locate your current name and tap on it to initiate changes. Once in editing mode, delete or edit your existing name and type in the new one that you wish to display on your profile. After entering your new name, tap on the checkmark to update your name accordingly.
If your Facebook and Instagram profiles are linked, the process may differ slightly. In this case, navigate to your profile page and access your account settings. Look for an option called “Accounts Center” and tap on it. Within Accounts Center, select “Profiles” and proceed to update your name as desired.
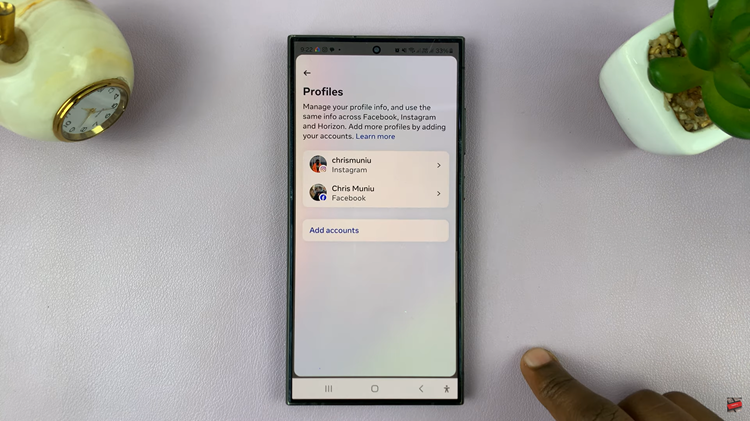
Keep in mind that changing your name here will not automatically update it on both apps; you may need to repeat the process for each platform individually.
By following these straightforward steps, you can customize your name on Instagram and ensure that your profile reflects your preferences. Whether you’re adopting a new moniker, embracing a nickname, or aligning your online presence with changes in your life, Instagram has you covered.
