In the era of boundless digital content creation, the ability to effortlessly transfer files between devices has become paramount. For avid photographers and videographers wielding both a dedicated camera and an Android smartphone, the prospect of swiftly accessing and sharing captured moments is a tantalizing one.
Fortunately, bridging the gap between these devices has never been easier. With the right tools and know-how, you can seamlessly connect your camera’s SD card to your Android phone, unlocking a world of convenience and efficiency.
In this guide, we delve into the intricacies of establishing this vital link between your trusted camera and your Android.
Watch: How To Log Out Instagram From Other Devices
To Connect Camera SD Card To Android Phone
To connect your camera’s SD card to your Android phone, you’ll need an appropriate adapter. There are several types of adapters available, depending on the connection ports of both your camera’s SD card and your Android phone. Choose the adapter that best suits your devices and preferences
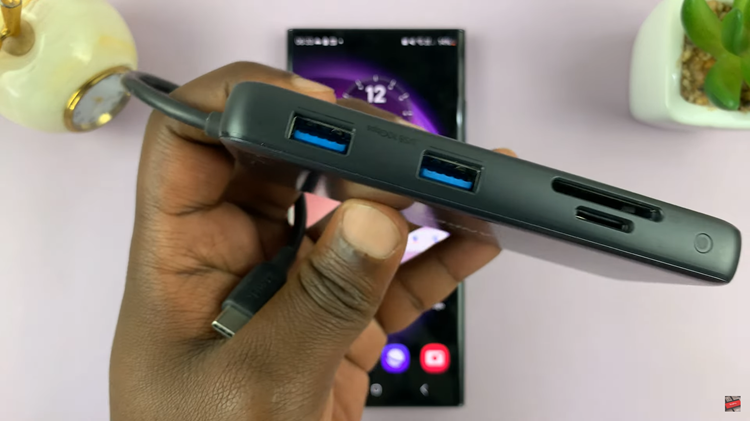
Once you have the appropriate adapter, simply insert your camera’s SD card into the adapter. Then, connect the adapter to your Android phone’s charging port (USB-C or micro USB), depending on the type of adapter you have.
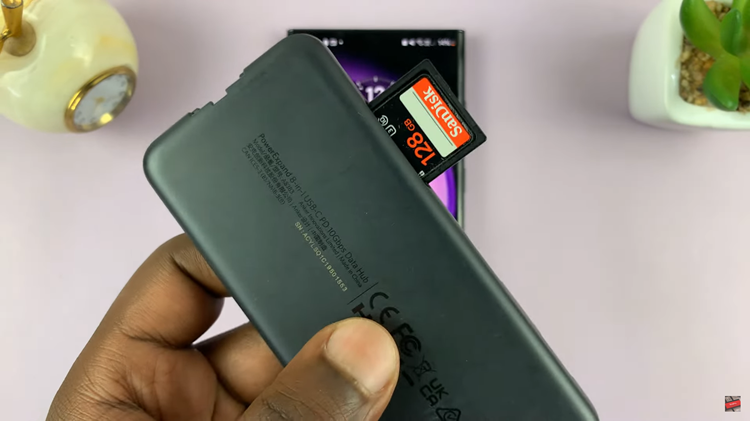
At this point, your Android phone should recognize the SD card as external storage. You can access the files stored on the SD card using the built-in file manager. Launch the Files app on your device and find the SD card from the storage device.
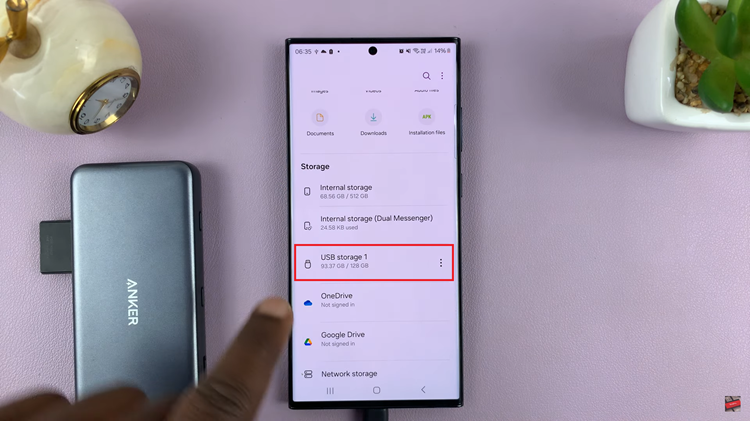
Subsequently, you can now transfer files between the SD card and your phone’s internal storage or vice versa. Simply select the files you want to transfer and copy or move them to the desired location on your Android device. Afterward, safely eject the camera SD card to avoid any data loss.
By following these steps, you can easily connect your camera SD card to your Android phone and transfer photos and videos with ease.
Read: How To Transfer Data From Old Phone To Samsung Galaxy A25 5G
