In the world of rapidly advancing technology, our smartphones serve as central hubs for our digital lives. From storing precious memories to managing work-related documents, the need for expanded storage on these devices has become increasingly essential.
Fortunately, many Android phones offer the flexibility of expanding storage capacity by connecting an external SD card. Whether you’re an avid photographer looking to store a plethora of high-resolution images or a mobile gamer with a growing collection of apps, the addition of an external SD card can be a game-changer.
This guide will walk you through the step-by-step process of seamlessly connecting an external SD card to your Android device.
Watch: How To Change Alarm Sound On Android Samsung Galaxy
To Connect External SD Card To Android
Initially, gather your SD card and the SD card adapter to facilitate the connection. Next, locate the slot designated for the SD card on the adapter, usually positioned on the side or at the back.
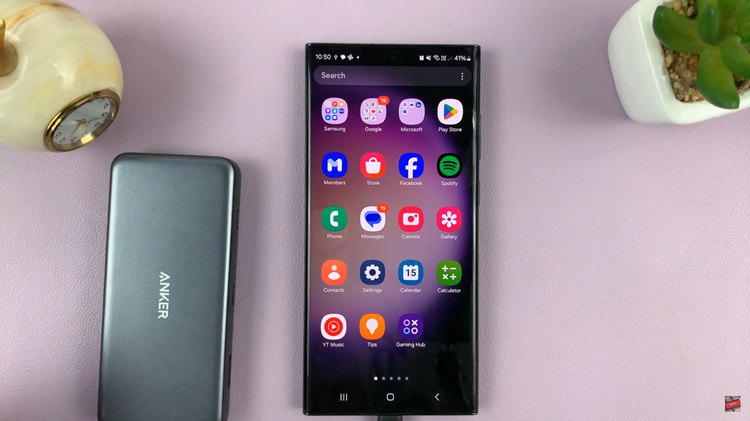
At this point, carefully insert the SD card into the adapter, aligning it according to the indicated direction or markings. Following that, plug the SD card adapter into your Android phone’s USB-C port. Once done, your device should automatically detect the SD Card.

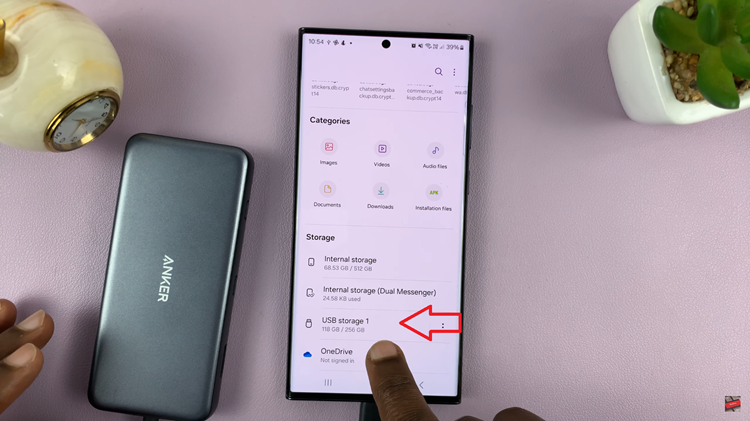
Afterward, head to the “Files” app on your device and find your SD Card. Tap on it to access the contents of the SD Card. At this point, you can decide to transfer files between your device and the card. Once done, you can safely eject the card.

In conclusion, connecting an external SD card to your Android phone is a convenient way to expand storage and manage your data efficiently. By following these steps, you can seamlessly integrate and utilize additional storage space on your device.
Read: How To Turn OFF Keyboard Vibration On Android (Samsung Galaxy)

