Headphones are ideal if you don’t want to disturb the people you share your space with while you’re playing.
Or maybe you are like me and you want to immerse yourself completely in the intensity of the game. Reach for your headphones.
Below, let me show you how you can connect headphones to a PS4.
How To Connect Headphones To A PS4
Connecting Supported Bluetooth Headphones
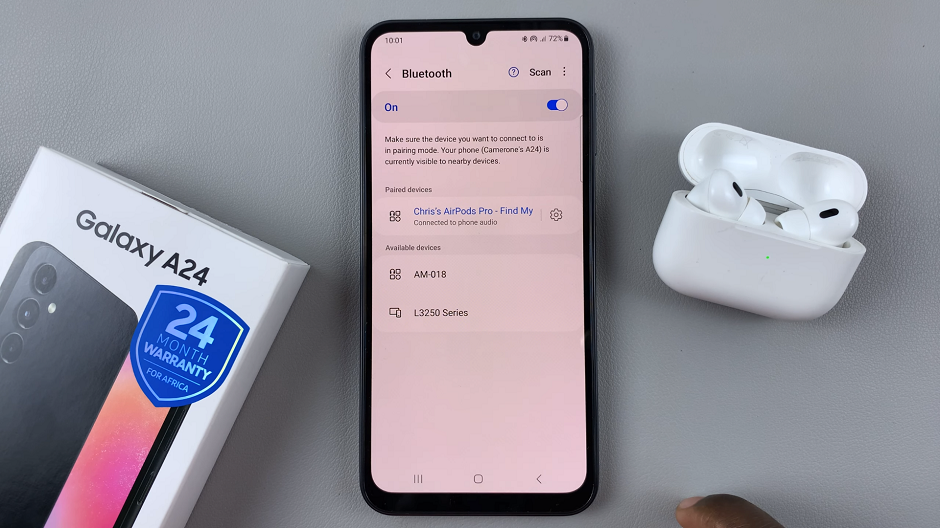
Turn on your Bluetooth headphones and put them on Pair mode. If you are unsure how to do so, refer to the directions provided in the manual they came with.
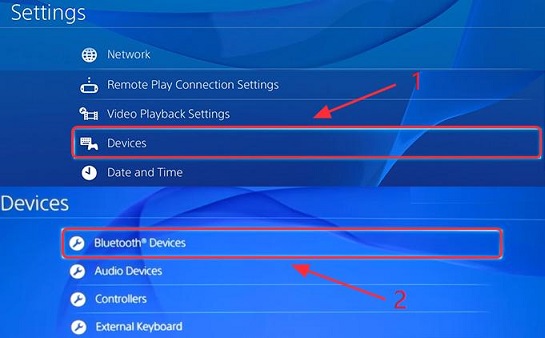
On your PS4, open Settings and go to Bluetooth devices under the Devices option.

From the displayed list, select your headphones to connect to your PS4 and you are good to go.
Connecting Unsupported Bluetooth Headphones
Sometimes your Bluetooth headphones may not be compatible with your PS4. Luckily, you can work around this particular predicament.
To do so, you will need an audio cable that has a built-in microphone.
Use the audio cable to connect your headphones with the PS4 and then turn on the headphones.
On your PS4, open Settings then go to Bluetooth devices found under the Devices option. Here, select your headphones.
On selecting your headphones, activate them then select Audio devices under the Devices menu.
Under Audio devices, select Output devices then Headset Connected to Controller. Now select Output to Headphones and then choose All Audio.
Now you can use your headphones, despite their being unsupported.
Connecting Using A USB Adapter
On your PS4, identify an available USB port and insert your USB adapter. Switch on the PS4 so it can identify the adapter.
Next up, follow the previous drill of going to the Devices menu under the Settings option.
In the Devices menu, go to Audio devices and select Output devices then USB headphones. From here, you can also adjust the volume to your liking.
After this, select Output to headphones then select All Audio. Once this is done, you should be connected and can now go ahead and enjoy playing.

