The Nintendo Switch is a versatile console that allows you to play your favorite games both at home and on the go.
While the Switch is primarily designed for wireless connectivity, there are situations where a wired connection is preferable for its stability and speed.
This article will guide you through the process of connecting your Nintendo Switch to a wired internet connection using an Ethernet cable without the dock.
Why Choose a Wired Connection?
Before diving into the setup, it’s important to understand why you might opt for a wired connection:
Faster Speeds: Wired connections typically offer faster download and upload speeds compared to wireless.
Stability: A wired connection is less prone to interference, providing a more stable and reliable internet experience.
Reduced Latency: For online gaming, lower latency can make a significant difference, reducing lag and improving responsiveness.
Watch: How To Change Face ID On iPad
Connect Wired Internet (Ethernet Cable) To Nintendo Switch Without Dock
While there is a dedicated LAN port on your Nintendo Switch’s dock, to connect an Ethernet cable, you can still connect wired internet without the dock.
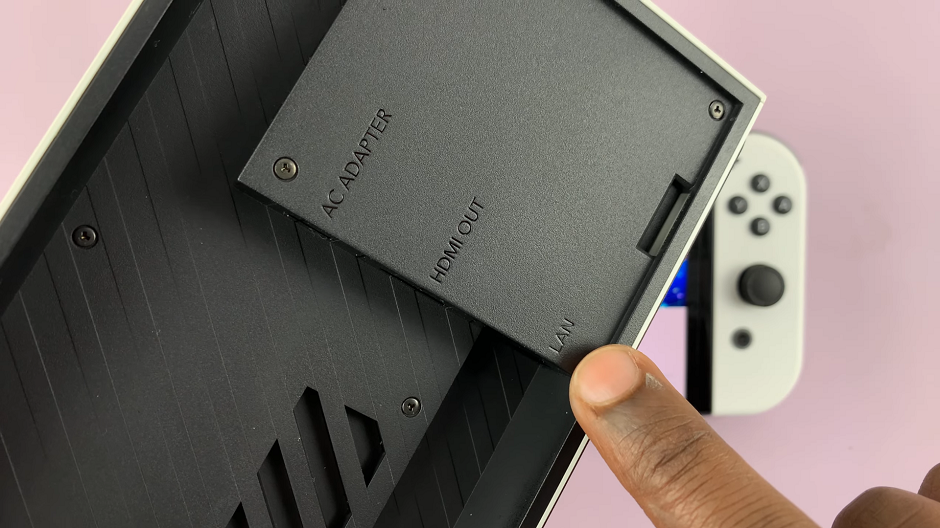
First, ensure that you have the necessary equipment:
Ethernet Adapter: To connect your Nintendo Switch to an Ethernet cable, you’ll need an Ethernet adapter compatible with your device. Consider this one.
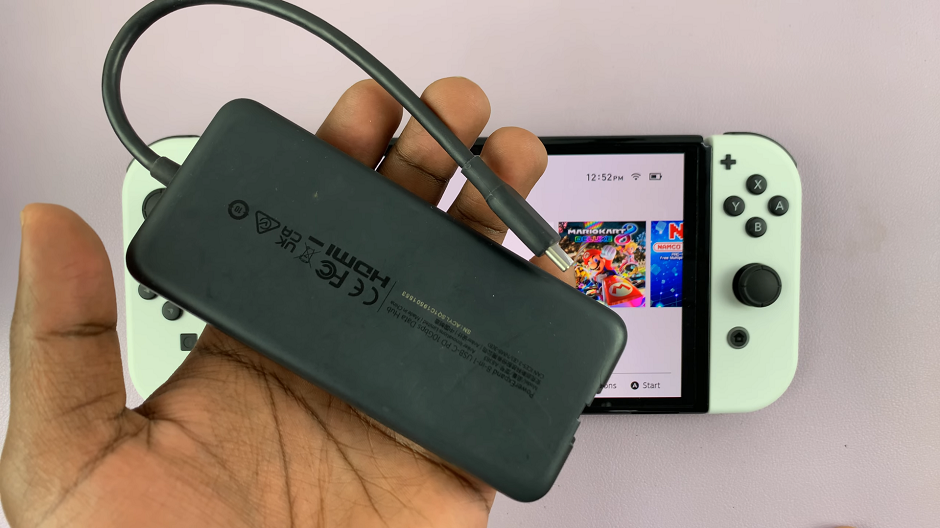
Ethernet Cable: Choose a high-quality Ethernet cable of the appropriate length to connect your smartphone to the router or modem.
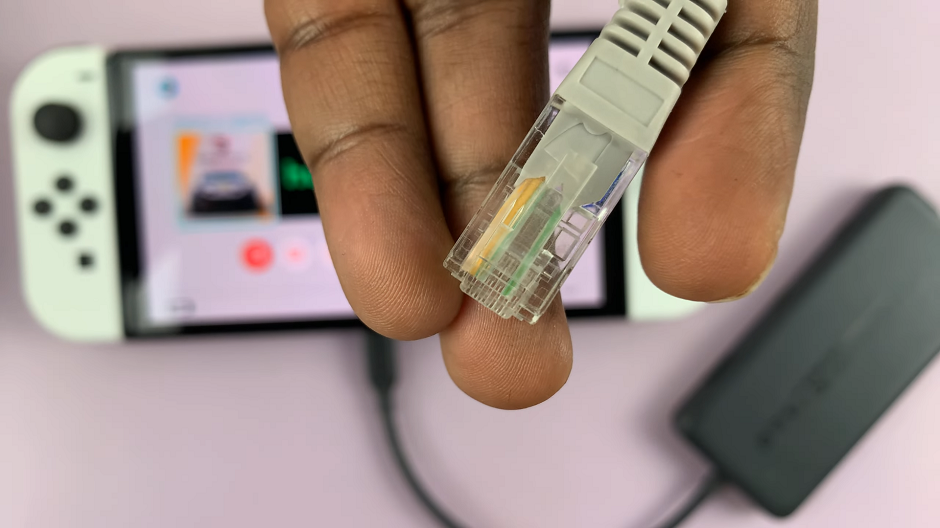
Router or Modem: Ensure that you have access to a router or modem with an available Ethernet port.
Next, plug the Ethernet adapter into the USB-C port on the bottom of your Nintendo Switch.
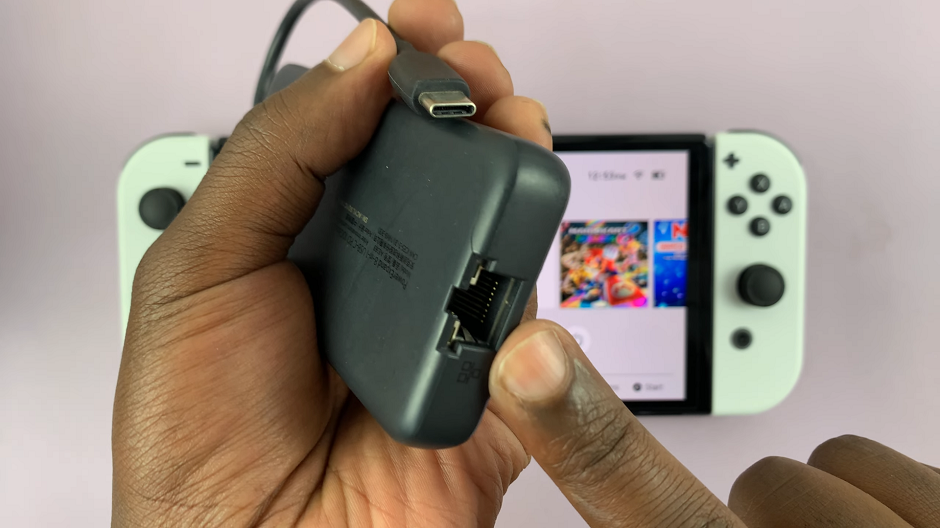
Plug one end of the Ethernet cable into the Ethernet port on the adapter. Then, plug the other end of the Ethernet cable into an available LAN port on your router or modem.
Navigate to the Home menu on your Nintendo Switch. Select System Settings (the gear icon). Scroll down through the left-hand side panel and select Internet.
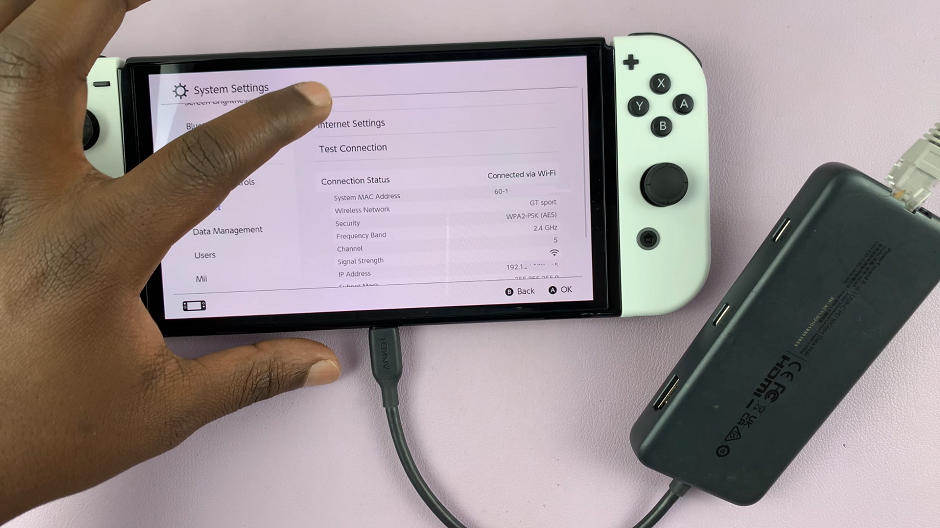
Choose Internet Settings and then Wired Connection.
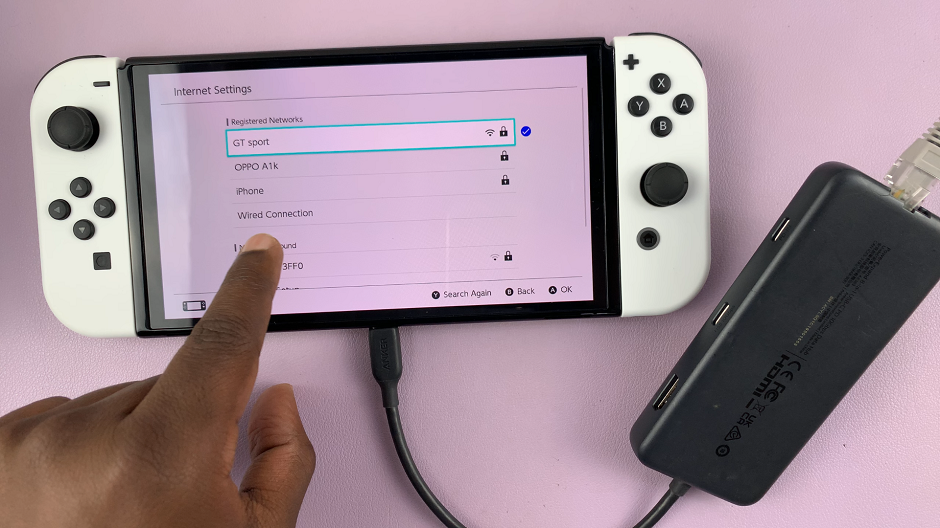
From the Wired connection menu, select Connect to the Internet via Wired Connection. Your Switch will automatically connect to the internet.

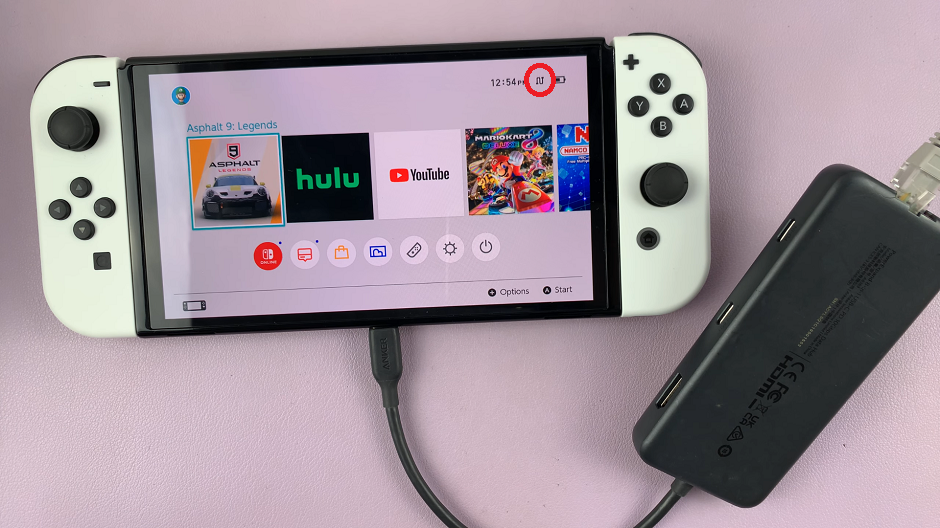
Press OK in the Successfully Connected dialog box. You should also see an S icon in the top-right corner of the screen, indicating a wired connection.
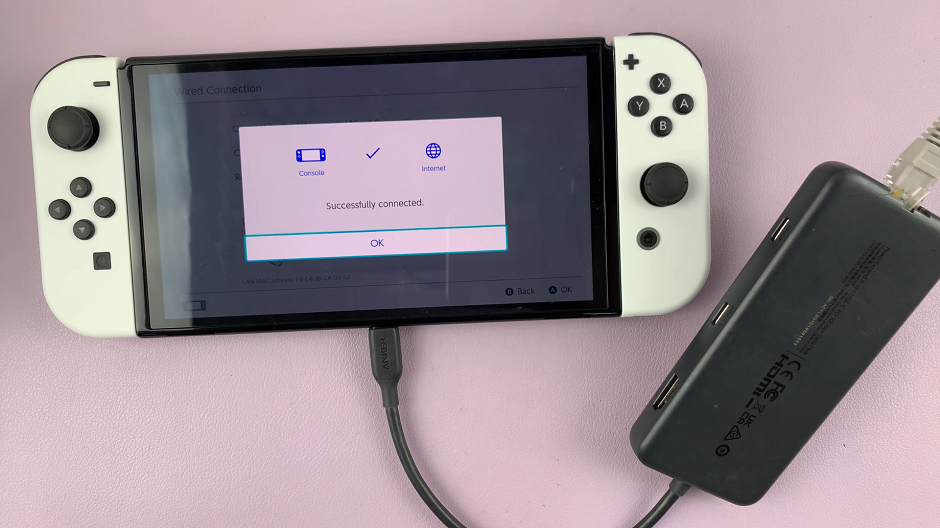
Once connected, your Nintendo Switch will test the connection to ensure everything is working properly. If the test is successful, you’re good to go! You should now have a stable wired internet connection.
Troubleshooting Tips
If you encounter any issues, here are some troubleshooting tips:
Check Connections: Ensure all cables are securely connected.
Restart Your Router: Sometimes, restarting your router can resolve connectivity issues.
Update Your Switch: Make sure your Nintendo Switch system software is up to date.
Try a Different Adapter: If your adapter isn’t working, try a different one that is known to be compatible with the Switch.
Connecting your Nintendo Switch to a wired internet connection without the dock is a straightforward process that can greatly enhance your online gaming experience. With the right adapter and a few simple steps, you can enjoy faster speeds, more stability, and reduced latency.
Read: How To Detach JoyCons From Wrist Straps From Nintendo Switch
