WhatsApp is a popular messaging app that allows you to communicate with friends, family, and colleagues through text, voice messages, calls, and multimedia sharing. One of the critical features of WhatsApp is the ability to create groups, which enables you to connect with multiple people at once and share updates, discuss common interests, and plan events.
Creating a WhatsApp group on your iPhone is a straightforward process that allows you to bring people together for meaningful conversations and shared experiences. As the group creator, you’ll also have administrative privileges to manage the group settings, add or remove participants, and control various aspects of the group’s functionality. Here’s a step-by-step guide to help you create a WhatsApp group on your iPhone.
Watch: How To Disable Call Forwarding On iPhone
How To Create A WhatsApp Group On iPhone
Follow the steps below to create a group on your WhatsApp.
Launch WhatsApp Locate the WhatsApp icon on your iPhone’s home screen and tap on it to open the app. Once launched, you’ll be greeted with the WhatsApp interface, showing your recent chats. Next, navigate to the Chats Tab at the bottom of the screen. Tap on the “Chats” tab, which is the first one on the left. This tab displays all your individual and group chats.
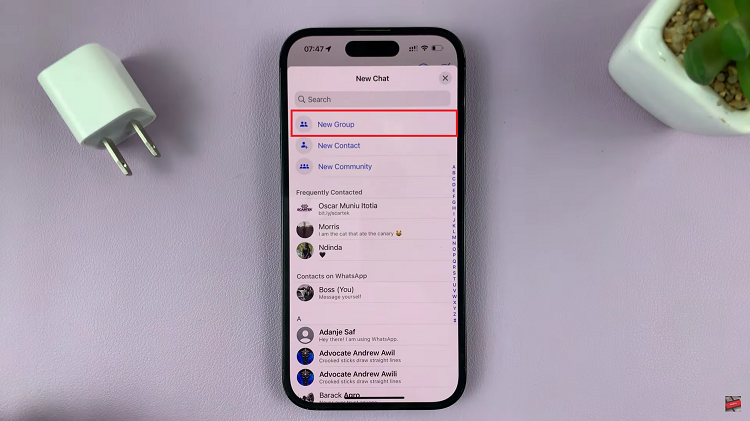
Next, in the top-right corner of the Chats tab, you’ll find a square icon with a pencil symbol. Tap on this icon to start a new chat. Tap on “New Group” to start creating a WhatsApp group. From here, you’ll see a list of your contacts. Scroll through the list and tap on the names of the contacts you want to add to the group. As you tap on each contact, a checkmark will appear next to their name, indicating that they have been selected. You can add as many contacts as you like, ensuring that everyone you want to include in the group is selected.

Once you’ve selected all the contacts you want to add, tap on the “Next” button located in the top-right corner of the screen. This will take you to the next step where you can set a name for your group. Now, you’ll be prompted to set a name for your WhatsApp group. Tap on the text field and enter a name that represents the purpose or theme of the group. The group name is what will be visible to all the group members, so choose something descriptive and memorable.
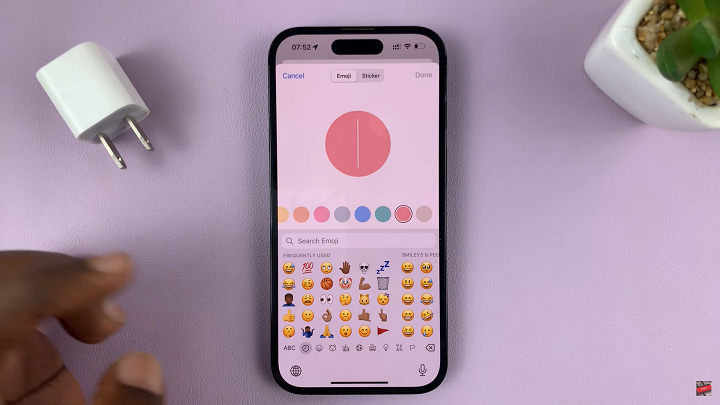
At this point to add a group photo, tap on the camera icon next to the group name field. You’ll be given options to choose a photo from your gallery, take a new photo, or search the web for an image. Select the desired option and follow the on-screen instructions to add a group photo. Adding a photo can make your group visually appealing and help members identify the group easily.

Once you’ve set the group name and added a photo (if desired), tap on the “Create” button in the top-right corner. Congratulations! You have successfully created your WhatsApp group. The group will be visible in your Chats tab, and you can now start engaging with your group members.
Now that you know how to create a WhatsApp group on your iPhone, you can start exploring the possibilities of connecting with multiple individuals in a single conversation. Whether it’s for personal, professional, or social purposes, WhatsApp groups can be a powerful tool for effective communication and collaboration. So go ahead, create your WhatsApp group, and enjoy the benefits of staying connected with your contacts more conveniently and engagingly.
Also read: How to Send High-Quality Photos via WhatsApp on iPhone

![How To Hide and Unhide Desktop Icons In Windows 11 [Video]](https://www.webproeducation.org/wp-content/themes/mts_sense/images/nothumb-ad-sense-featured.png)